A couple of pieces I've made during the pandemic

@My_Teenage_Self what are the odds?
View attachment 690691
Trouble is, it is missing the round weight. How much does that usually weigh? I have a very large sledgehammer head I could use?
View attachment 690692
I couldn’t see any dies either.

They want £90 for it. That doesn’t seem too much to me?

OOOooooo.... nice! price is reasonable, but it needs a good cleanup - they're super easy to disassemble. you may want to check what the die holder is like - the hole in the bottom of the sliding trapezoid - some smaller presses have a threaded hole with an obscure old thread that the dies screw into (mine just has a 1" hole with a clamping bolt which is much easier to make tools for). The threaded type is far less desirable TBH. The weights are maybe 5kg?

My eyes are drawn to the anvil and post vice in the background...
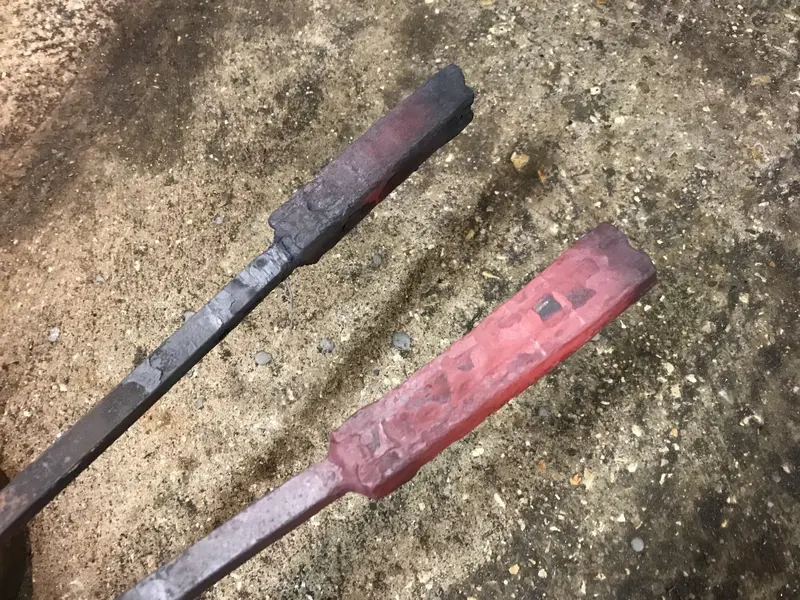
 
Hmmm... a modicum of success. 50% to be precise.

You can't see it in the previous pics, but I've drilled a small hole in the cap of each canister to vent the pressure. What I , accidentally, managed to do was weld straight back over it on the chain canister... BOOM!!.. There may have been a small explosion with lots of lovely sparkly dust... I welded it back up, drilled another hole and carried on...

These get soaked for about 25 mins at 1000-1100 degrees, then smashed in the press, repeat a number of times.

FDA7AFB9-843B-4C00-82E7-FFDD7BD960F8.jpeg

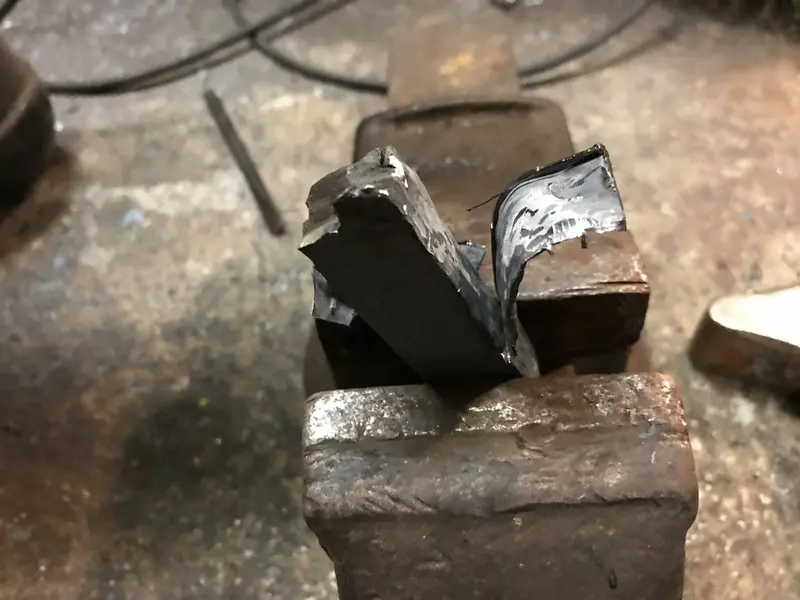
Then *try* and peel the canister off...

E3695DD3-7C65-4DD3-AF39-0497A2B86225.jpeg

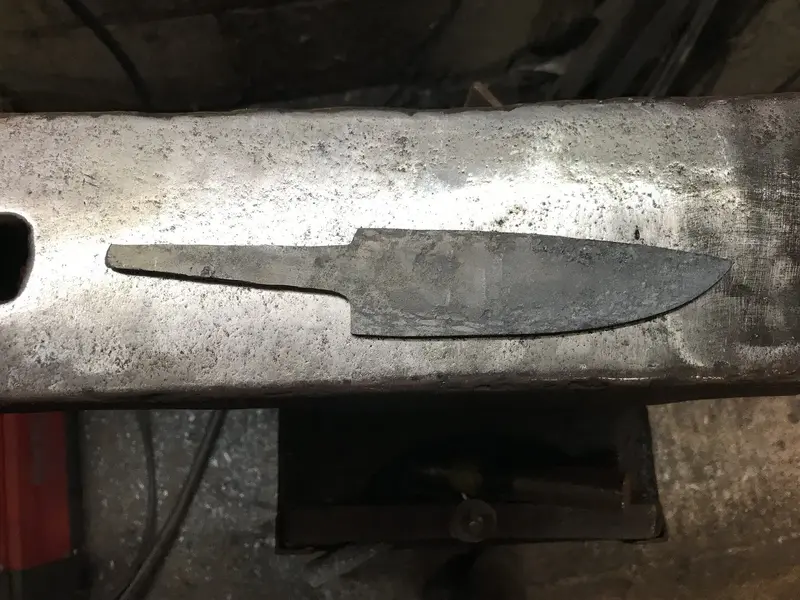
I haven't tried on the chain yet, this is the ball bearing one after removing the mild steel canister and starting shaping it;

3C880334-5DD9-45CC-839B-CDA4336C6C06.jpeg

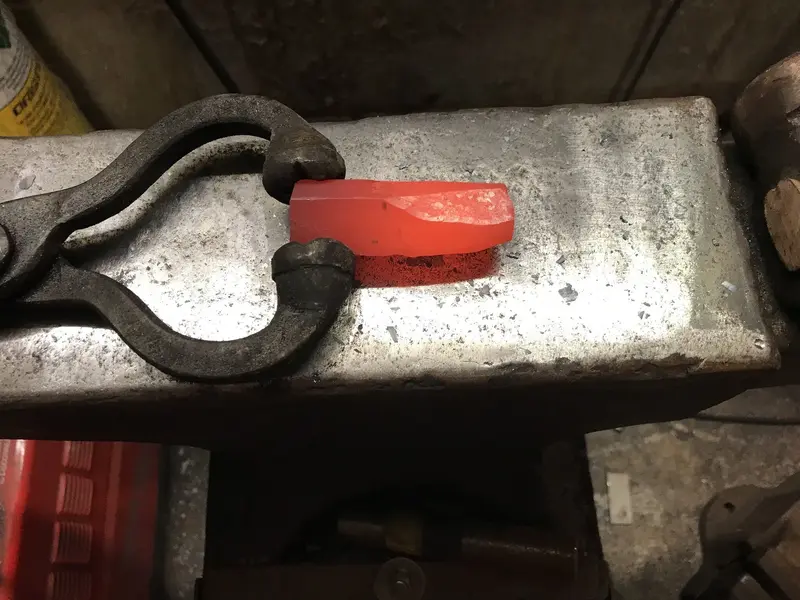
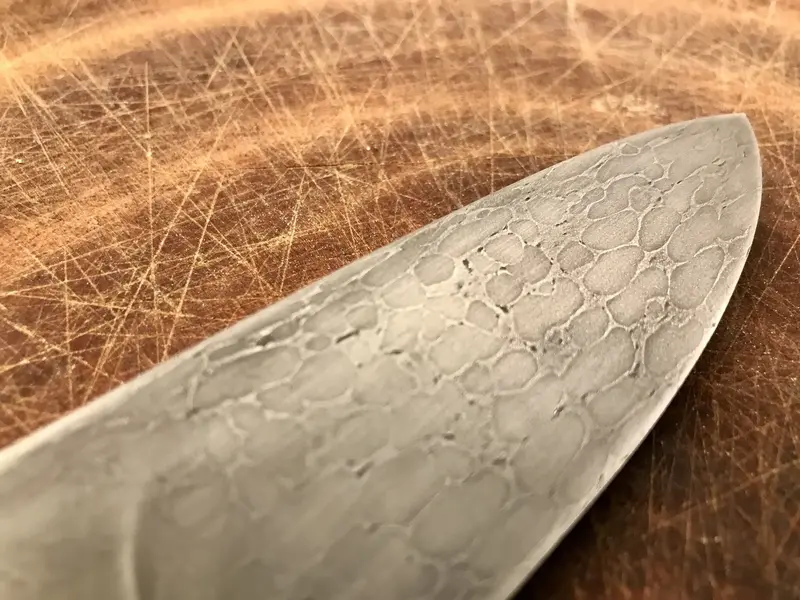
And some SmashySmashy makes this (You can actually see the pattern on part of the edge)

15D5B305-C80C-42DD-9014-13D79C3554A2.jpeg


hot and tired. May attempt the carcrash chain canister disaster tomorrow.

I also did some work on the previous chefs knife, so both that and the ball bearing damascus are annealing in ash, making them super soft to do a load of grinding before heat treat.

:)
 
Hmmm... a modicum of success. 50% to be precise.

You can't see it in the previous pics, but I've drilled a small hole in the cap of each canister to vent the pressure. What I , accidentally, managed to do was weld straight back over it on the chain canister... BOOM!!.. There may have been a small explosion with lots of lovely sparkly dust... I welded it back up, drilled another hole and carried on...

These get soaked for about 25 mins at 1000-1100 degrees, then smashed in the press, repeat a number of times.

View attachment 690790

Then *try* and peel the canister off...

View attachment 690789

I haven't tried on the chain yet, this is the ball bearing one after removing the mild steel canister and starting shaping it;

View attachment 690791

And some SmashySmashy makes this (You can actually see the pattern on part of the edge)

View attachment 690788


hot and tired. May attempt the carcrash chain canister disaster tomorrow.

I also did some work on the previous chefs knife, so both that and the ball bearing damascus are annealing in ash, making them super soft to do a load of grinding before heat treat.

:)
Canister Damascus is nearly always a 'Carcrash' have you never watched Forged in fire... 🤣
 
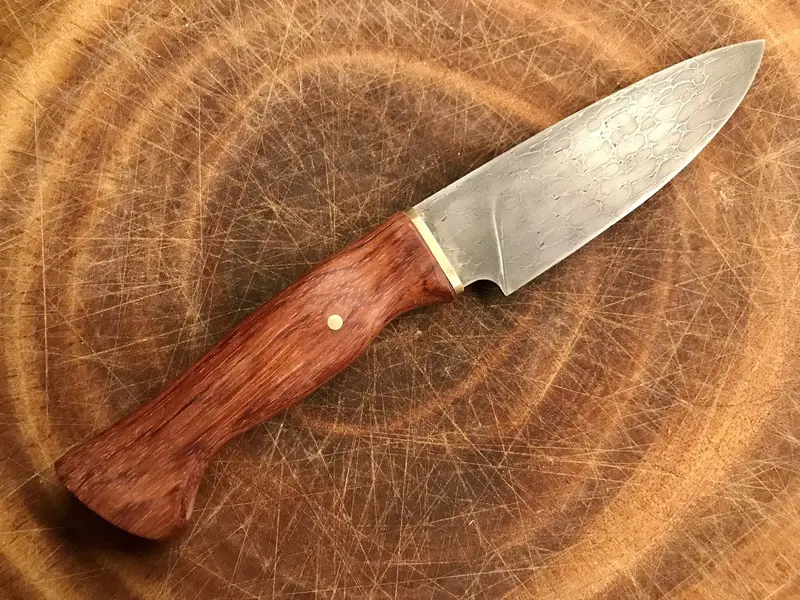
Finished, albeit not yet sharpened.

Ball bearing canister damascus (1000 carbon steel 3mm balls & 1095 powder) Brass bolster & pin, bubinga handle. 4.5" blade, 9.5" overall. Thin and light at 2.25mm thick - a slicer not a chopper.

I learned a lot, not least that Weldtite use plain (cheaper) carbon in their bearings - I should have used a higher grade 52100 (at about 4x the price) for better contrast. the 1095 should etch much darker than the bearings if they were 52100. Off to it's new owner once I make a sheath and sharpen it. I am pleased with the heat treat; this blade is HARD and will flex pretty well too.

F1FAAF38-8DED-4A19-AA16-AB538A8BD522.jpeg F6138B93-3053-45F3-A56D-DDBC081E4FB8.jpeg
 
Had some time in the garage this morning and returned to Operation Penknife. I intend this one to be the working prototype and I won’t heat treat it until:
1. I also have a handle it fits into and closes into.
2. I have made at least another three to make firing up the forge worthwhile.


B0F8F6A5-B9EE-4812-B531-6D49CE2742D6.jpeg

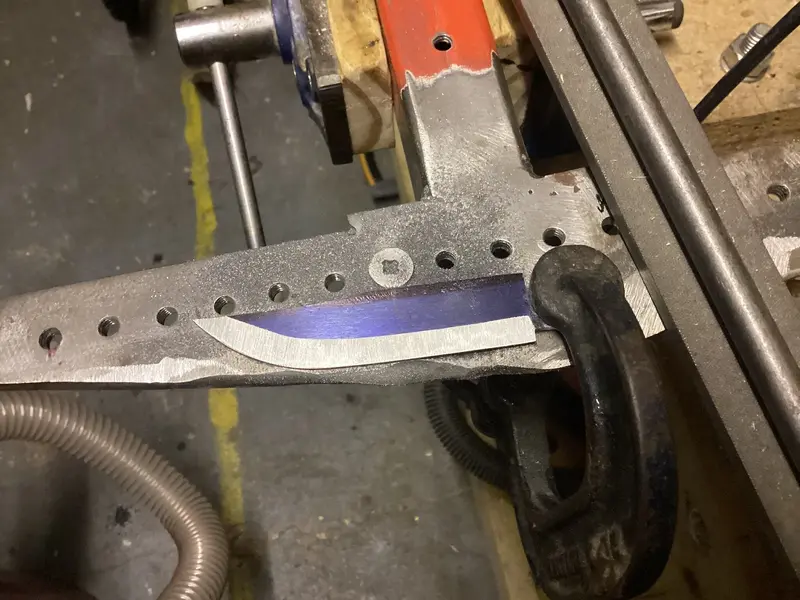
This is the first bevel being filed in. The blue layout fluid helps keep everything even. As the angle changes I will sometimes colour in the files part with Sharpie so I can be careful no to take too much off the edge. I want the bevel to just about reach the top of the blade with this one.

B5F7578E-34D9-4E5B-B0C6-D32EEB9C46A5.jpeg

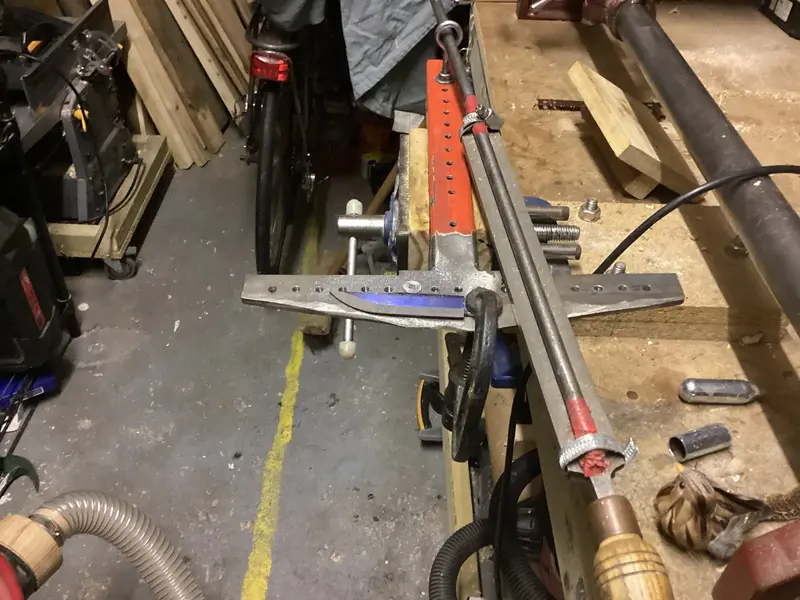
This picture shows the whole filing setup. Larger blades mean I can screw a bolt into one of the holes on the horizontal piece to control the bevel plunge line. This small blade I’m just using the clamp. Everything is marked up so I can replicate this when the blade is flipped to do the other bevel. I would love a belt grinder (2 x 48”) but I don’t have a lot of room!
I am hoping to get as far as the handle this weekend. I am practicing with pieces of our old front door for this first batch.
 
Had some time in the garage this morning and returned to Operation Penknife. I intend this one to be the working prototype and I won’t heat treat it until:
1. I also have a handle it fits into and closes into.
2. I have made at least another three to make firing up the forge worthwhile.


View attachment 692975

This is the first bevel being filed in. The blue layout fluid helps keep everything even. As the angle changes I will sometimes colour in the files part with Sharpie so I can be careful no to take too much off the edge. I want the bevel to just about reach the top of the blade with this one.

View attachment 692976

This picture shows the whole filing setup. Larger blades mean I can screw a bolt into one of the holes on the horizontal piece to control the bevel plunge line. This small blade I’m just using the clamp. Everything is marked up so I can replicate this when the blade is flipped to do the other bevel. I would love a belt grinder (2 x 48”) but I don’t have a lot of room!
I am hoping to get as far as the handle this weekend. I am practicing with pieces of our old front door for this first batch.
Would still love one of your fantastic blades... 😍
 
Finished, albeit not yet sharpened.

Ball bearing canister damascus (1000 carbon steel 3mm balls & 1095 powder) Brass bolster & pin, bubinga handle. 4.5" blade, 9.5" overall. Thin and light at 2.25mm thick - a slicer not a chopper.

I learned a lot, not least that Weldtite use plain (cheaper) carbon in their bearings - I should have used a higher grade 52100 (at about 4x the price) for better contrast. the 1095 should etch much darker than the bearings if they were 52100. Off to it's new owner once I make a sheath and sharpen it. I am pleased with the heat treat; this blade is HARD and will flex pretty well too.

View attachment 692030View attachment 692031

Beautiful piece :cool:
 
That's a SUPERB filing jig!!! How long is that file?

I'll be honest and say that other than the effort & time involved I much prefer hand filing the bevels, but a belt grinder makes it SO much quicker.
 
Thanks for the kind words everyone. The file is 300mm long @My_Teenage_Self and is I think second cut grade. I ground down the edge so both sides are safe now. It is fine as long as a fragment of metal doesn’t get caught in the teeth. It gouges out the work piece if it does. Of course, it will do this usually on the last couple of strokes!

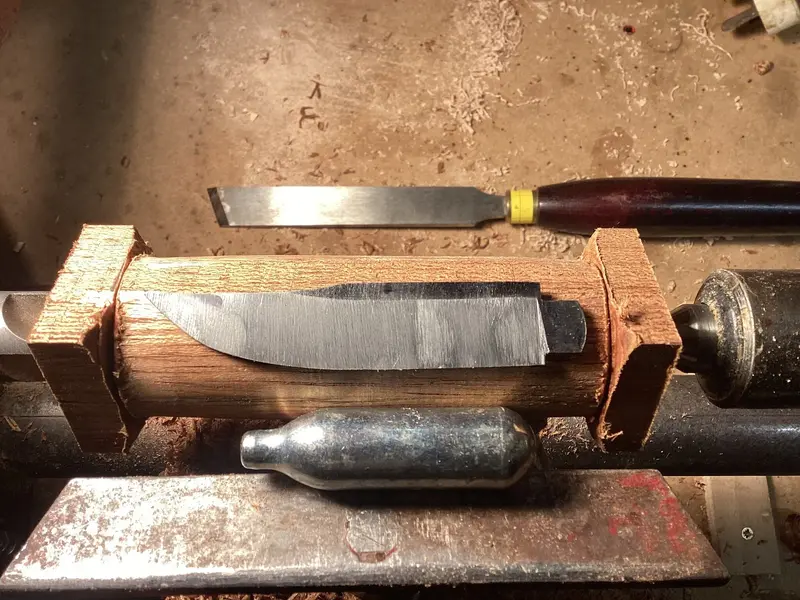
I fear this blade might already be a write off. I don’t think the hinge end is large enough. I’ll only know at the end so onwards for now. Here I am starting to rough out the handle:

548FDE9B-52A9-45E9-BDBB-910E4D8F6163.jpeg

That‘s a piece of our old front door. A very well seasoned chunk of hardwood. Also in shot is the other piece of the knife. There certainly seem to be plenty of these canisters thrown around these days. This one will have a second life here!
 
Back
Top