A couple of pieces I've made during the pandemic

Back to the bushcraft blade. I refined it some and ground the bevels prior to heat treating it. I had to re-anneal it, as the handle was still too hard to drill after my first annealing cycle (so, held it at around 850-950 degrees as best I could for 30 mins, then cooled super-slowly in wood ash).

View attachment 704668

Ground some bevels while it was still 'soft' and then normalised & heat treated (oil quench, 2x 2 hour tempers at 210 degrees).

View attachment 704669

Then Lots of sanding (and swearing). The fitup on this is a bugger, as the blade and handle have to be 100% finished together prior to etching, disassembled, then fitted together permanently (including flaring the tube pins) to preserve the etch on the tang.

Full tang, ball bearing canister damascus (6mm 52100 bearings & 1095 powder), curly oak handle, 8mm flared stainless tube pins. 3.5" blade 8.0" overall. Weight; 137g.View attachment 704674View attachment 704675View attachment 704676View attachment 704677

View attachment 704673


Really pleased with this one - the bevels in particular are super sharp and even. Just need to sharpen it and make a sheath :)
A work of art...
 
Love it! I much prefer that grind over the typical bush knife grind. Bevels of only 6mm or so look odd to my eyes. There’s some character in that wood isn’t there?
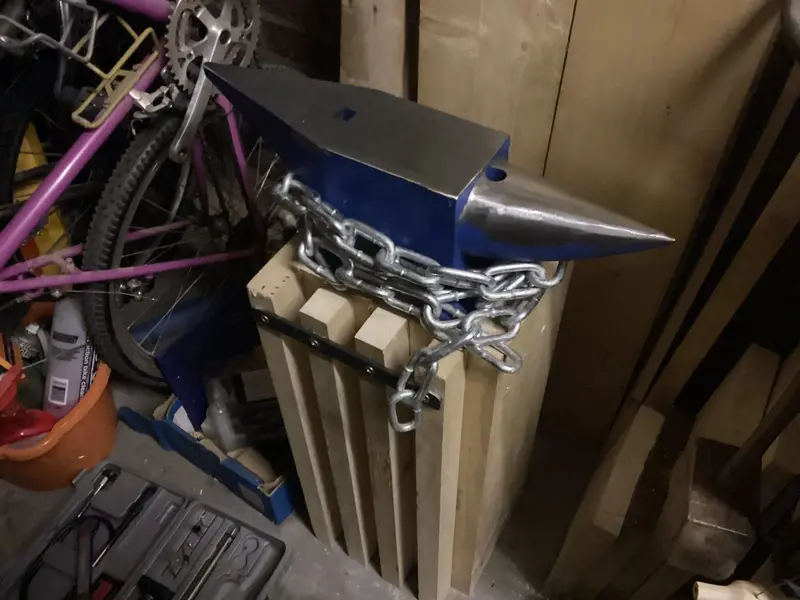
I am making a stand for my little anvil at the moment. Just pondering how best to screw it down. I think I have a plan.
100% agree. I'm not a fan of scandi grinds at all. I much prefer having a small secondary bevel. Obviously, with damascus a full scandi primary bevel would looks weird too.

A work of art...

:p
 
Check it out:

87AB880A-A139-46C6-9BCA-F3414A630628.jpeg

One cheap Chinese steel anvil installed on a scaffold board stand. I’ll have to wait to try it as I’m away with work all next week!

you can just see the frame of one of the fleet there as well!
 
if you find the anvil 'rings' when you hit it (and you'll know soon enough!) take it off the stand, cover the bottom of the anvil in cheap caulk/silicone and slap it back on. Best thing I ever did. *TIIIIINGGGGGG* became *thunk*.
 
if you find the anvil 'rings' when you hit it (and you'll know soon enough!) take it off the stand, cover the bottom of the anvil in cheap caulk/silicone and slap it back on. Best thing I ever did. *TIIIIINGGGGGG* became *thunk*.

Yup, already done! It shouldn’t move either. I used threaded rod straight down 90mm to 8mm flat fitted into slots cut with a router.
 
To quote (I think) the late, great Frank Muir, “Four Quenelles!”

What is the retirement age for a blacksmith? Around 23 I reckon. After that they must have had it. A day off sees me in the garage. I have failed at carpentry this week so I thought I might as well fail at metal work as well!
Twenty minutes later and I am a sweaty mess and no longer able to make a fist.

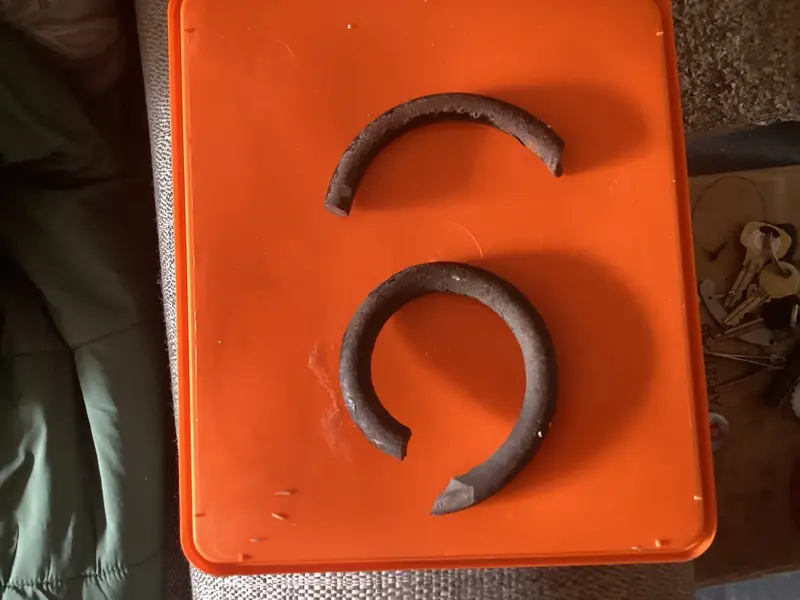
I had a plan. Make a knife entirely out of scrap and waste. The Idiots in Charge decided our village would be blessed with speed bumps everywhere. This meant I had to sell my old car which was bad. Another side effect is that often when walking down the main street, you find the results of the bumps’ labours. Pieces of broken off coil suspension springs. Thus:

image.jpg

This when suitably flattened, could form a blade I thought? I have some brass from an old letterbox (new front door) and a lot of pieces of scrap leather that I should have thrown away but kept in a bag.

I will be aiming for something vaguely Scandinavian in appearance (Puukko) but don’t have high hopes.

More to follow…. (Maybe.)
 
TEASE!!

more, More, MORE!!

Oh the pain! My advice for the day. Never, ever arm wrestle a blacksmith. If they survive the first month, arms and grip must be epic!

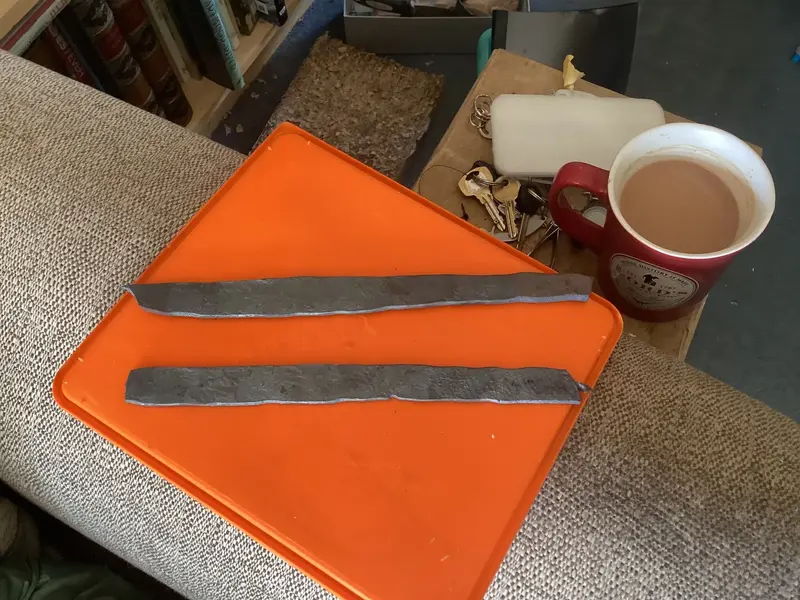
After an hour (sorry neighbours) of heating, beating, minor burns, sweat drops flying everywhere and a hammer head launching itself across the garage, we have:

61BF8F28-C59C-4E46-97E4-37CDDD841064.jpeg

I was going to stretch out the tang but genuinely couldn’t do it. I have left it slightly thinker so that I can draw it out if required later.

Next I think, a couple of cardboard templates.
 
It was back out with the forge as the billet was rather too variable in thickness. Also, it had remained too hard to easily work with a file and hacksaw. I kept it glowing hot for a while and then let it cool as slowly as I could in the forge. Still a touch harder than the fully annealed O1 tool steel I usually use but, workable with hand tools.
I have been warned about this is quite likely to fail when it is hardened so I am not spending too much time on each stage.
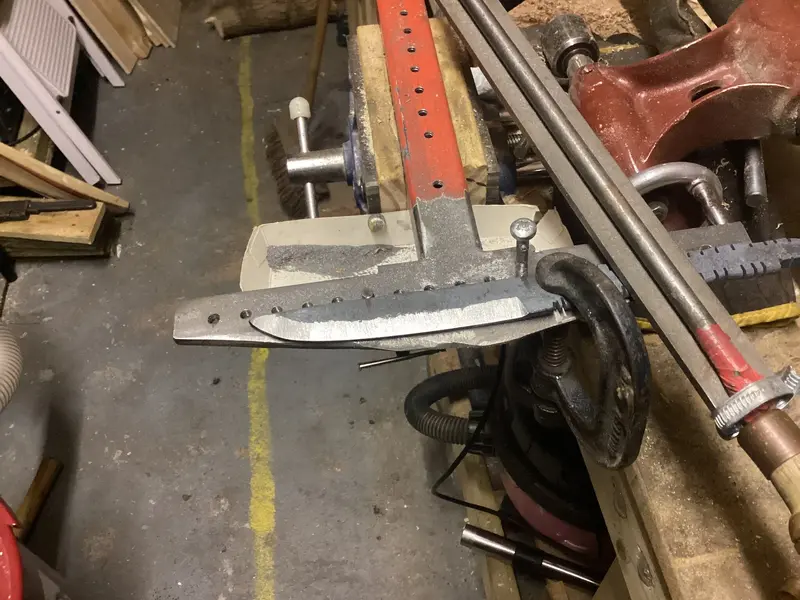
Here I have the blade roughed out and the tang half formed. I need some metal to clamp it down to the jig:

DBDC2A5E-CD6D-4BB1-8110-520C332F3E93.jpeg

Things aren’t as straight as I’m used to so we’ll see how things go when we flip it to file the second bevel in.
 

Latest posts

Back
Top