Yesterday I gave the whole frame a good wet sanding down. First lightly with 180 grit followed by a more vigerous going over with 400 grit. Then filled where necessary followed by more 400 grit wet sanding.
I had a little grey primer left over. It's the Body Pro P961 which I really like as it levels off really well and sands nicely.
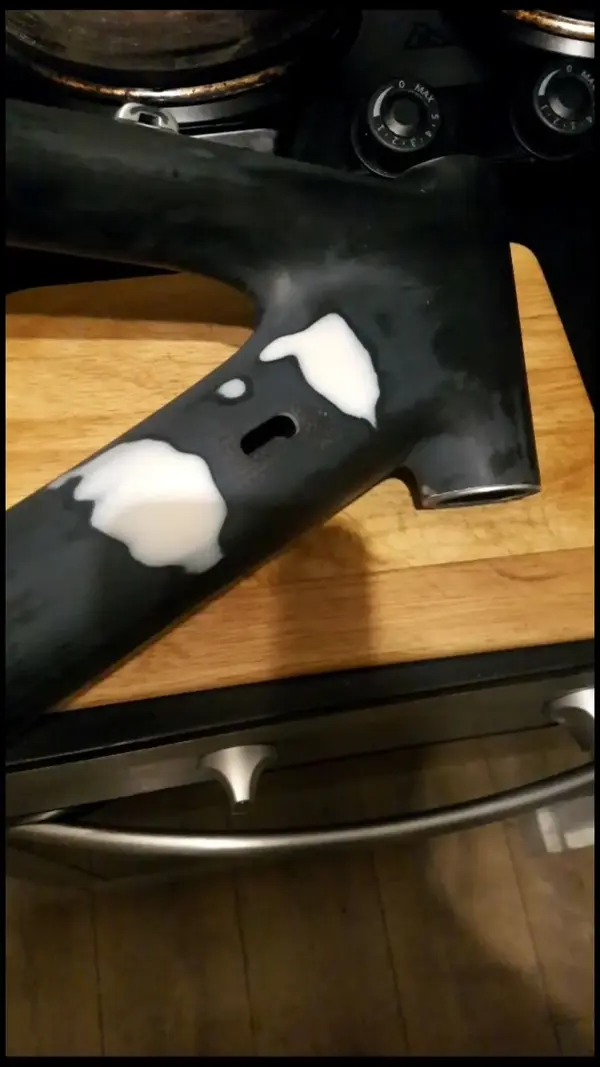
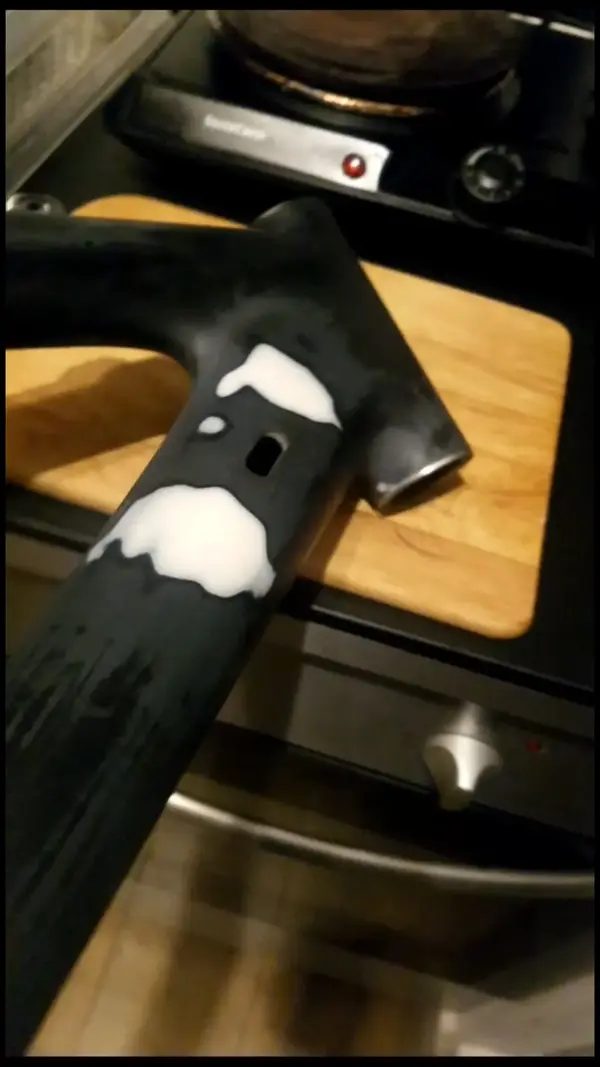
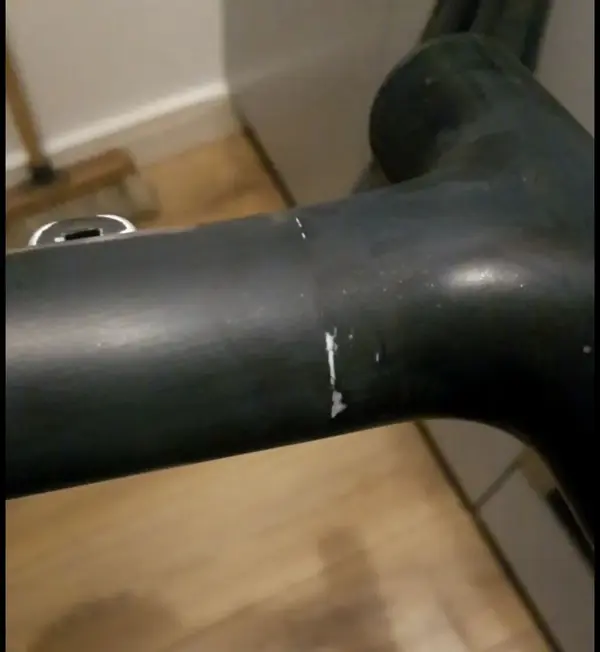
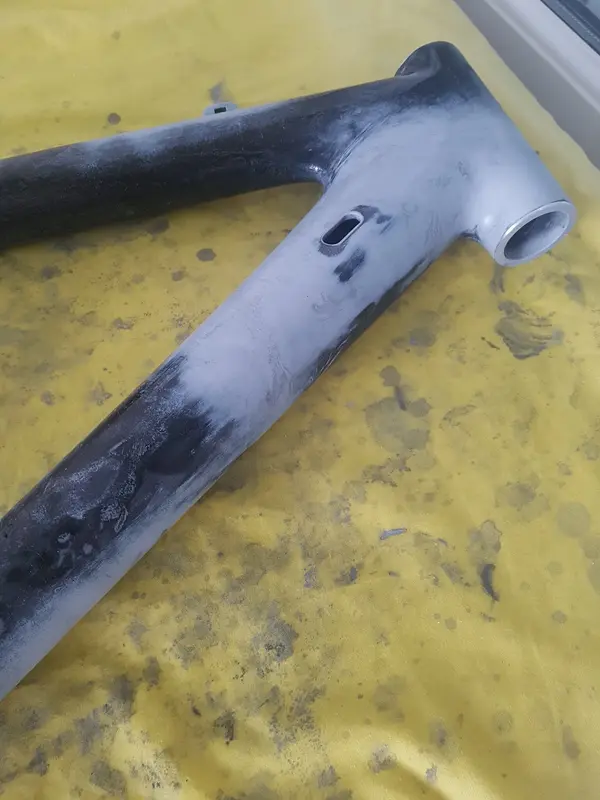
I used it to spot prime a few key areas to give me a extra layer of material to level sand and make sure everything is smooth.
Tomorrow I'll go over the whole frame again with 600 grit then apply the olive coloured primer
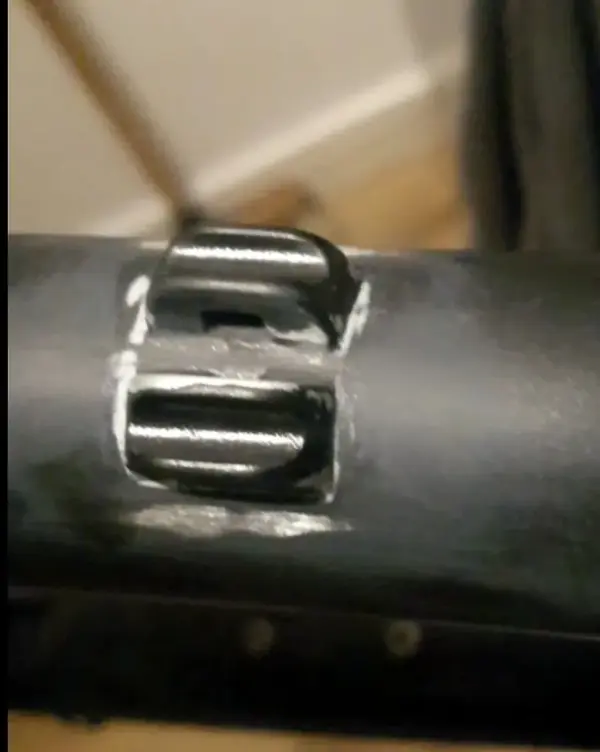
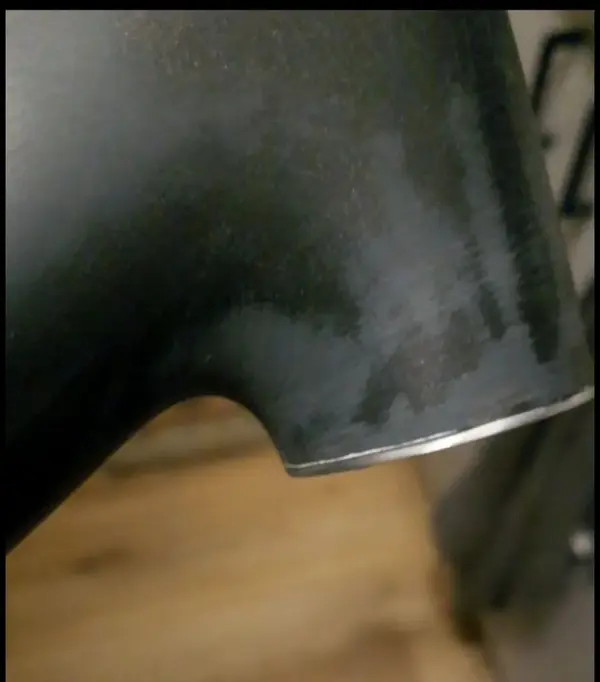
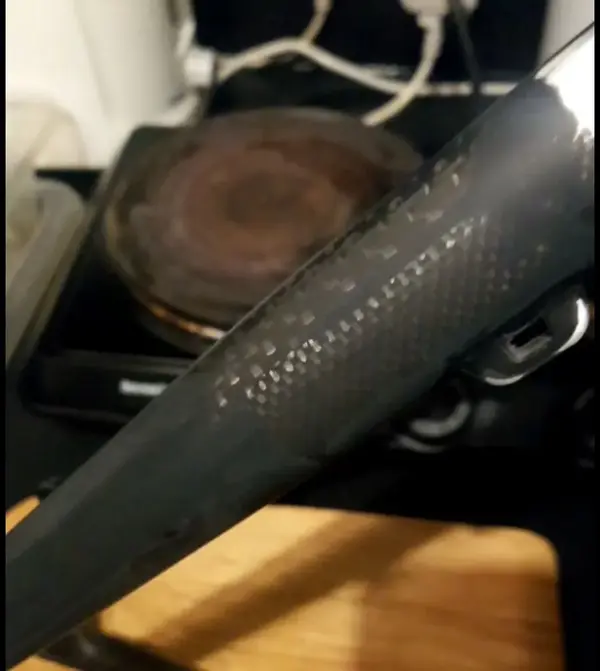
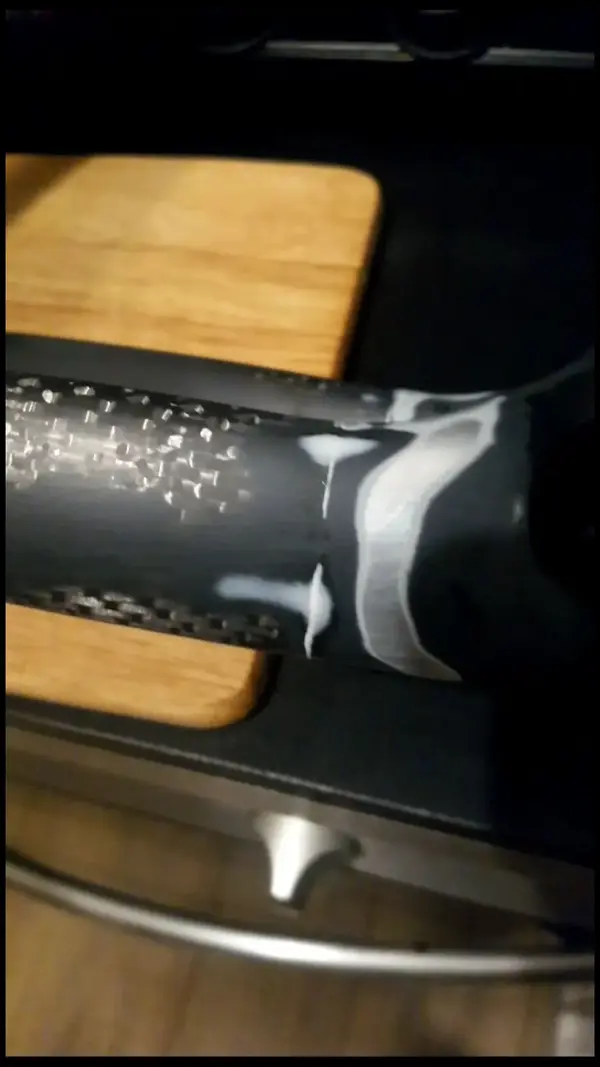
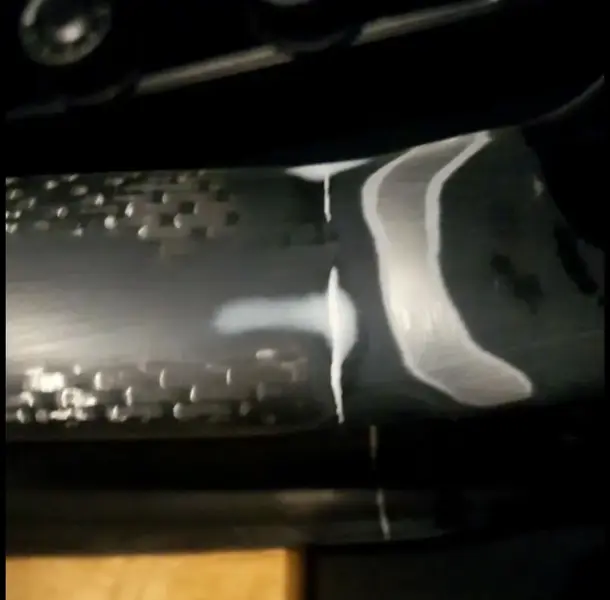
The first photo shows the dropper cable port area after a quick sanding. The second photo shows the seatstays without any sanding of the primer. See how smooth it is. This stuff levels itself and fills fine scratches beautifully. Really impressed with it.
Got a set of decals for a modern Top Fuel 9.8. Won't be using the full set, only the main Trek decals, headtube badge, and 'Top Fuel' minus the 9.8 bit
This morning I gave the frame a good once over and masked up ready to apply the primer. Had a couple of areas where there was a bad reaction. So tomorrow I'll have to sort a few bits before I put the base colour on.
Base colour applied followed by decals and satin epoxy clear.
Final finish will be matte but as I had the satin clear going spare I decided to use it first to build up material that can be flatted back before applying the matt finish. I've applied about 4 coats over the decals and 2 over the full frame. This means I can level sand over the decals so there won't be such a noticeable edge.
The Custom Canz base was lovely to use. Some aerosols spray out quite heavily but the Custom Canz was a gentle fine mist and really easy to apply.