1996 GT Zaskar LE 13 year old boy’s dream

Dan_Trials

Dirt Disciple
Hello everyone, I’ve been a lurker on here for many years, although I only recently made an account once my “collection of old junk” started to have enough bits to make a bike.

in 1996 I was 13, so I kind of missed most of the early “proper retro” stuff, but one day while reading MBUK I was lovestruck by a silver Zaskar LE. Alas it was not to be, although some years later I did consider blowing my student bursary on one! Over the years, in my mind I built the ultimate bike for me, specced with what to me were to best parts of that time from late 90s into early 2000s.

Now, some 20 years later, I present to you my build of “The One”.

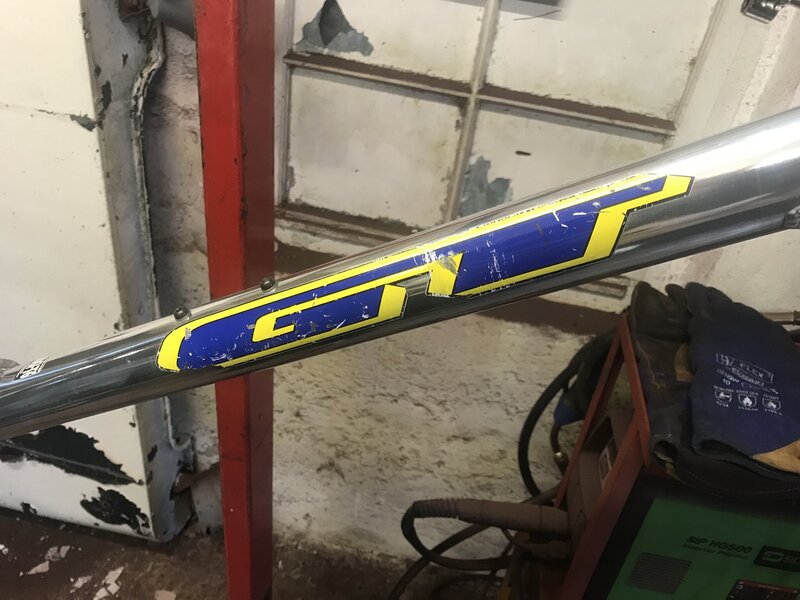
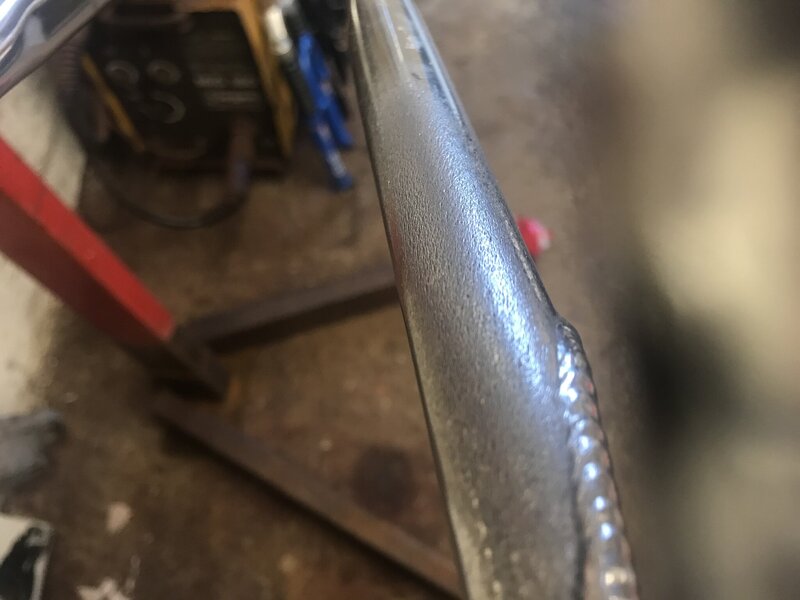
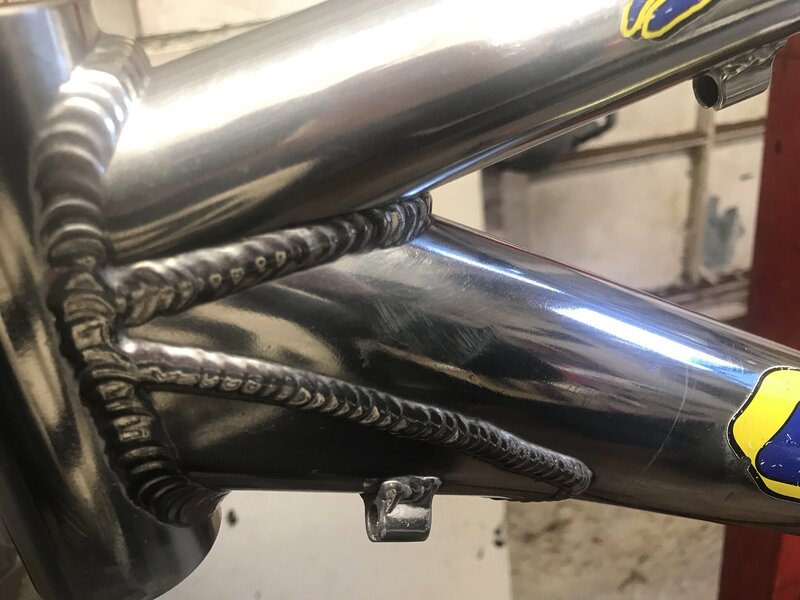
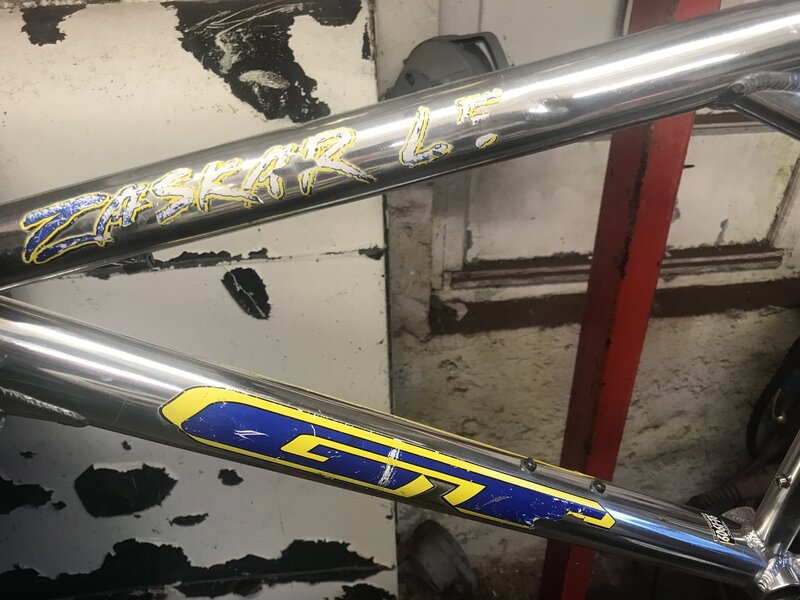
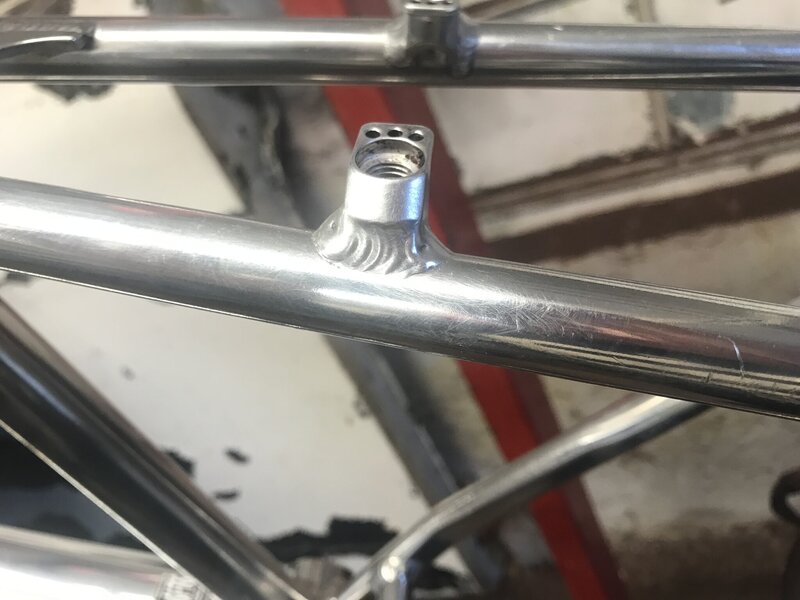
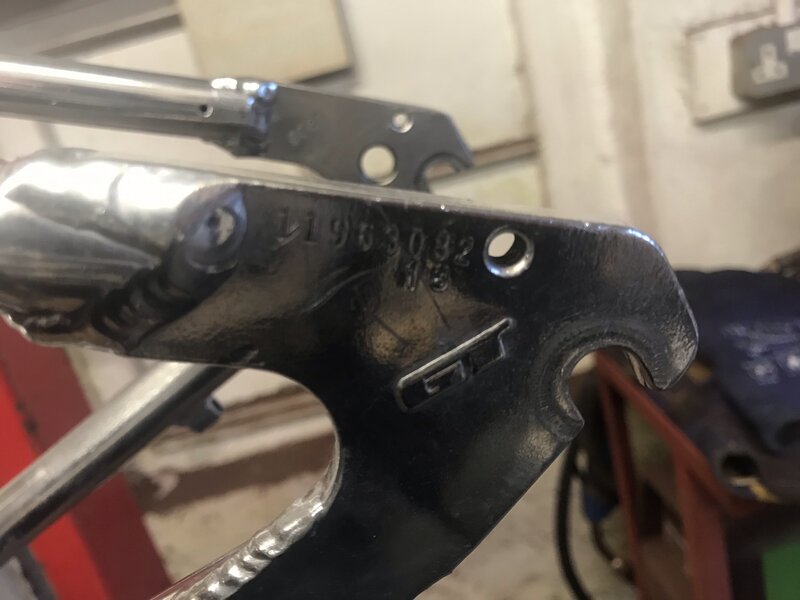
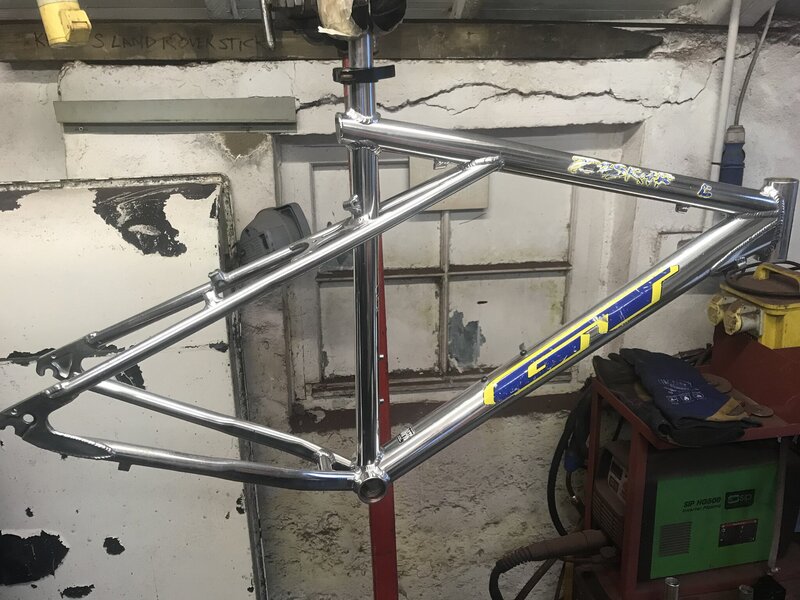
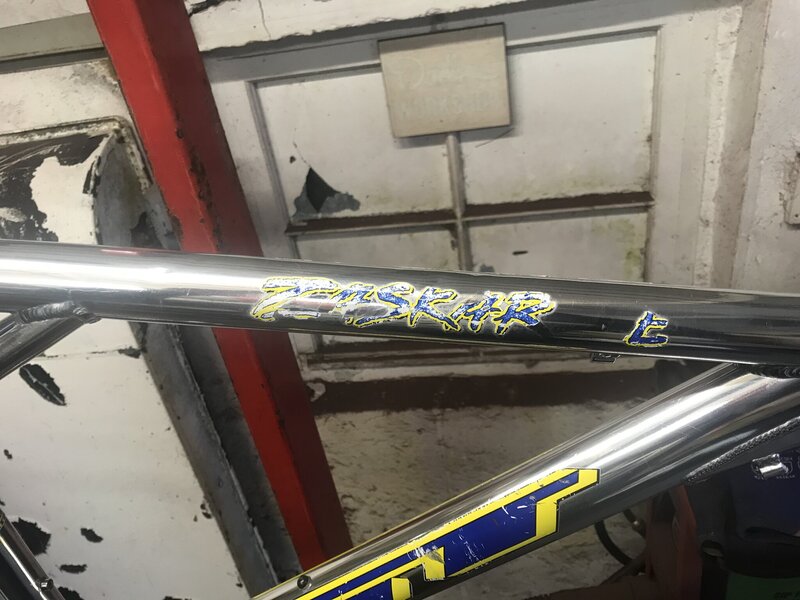
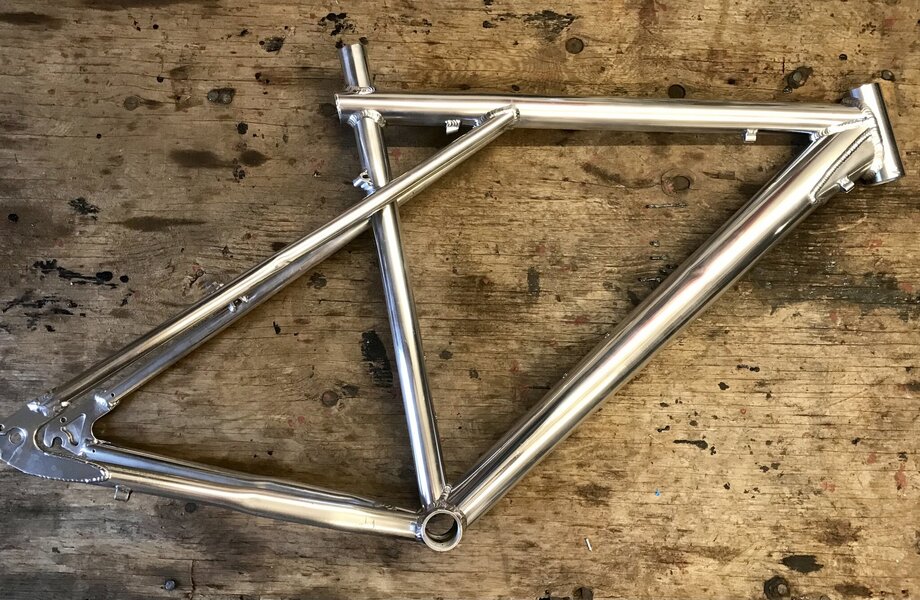
Lets start with the frame. November 1996, 18” (because I’m ickle), has been through the wars but then so it would have been if I had anyway.
EECC75AB-7D65-4A3A-9B7B-DACB8F55BC12.jpeg

C0A72D65-8EFB-4F53-8AE2-44D69F260016.jpeg

0E12D7B0-3537-4748-B3B0-EF8629A5D871.jpeg
6B32E8B9-AC7A-4403-9CB1-E5A9B48573A8.jpeg
F8C37D65-2073-4757-8353-2A6C2B133680.jpeg
3B95BC4E-1E36-4433-81D7-2252A55C1E8D.jpeg
FE649245-EEF7-49BE-B090-39F87F589F62.jpeg
AC0A0A95-57C7-44BE-9DE0-2ECC9B33977C.jpeg
D7851827-3D6E-4029-B28C-CEB23337EC0F.jpeg

i will clean it up a bit and replace the decals.
 
Last edited:
It occurred to me that I hadn’t posted a Spec Sheet, so I will do that now. As this is a build thread, and it is constantly evolving, I will update as I go. This also adds an element of suspense to the story…

Spec Sheet, last updated 12/08/21

Frame: GT Zaskar LE, Nov 1996, 11963082

Fork: Rockshox SID Long Travel, blue

Headset: FSA Orbit XL II, black
Stem: Easton EA50 100mm x 6 degrees
Stem Cap: FSA generic, black - to be changed when a Mint Sauce one comes up
Handlebar: TBA
Grips: TBA
Barends: N/a

Brakes: Shimano XTR M952
Brake Pads: Shimano + Koolstop
Brake Cables: TBA
Cantilever cable hangers: n/a
Brake Levers: TBA

Shifters: TBA
Front Derailleur: TBA
Rear Derailleur: Shimano XTR M950 8 speed
Derailleur Cables: TBA
Cassette: TBA
Chain: TBA
Cranks: TBA
Crank Bolts: TBA
Chainrings: TBA
Chainring bolts: TBA
Bottom Bracket: Shimano 105 68x118
Pedals: TBA

Hub Skewers: TBA
Rims: TBA
Hubs: TBA
Nipples: TBA
Spokes: TBA
Tyres: TBA
Tubes: TBA

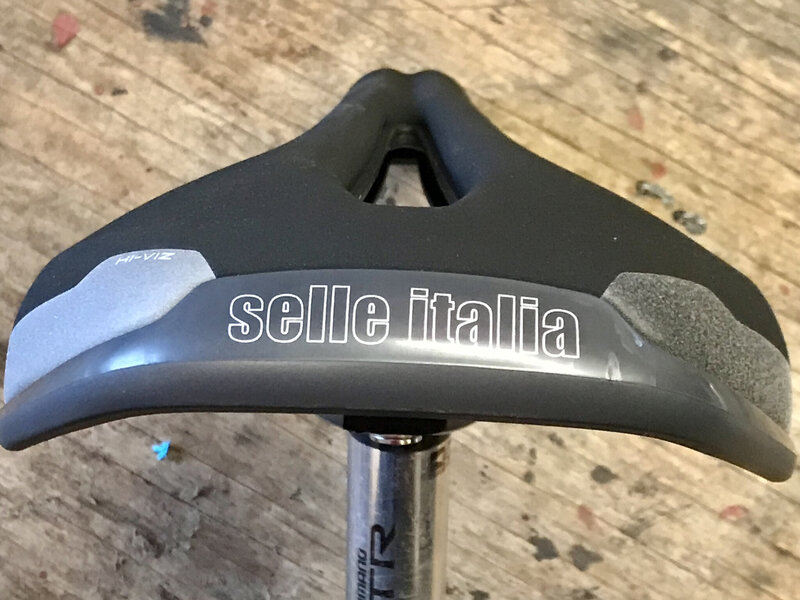
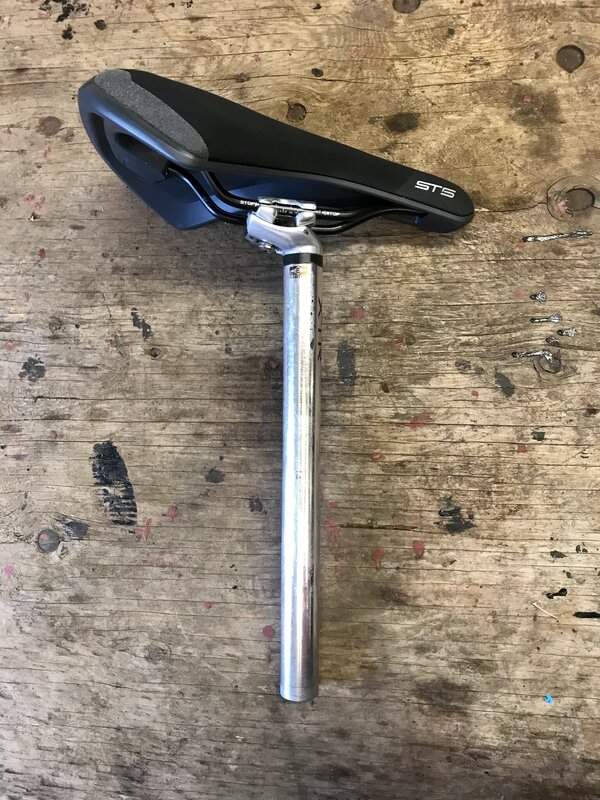
Saddle: Selle Italia ST5 Flow, 165 x 276mm
Seatpost: Easton XTR micro adjust, polished
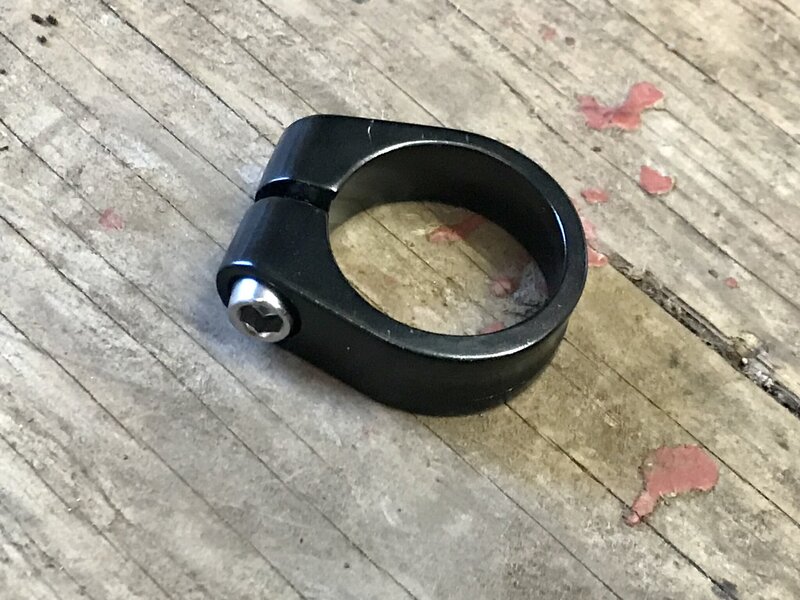
Seatpost Binder: MBB 6061, 31.8, black

Weight: TBA
 
Last edited:
This is as far as I am going to go with polishing the frame:

17502283-15ED-4A3A-8189-D50CEB140944.jpeg

I could have gone all out to a mirror finish, but given the number of dents, scapes, and other blemishes, it would only have highlighted them. Some areas I could have sanded out and removed or vastly improved, but each one of those marks has a story to tell, so “used but looked after” is the look I went for.

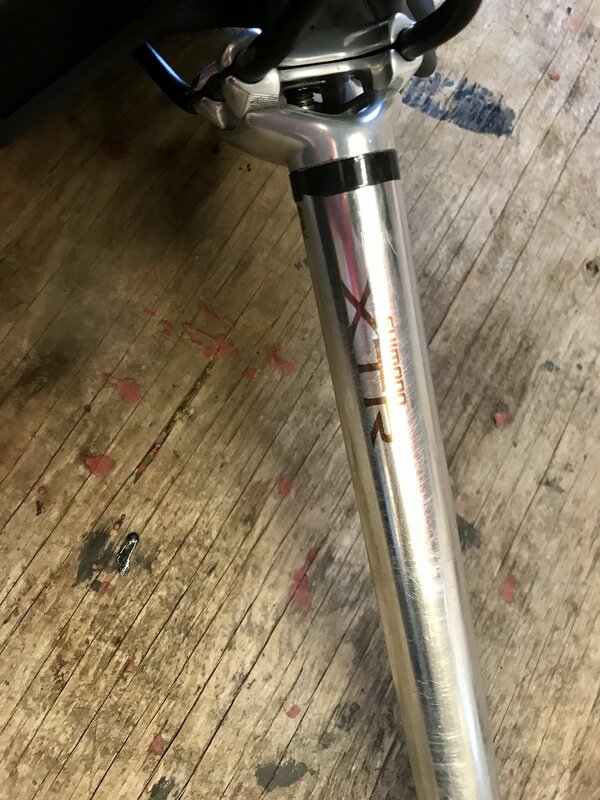
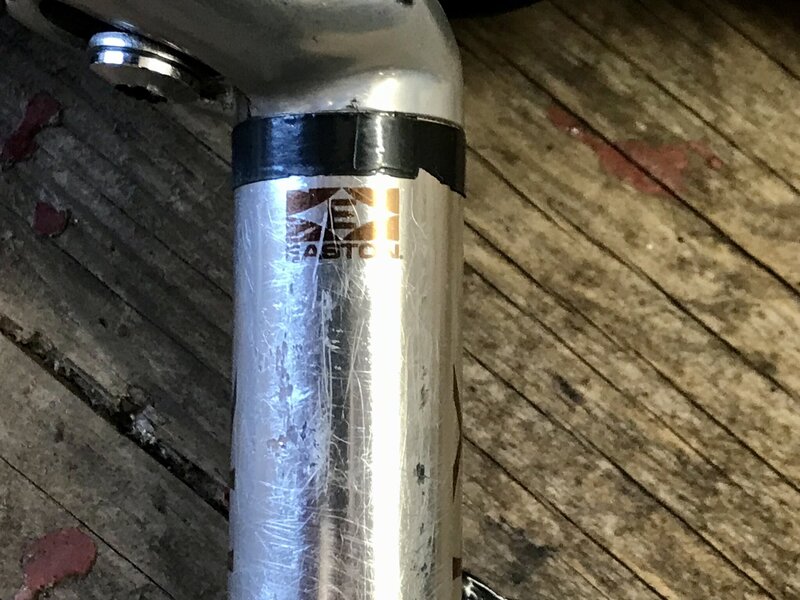
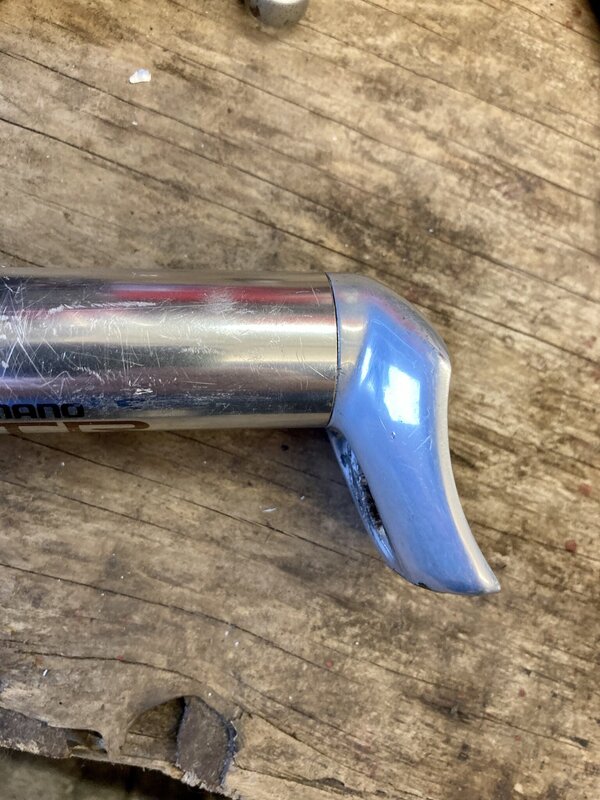
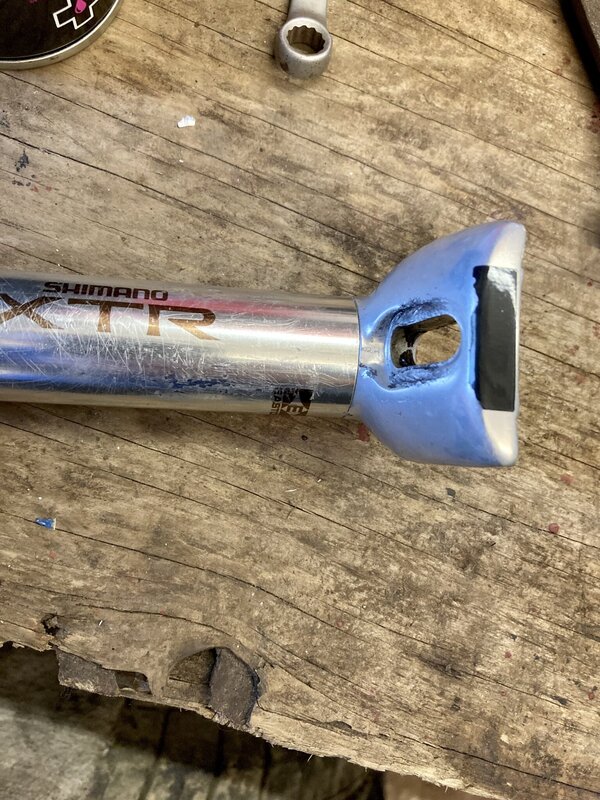
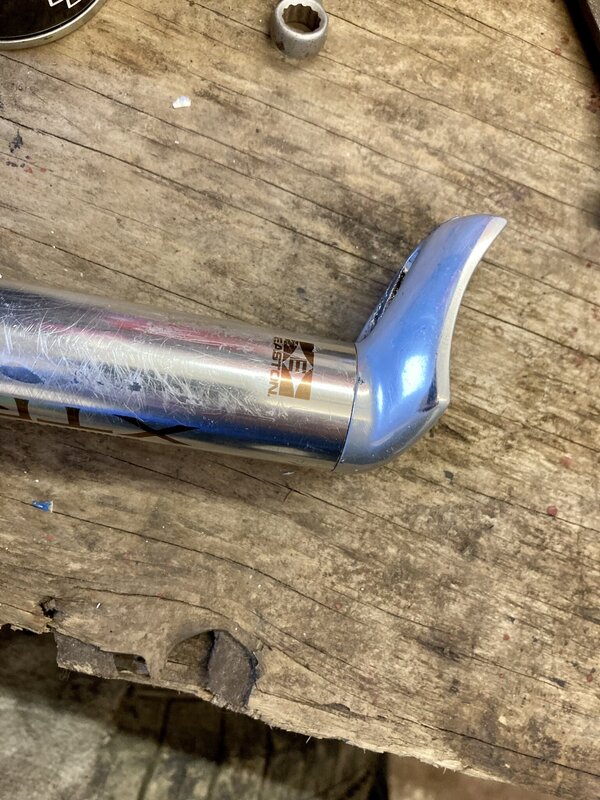
Let’s fit a seat post so we can hang it in the bike stand. I stumbled across an XTR seat post in the correct diameter, it also has the Easton logo on it, I presume it’s just a Easton EA50 or 70 with the XTR logos on it? Either way, I’m happy, and this also sets the tone for the other components.

9D24DD20-FF50-4920-8BAC-C2F65DCA33B7.jpeg
6C5DDB50-FFEB-41EE-AA5F-9DFA239E35BE.jpeg

It could do with a polish up, but this is something which can easily be addressed later.

For the saddle, I know a Flight would be appropriate, but my lard arse needs something a bit wider, sometimes we just need to be who we are. I did however manage to find a Selle Italia of suitable girth, so at least it’s reasonably in keeping with an original spec.

64DAEED4-328A-4CC7-A077-01CB45406C08.jpeg
66A52997-F232-4BB9-A757-687E7E23603C.jpeg

A generic seat post clamp does the clamping duties. I liked this one because it is simple and subtle. This is not the build for garish anodised bling (I’m saving that for something else).

9BB52D78-A3FA-4691-B5DE-9608D4C84837.jpeg

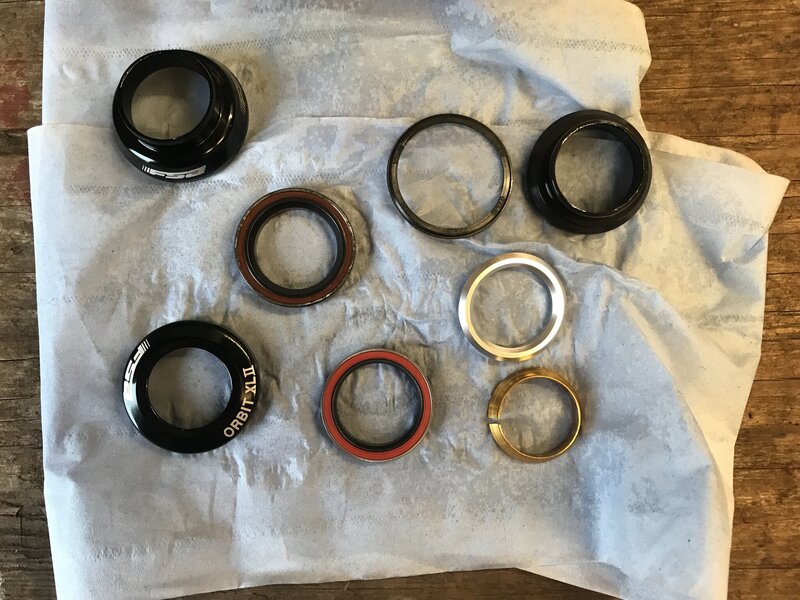
And so to the headset. FSA Orbit XL II, I’m not sure if this would have been likely to be fitted originally, from memory it was a Diatech Aheadset, but over the years a headset could be replaced, and I have found the FSA’s to be good items, so had I needed to replace it this is likely to be something I’d have gone for.

B3C5514D-8E2D-4032-B43A-B04DFDE08630.jpeg
 
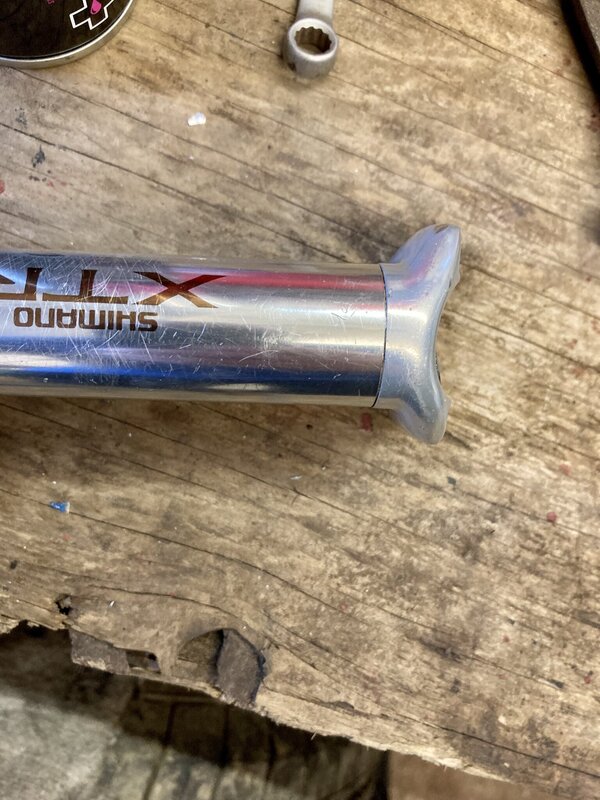
Be careful with that post, something looks off about it to me… the XTR logo should be at the sides, it seems like the top section has twisted. Have a look under that tape st see if there is a crack in the post.
 
Be careful with that post, something looks off about it to me… the XTR logo should be at the sides, it seems like the top section has twisted. Have a look under that tape st see if there is a crack in the post.
Yes, good shout. I did think it odd that the logo's were rotated like that, but didn't consider it perhaps as critically as I should have.
 
Be careful with that post, something looks off about it to me… the XTR logo should be at the sides, it seems like the top section has twisted. Have a look under that tape st see if there is a crack in the post.
I have removed the tape and can not see any cracks or signs of stress/distortion etc.

4A3D1FBF-6785-4A59-86B6-82B058DAC0FD.jpeg
AFFD090E-9D3C-4569-9274-21680E7039EB.jpeg
93C2B605-EF70-443C-AE37-B62A3A44BF47.jpeg
915FA6F6-8187-4C0F-AA77-9218E5D53DA8.jpeg

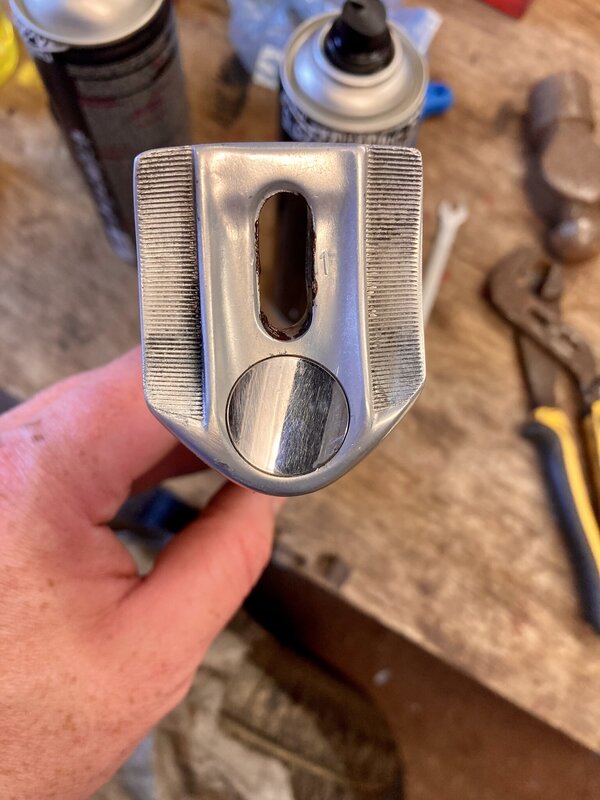
Is this just a plastic cap that is pressed on, or perhaps held in place with the strongest substance known to man? My finest pick will not fit down the gap around it, I can just about get an Irwin Stanley Knife blade in there, but even that isn’t man enough to shift it before it bends. I am wondering if there is a fixing in there that attaches the lower part of the clamp to the post. As you can see, even the cap doesn’t line up with anything.

95B442B9-6C3E-4F04-A8CF-142E15345F30.jpeg
 
That’s really odd. If you look for XTR seatpost sim eBay, they all have the XTR logo lined up on the side and the Easton one on the back. Yours certainly looks legit, but maybe the bonding went at some point and some sort of strange repair was done.

It could also be a factor error and be perfectly fine structurally.
Yeah, I had a look at others and could see how the logos should be lined up. It doesn't really look like it has been repaired, usually there would be a few tell-tales here and there but I couldn't see anything. Looking up the post from the open end doesn't reveal much either. I even clamped the head in a vice (using soft jaws) and tried turning the post using pipe grips as tight as I dared before ovalizing it, and it is solid. I too came to the conclusion that it could well be an assembly line error. The issue now is that although it is safe enough to use, it's just going to annoy me every time I look at it. I think I will use it for the time being, and keep an eye out for a replacement further down the line.
 
I know, it would bug me too. I’d most likely polish off the logo etc and get decals. At the end of the day, you know it’s a real XTR post and that’s all that matters.
 
I know, it would bug me too. I’d most likely polish off the logo etc and get decals. At the end of the day, you know it’s a real XTR post and that’s all that matters.
Yeah, I considered that, as it could do with cutting back with some fine wet and dry and then a polish up, which would result in removing the decals anyway. However, if I do that, and then stick some decals on, it may end up just looking like I've got any old silver post and stuck some decals on it. Maybe, maybe not. As you say, I know what it is and that's the main thing. It just would be cool to have the little XTR logos there, just because. Isn't it strange how these things that ultimately make no difference can end up being such a big issue?
 
Back
Top