1995 Marin Team project

Good enough to ride!

The paint cured beautifully and after a week it is still on my little fingernail so I'm guessing it's pretty durable!
I followed the Park tools order for reassembling the bike with the exception of the wheels which were already assembled.
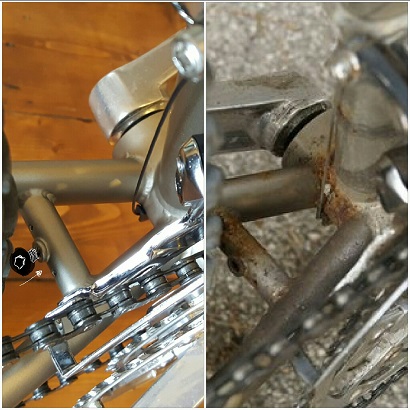
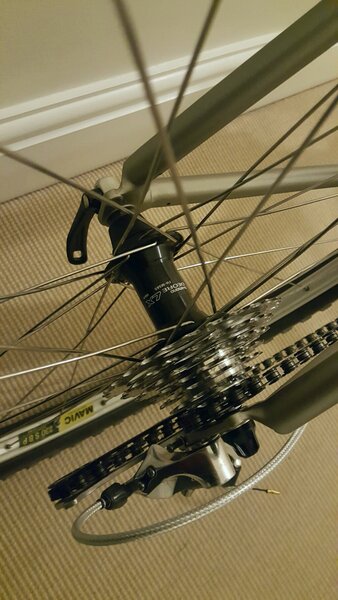
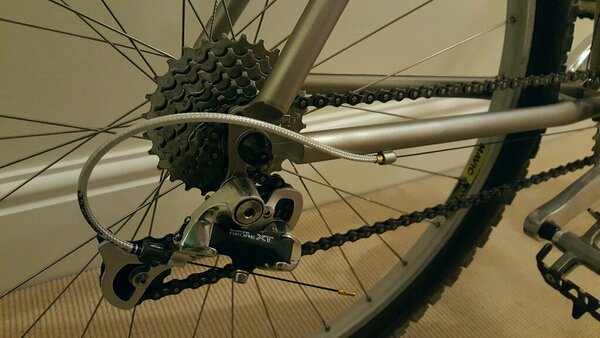
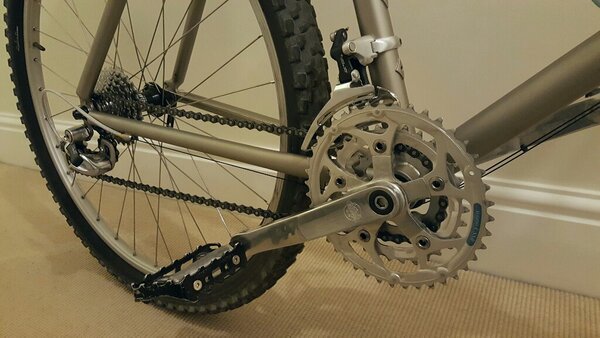
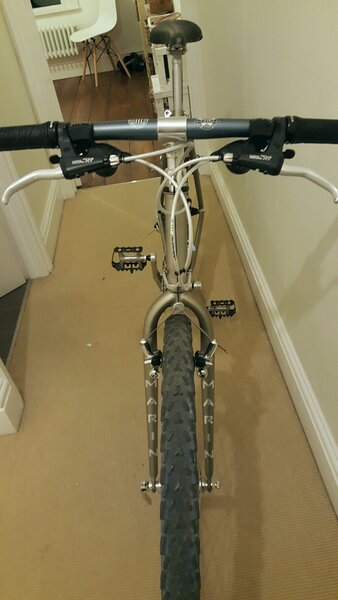
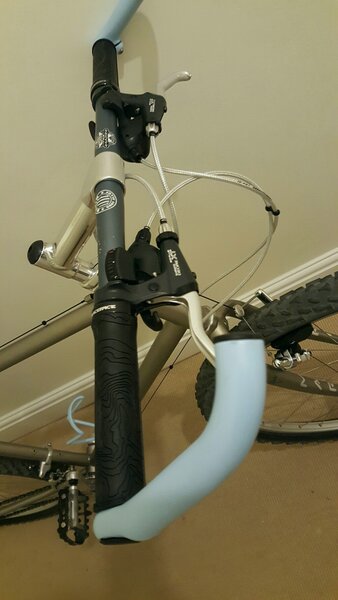
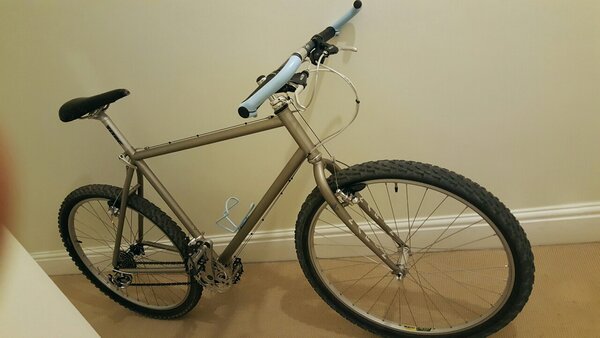
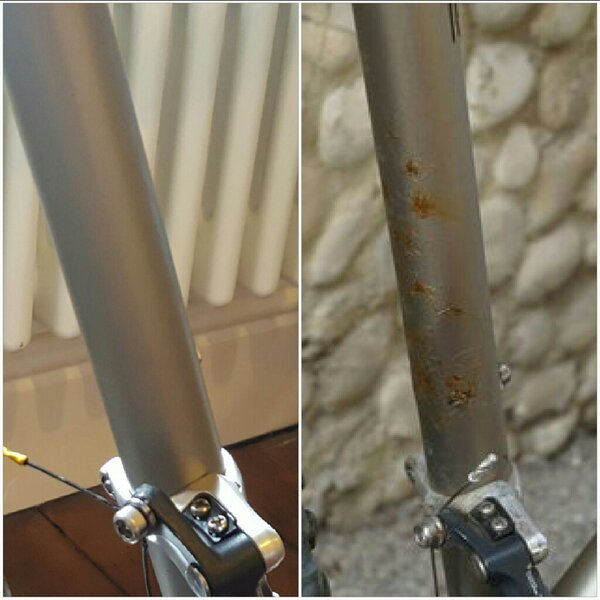
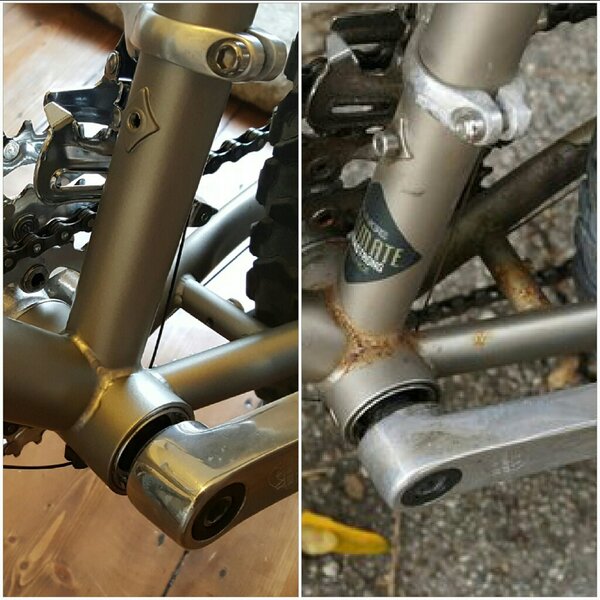
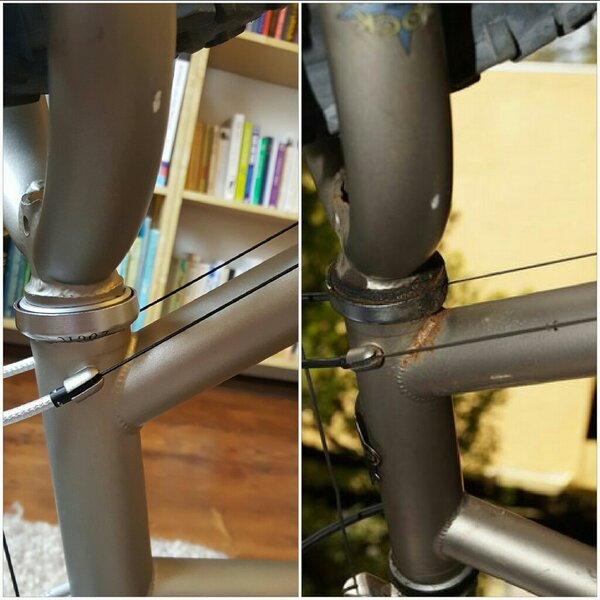
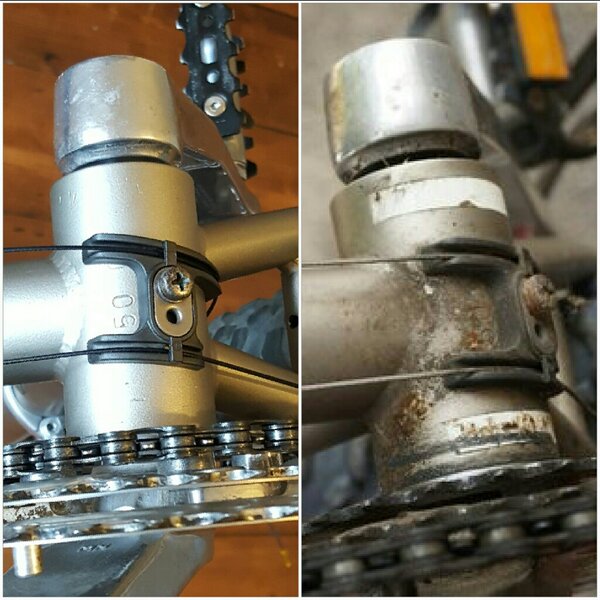
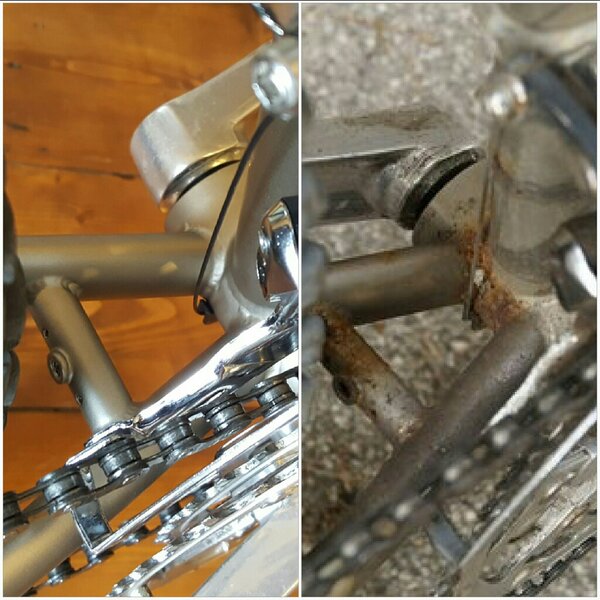
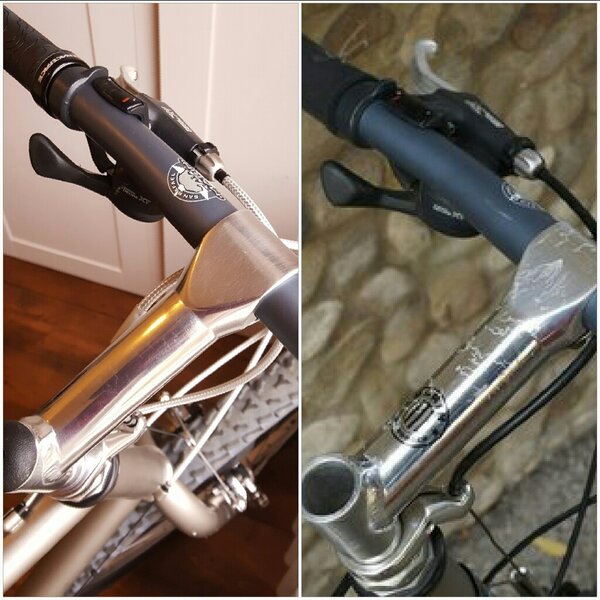
First i reassembled the headset and attached the forks, then i reassembled the bottom bracket and attached the cranks and pedals. Then the brakes and rear and front derailleurs. I put the original chain back on with a new quick link but will prob get a new chain as this one has had a ton of muck on it for a while and is probably corroded. Finally i attached the brake and shift cables. This was the hardest part as i used Jagwire braided race cables mainly cos they look cool and were cheaper than buying separate MTB specific ones. The issue was that the Marin has canti brakes and so needs a separate 4inch piece of cabling for the rear brake which means i didn't have enough/the right cable ends. Also despite using a Park tools cable cutter (trust me the only one you should use) the ends have little frayed edges which make it really hard to get the end caps on. I trued the wheels to as close as dammit and then indexed the gears. I HATE INDEXING GEARS! I can never get it right and all of my messing about stripped some of the teflon off the cables and frayed the front cable. But they seem to be indexed correctly tho i may replace that cable. Enjoy the pictures, there are still decals to do which will be intetesting especially the embossed metal ones but for the moment I'm off to (tentatively) get some mud on it!!
 

Attachments

  • 20161217_000049-1024x1820.jpg
    20161217_000049-1024x1820.jpg
    262.9 KB · Views: 290
  • 20161216_235918-1024x1820.jpg
    20161216_235918-1024x1820.jpg
    151.1 KB · Views: 285
  • 20161216_235853-1024x1820.jpg
    20161216_235853-1024x1820.jpg
    155.6 KB · Views: 284
  • 20161216_235826-1024x576.jpg
    20161216_235826-1024x576.jpg
    109.4 KB · Views: 284
  • 20161216_235707-1024x576.jpg
    20161216_235707-1024x576.jpg
    110.1 KB · Views: 283
  • 20161216_235643-1024x1820.jpg
    20161216_235643-1024x1820.jpg
    201.1 KB · Views: 285
  • 20161216_235610-1024x1820.jpg
    20161216_235610-1024x1820.jpg
    189 KB · Views: 290
  • 20161216_235543-1280x720.jpg
    20161216_235543-1280x720.jpg
    116.1 KB · Views: 286
Before and afters

Cos it's Monday.
 

Attachments

  • 20161219_112345-1024x1024.jpg
    20161219_112345-1024x1024.jpg
    164.6 KB · Views: 256
  • 20161219_112454-1024x1024.jpg
    20161219_112454-1024x1024.jpg
    109.4 KB · Views: 256
  • 20161219_112847-1024x1024.jpg
    20161219_112847-1024x1024.jpg
    169 KB · Views: 255
  • 20161219_112946-1024x1024.jpg
    20161219_112946-1024x1024.jpg
    156.5 KB · Views: 256
  • 20161219_113105-1024x1024.jpg
    20161219_113105-1024x1024.jpg
    126.4 KB · Views: 256
  • 20161219_113203-1024x1024.jpg
    20161219_113203-1024x1024.jpg
    168.4 KB · Views: 256
  • 20161219_113852-1024x1024.jpg
    20161219_113852-1024x1024.jpg
    165 KB · Views: 256
  • 20161219_114406-1024x1024.jpg
    20161219_114406-1024x1024.jpg
    164.9 KB · Views: 256
Re:

Very good!

It's all come up nice, you should get another 21 years out of it. Just shows that some rust can look bad, but pretty much cosmetic.

Although not essential, i plugged up the rear pannier/guard fixing hole, just to keep the crap out. I recommend it. :)
 

Attachments

  • marin pic.jpg
    marin pic.jpg
    38.5 KB · Views: 235
Re: Re:

marc two tone":3c9g4pfg said:
Although not essential, i plugged up the rear pannier/guard fixing hole, just to keep the crap out. I recommend it. :)

Thanks, yeah that's a good shout. Will definitely do that.
 
Back
Top