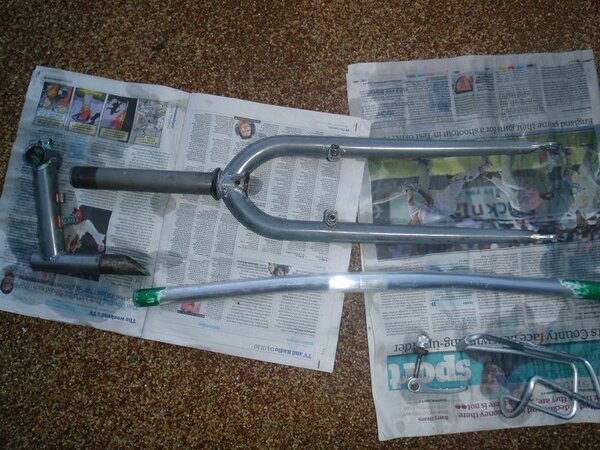
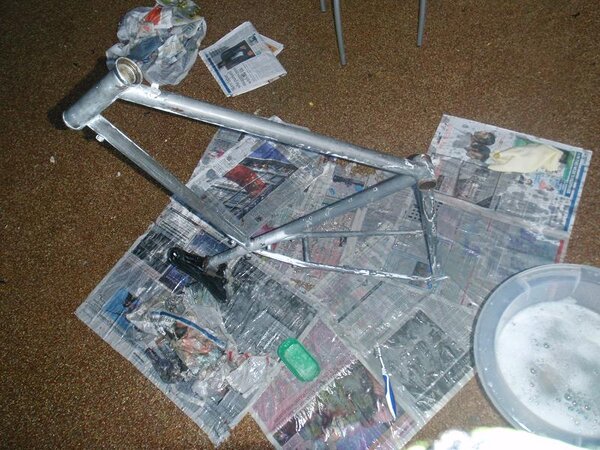
Here goes at the start of my project...
New to this forum with the exception of buying a few bits here and there. Hello all. Very addictive this old bike stuff!
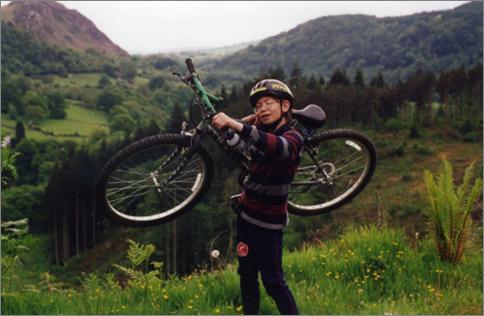
Anyway it all started back in 1993 when I got my first proper mountain bike, a Marin (soon to be uncool?) Bobcat Trail. My dad got a Bear Valley which he is still riding to this day with minor upgrades and a recent powder coat. I rode this bike all the time as a child, I even got to 44mph as a 13 year old which at the time I was very proud of. My addiction to bikes started with this bike, and led onto many years of spending what little money I had on bikes, race fees and petrol money. It was the first in the line of what later would lead onto a Proflex 856, Kona Stinky, Kona Chute, Big Hit, Intense Tazer, Yeti DH9 and so on. All coming full circle with the bike I now ride the most a small steel hardtail (DMR Trailstar LT).
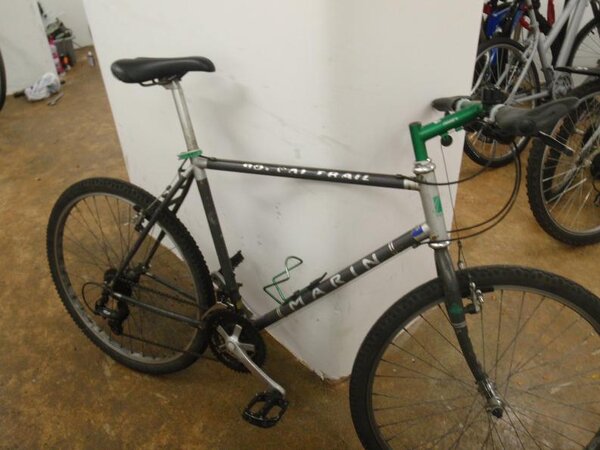
Recently I decided that I needed an XC bike again so I could ride more miles in the little time I have available (due to babies taking up a lot of my free time now). I thought that the cheaper option would be second hand, and I chanced upon a 1993 Bobcat Trail for £75 from a bloke who lived a couple of minutes walk away from me. Plenty of nostalgia in this. Not so cheap now I keep buying more parts for it.
So the plan....
If I wanted a bike with suspension and great brakes I'd ride one of my other bikes, but I am building this bike up as a retro bike with a few new additions. Some may ask why I should put all this effort into a low end bike. Why not go for an Eldridge Grade? But then why build up an 1993 Eldridge Grade in the first place? I guess I really liked this bike at the time and I still love the whole colour scheme. Try and explain our love of retro bikes to anyone outside of this scene and they won't get it anyway.
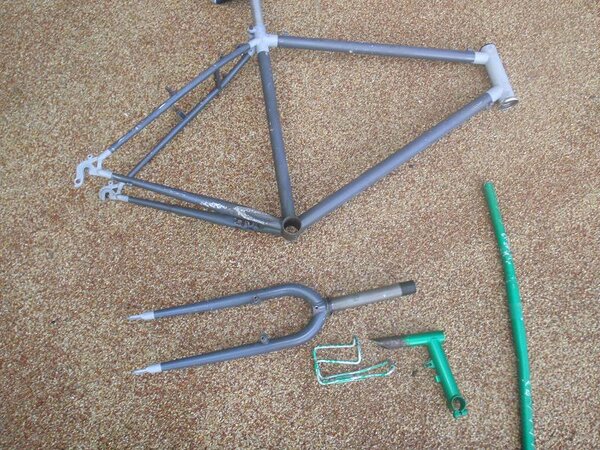
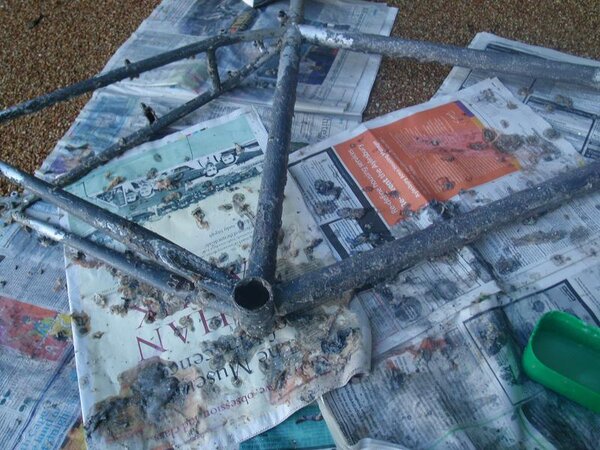
So I'll be stripping the paint, respraying, decals from Gil_M and then high quality components from around 1993 that look similar to the original spec. That is the plan now, we'll see how it goes.
Thanks for looking. Check back in many weeks.
L
