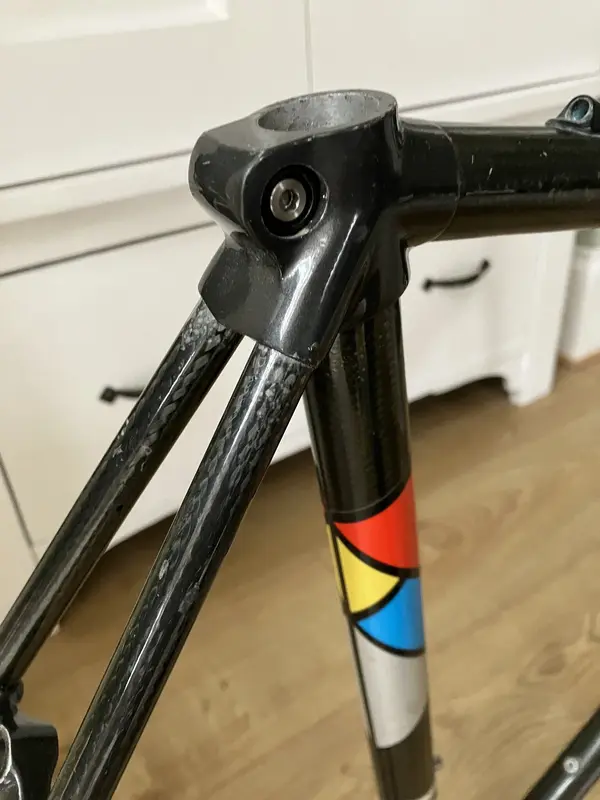
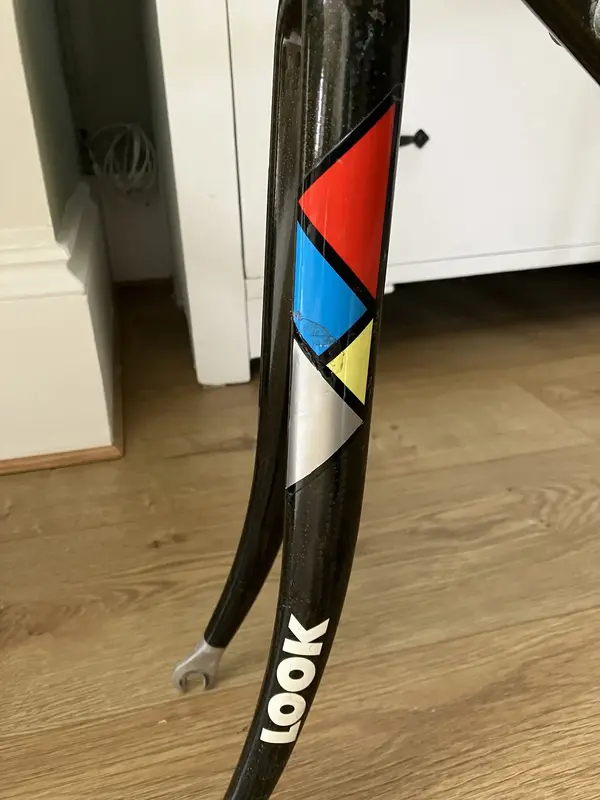
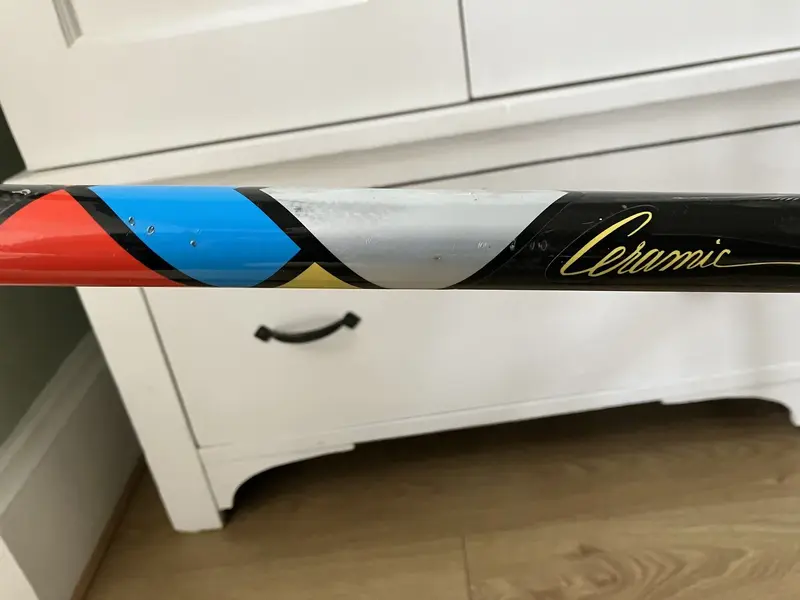
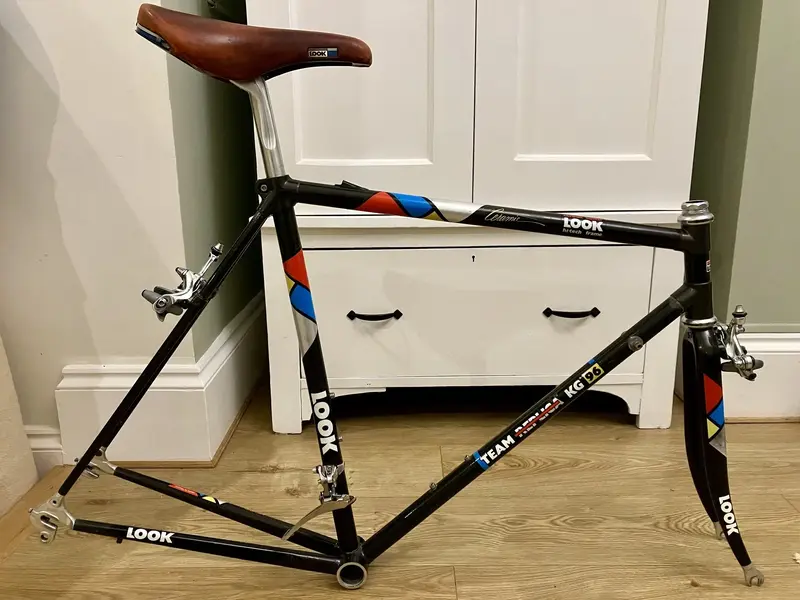
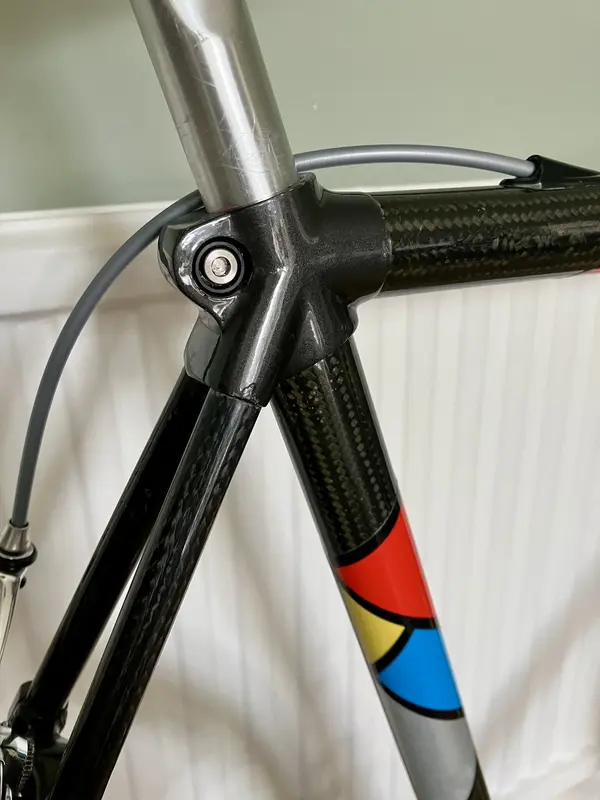
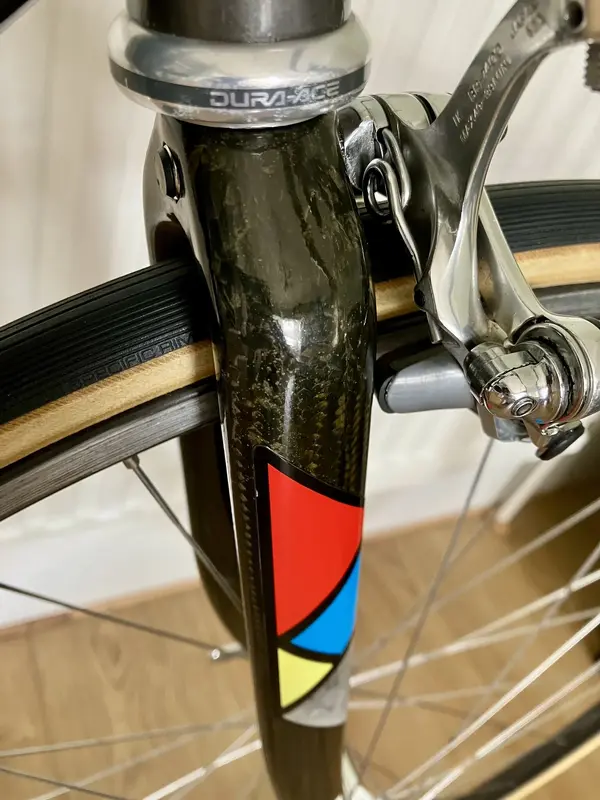
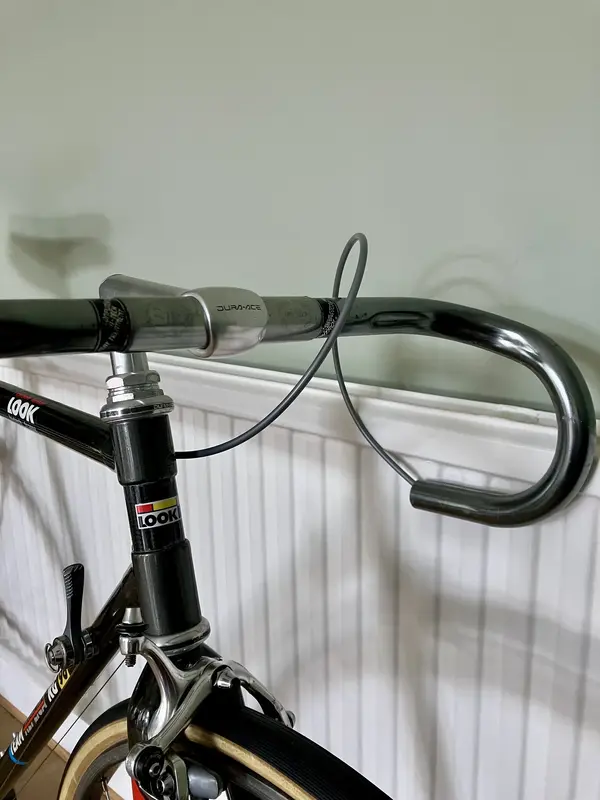
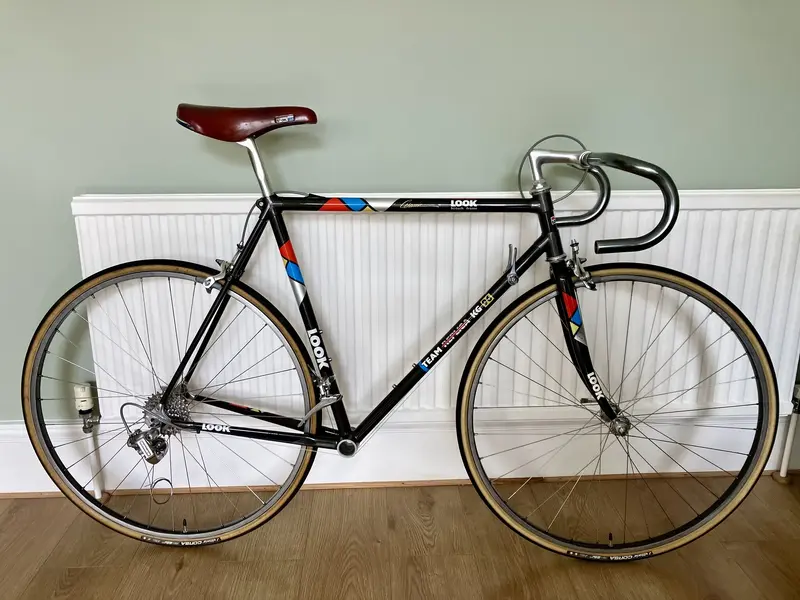
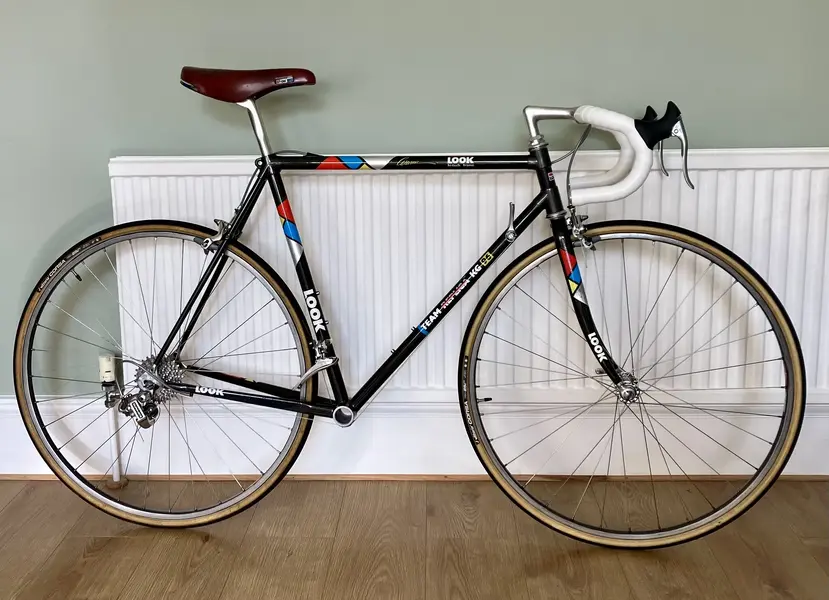
1990 Look KG96

Benandemu

Retrobike Rider
Gold Trader
Feedback
View
I’ve had a soft spot for French carbon frames since their inception. TVT were the first to master the concept, and then Look continued where TVT dwindled their interest. TVT were unique in their construction, using a knitted sock like a stockinette for their carbon tubes, that was fed onto a mandrel. This gave a seamless finish which was stronger than the competition’s tubes. They enjoyed plenty of success with their frames on the pro circuit, where several other manufacturers even saw TVT frames being painted up as their own, because the riders wanted to reap the benefits of a carbon frame over their sponsor’s steel offerings! TVT’s success in the big Tours were shared with the likes of big names such as Delgado, Lemond, and Indurain (among many others of course). Back in the late 80’s it was fairly obvious that this new material was set for a strong future with the sport. Look (famed for their clipless pedals) wanted in on the action, and their first attempt at building frames wasn’t a great success, so they had to go back and employ TVT’s know-how to put them right. The Look KG86 was Look’s first branded frame, but they were actually built by TVT, which is quite evident when you look at them in detail. They were even using TVT branded chainstays. Sharing the knowledge that TVT had built up, they assisted Look in building their own ‘Look built’ frames, and these would be the KG96. TVT’s future in the sport was coming to an end as they pursued other areas of their business, which was a fantastic opportunity for Look to take over as the innovator.
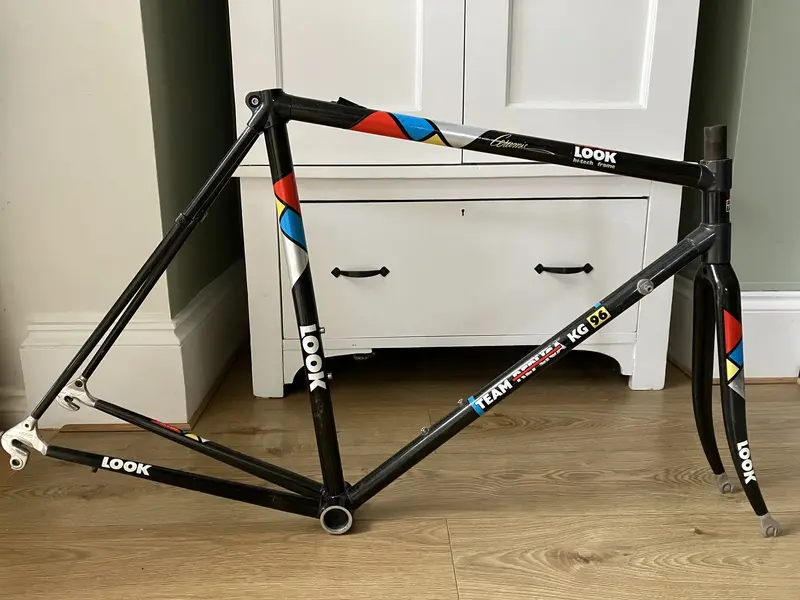
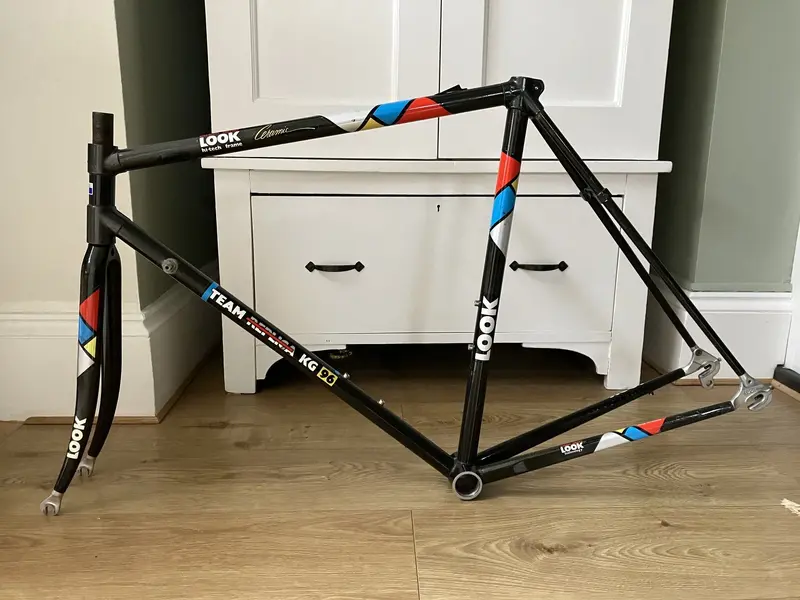
The KG96 was available in one colour scheme only, and they were mostly marketed with versions of Shimano’s Dura Ace 7400 spanning the ‘89 to ‘91 groupsets. This new frameset gave Look a strong foothold in the future story of carbon bike frames, and something they would build on very quickly, ultimately leading them to be one of the most reputable carbon frame builders of the 21st century.
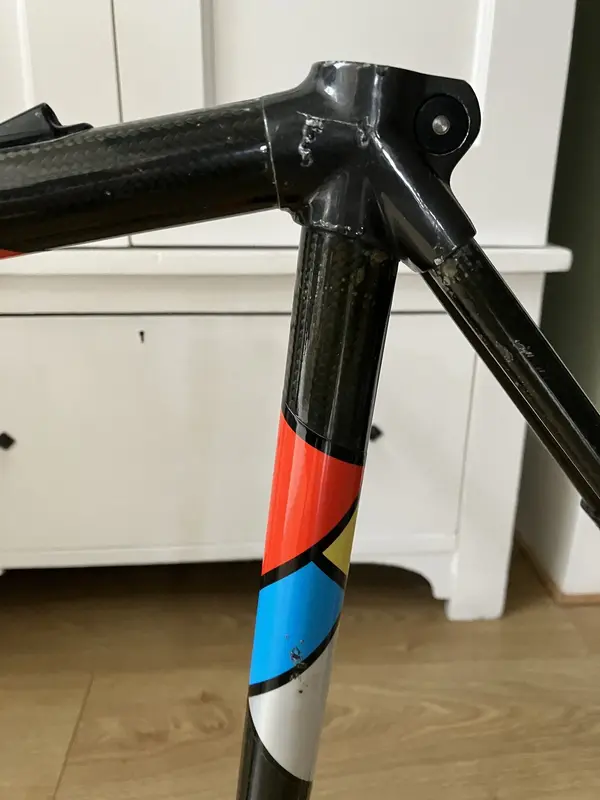
I bought this one many years ago, and have had it stored whilst other projects took priority. It was clean enough, free from any structural damage, but superficially a little tired here and there. My plan was to strip it and start again with the lugs receiving fresh paint, a new set of decals to replace the tired ones, and then a lovely deep gloss lacquer over the top. However, as time has passed I’m less in favour of sterilising it, and would rather clean it up just a little, retaining its patina. It’s only original paint once, and it’s good enough to leave alone. The groupset I have built up for it isn’t mint either, but shows evidence of light use. I’ll clean up the group’s components and ensure their finish is consistent with each other and the rest of the bike, so it fits together in a convincing sort of way.
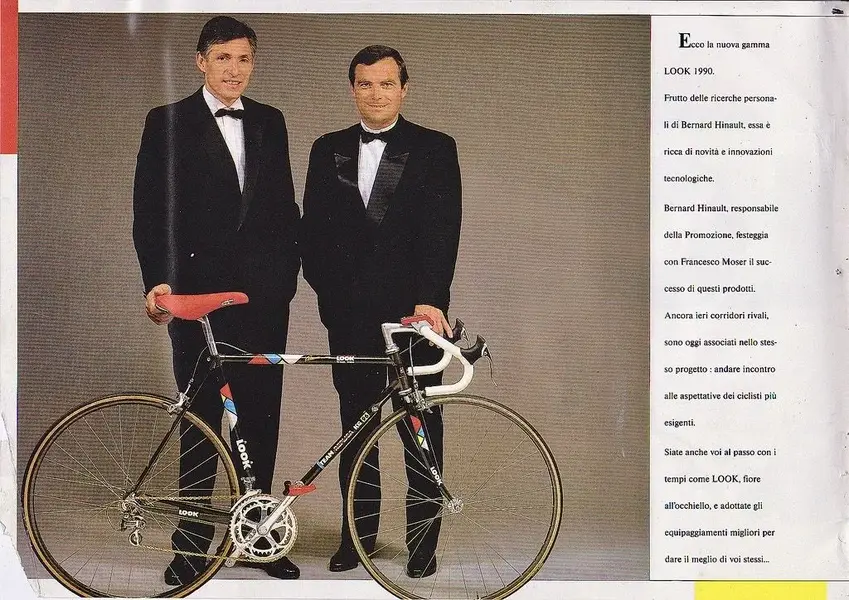
I don’t normally ‘do’ catalogue spec bikes, but this one will be very close to the picture shared below. The bar choice and which rims to pick are still undecided, but I’m leaning towards 3TTT and some Wolber TX Profil clinchers.

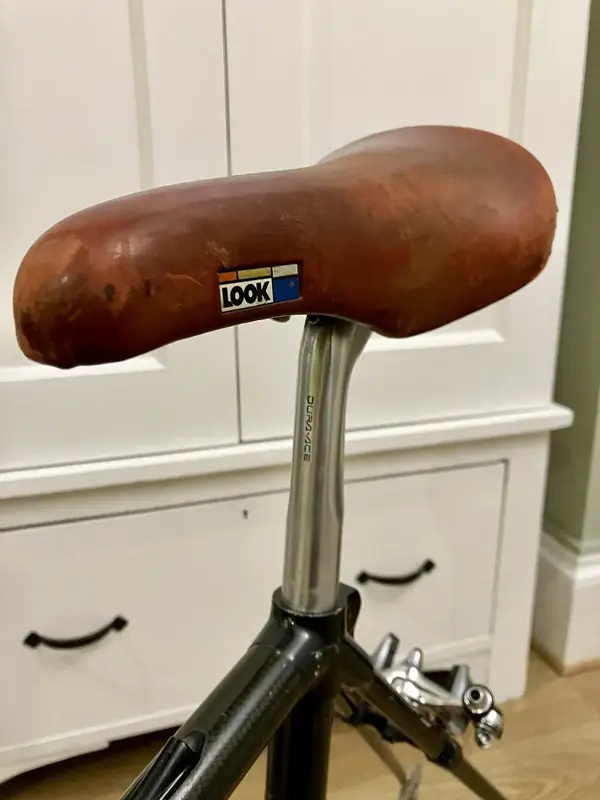
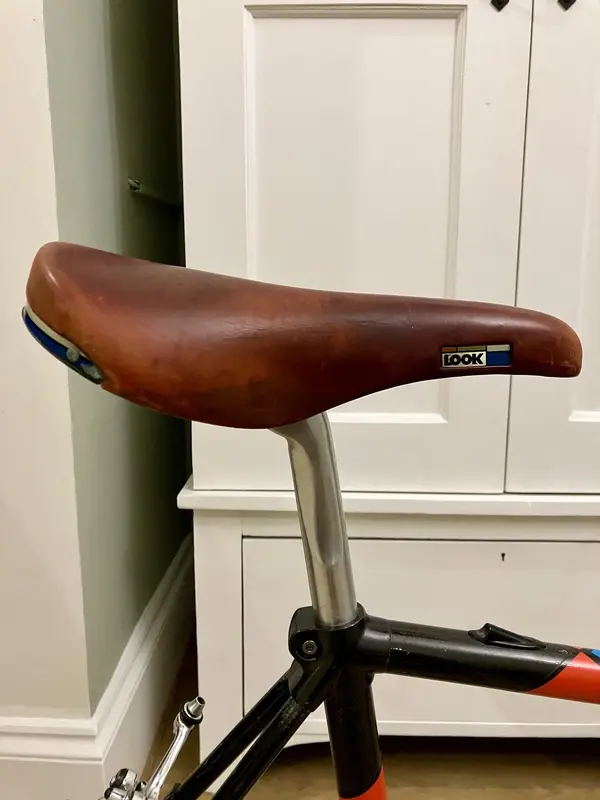
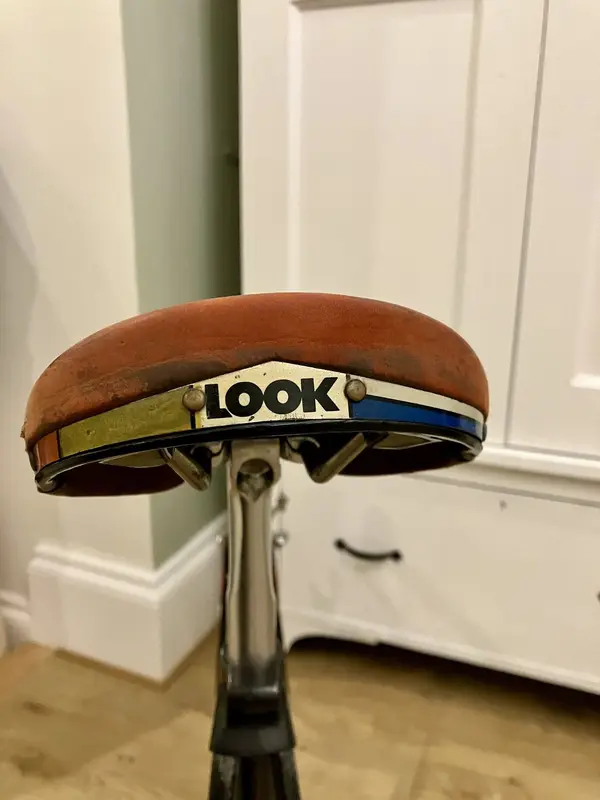
Here’s a close up from Look’s catalogue, clearly showing the Badger’s endorsement! And yes, I have the Look branded Rolls saddle, albeit rather more tired looking than this one.

IMG_4934.jpeg


IMG_5163.jpeg

IMG_5162.jpeg


IMG_5167.jpeg

IMG_5164.jpeg

IMG_5166.jpeg


IMG_5165.jpeg
 
Last edited:
I too really like these early carbon frames. I think you're right that this doesn't need (or want) refinishing. It is a bit dinked in places but I agree that it's little more than a bit of patina and refinishing will distract from its originality.
 
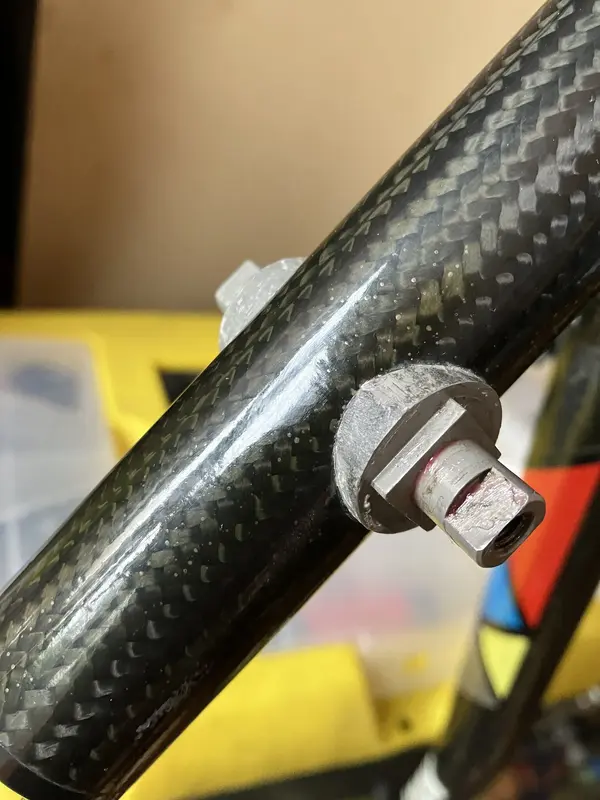
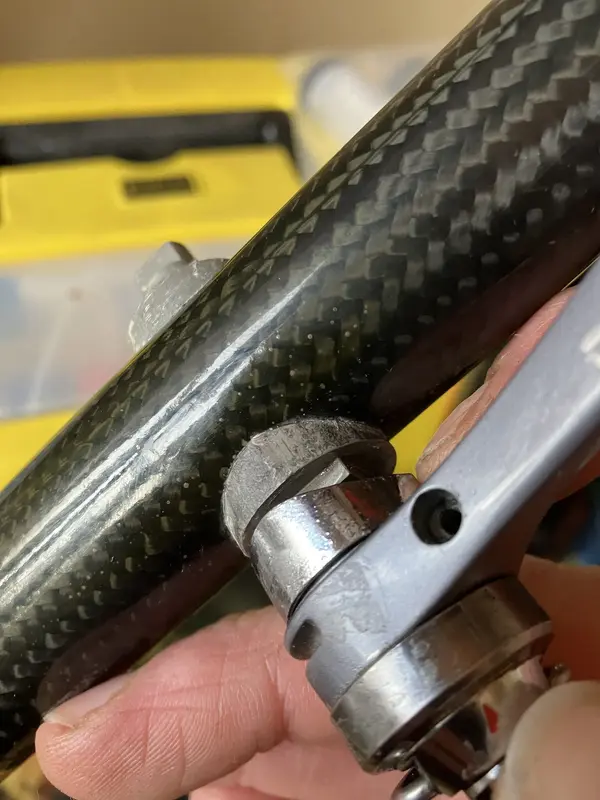
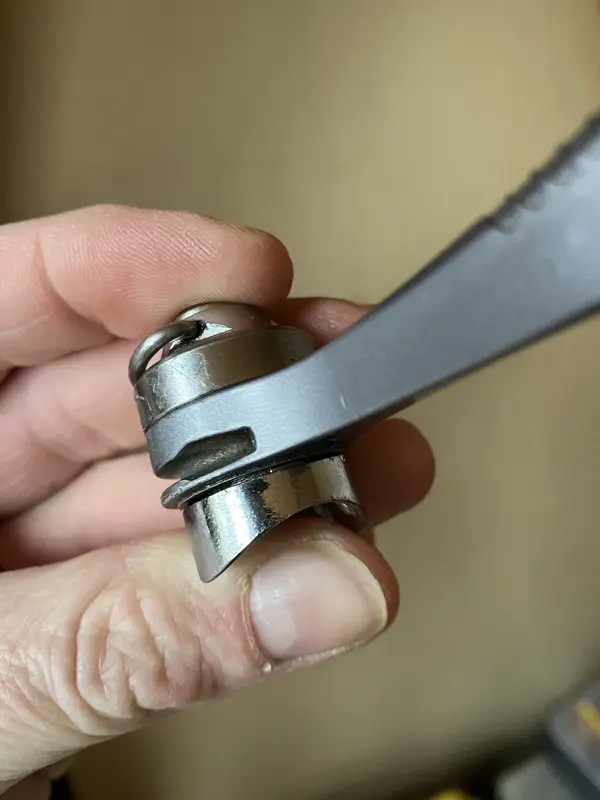
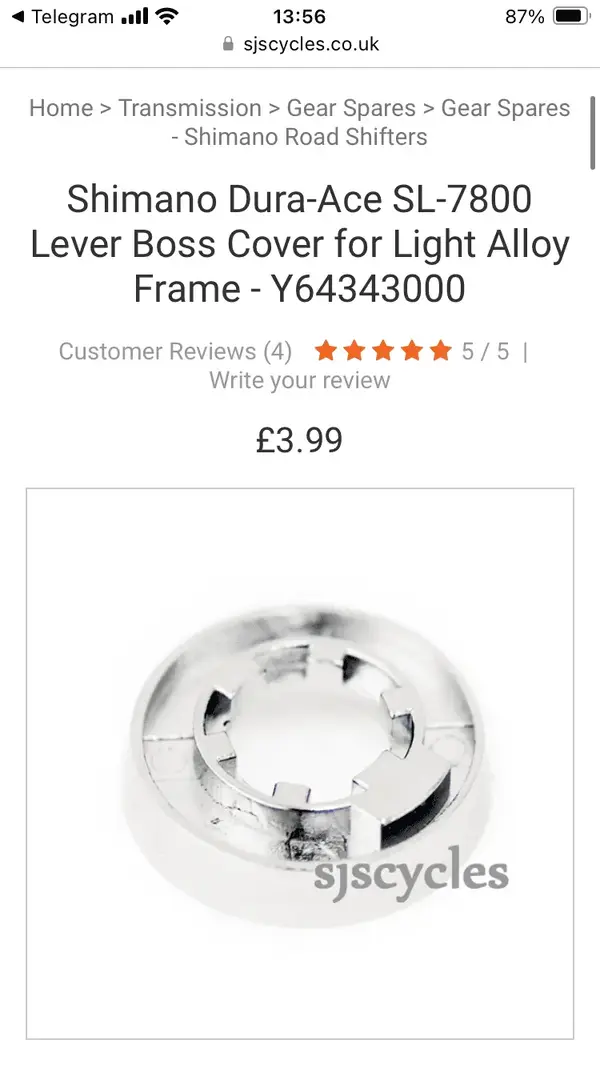
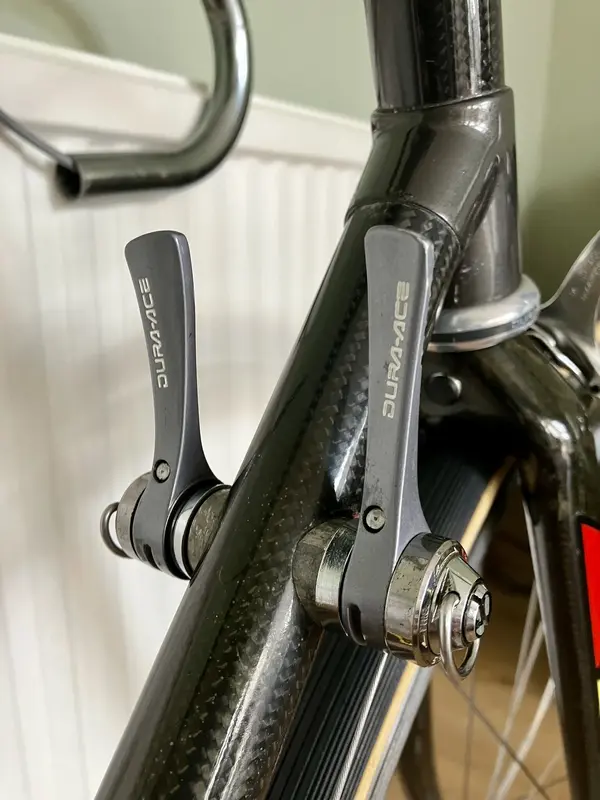
I’ve been dry fitting a couple of parts this morning before work, and saw a problem I haven’t encountered before. The pictures show the issue quite clearly, where the frame’s downtime lever mount actually incorporates part of the chrome washer which is normally shaped to butt up flush against the downtube. I wasn’t sure what to do with it, and thought I was going to end up matching the existing ones down so they were flat on their inside edge. I shared the problem with some mate, and one of them almost instantly gave me the details of a fix via SJS. Apparently he needs the same thing for his Cannondale, so 4 were ordered.


IMG_5176.jpeg


IMG_5178.jpeg


IMG_5177.jpeg

IMG_5180.png
 
Last edited:
I’ve had a few spare moments this evening to bolt up a few components. Fitting the fork crown race was a tough one! I never like making the crown race fit the fork as it might never be transferable to another pair of forks if you enlarge the hole too much, so removing excess material from the fork crown is a better option. 15 mins of delicate rubbing with a course emery cloth did the trick, but I was checking every minute as the crown race would get gradually closer to the bottom without over-forcing. It’s all about making sure you take just enough off for it to be snug, but there was no way it was going on without some form of interaction. If you’re ever in this situation with a carbon fork, then be sure to be outside, and wear suitable face protection as carbon dust is particularly dangerous if taken into your lungs!

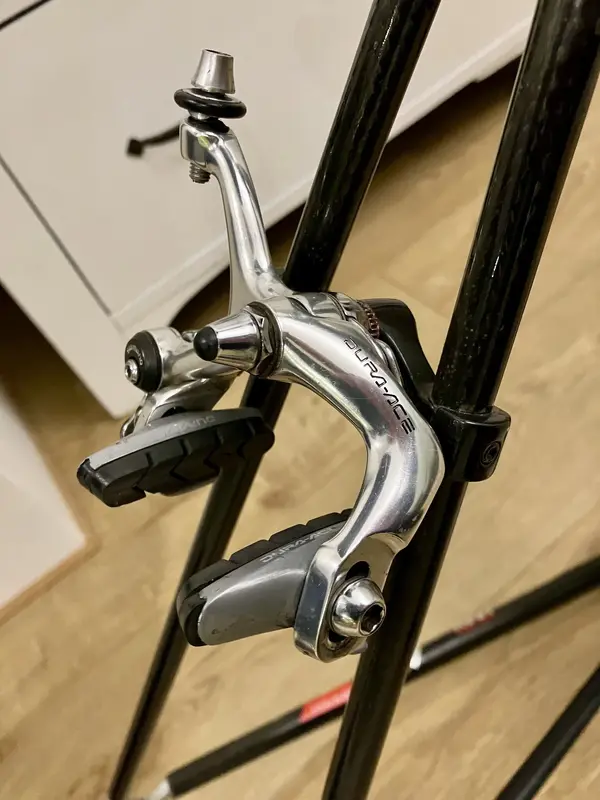
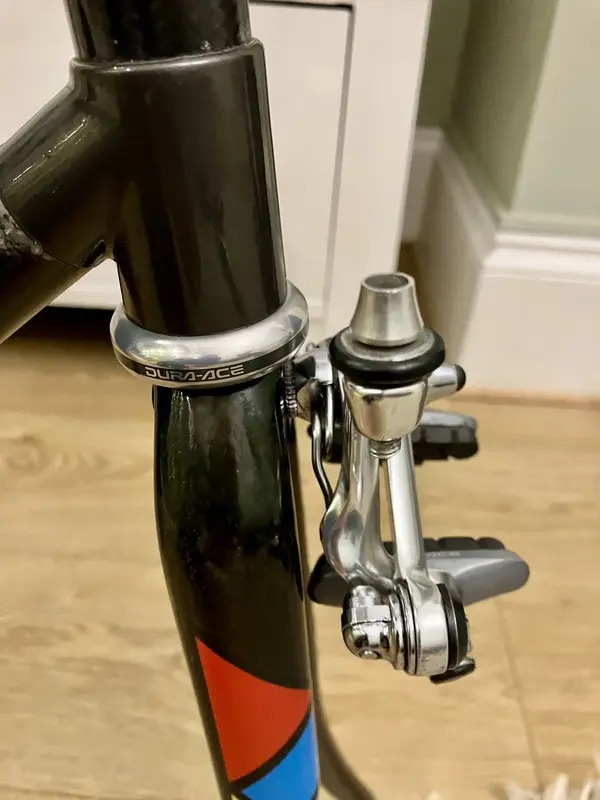
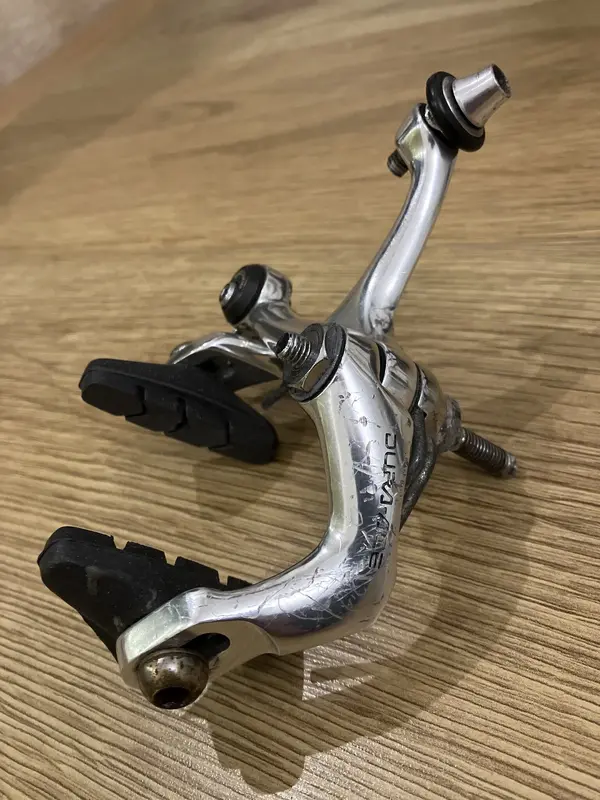
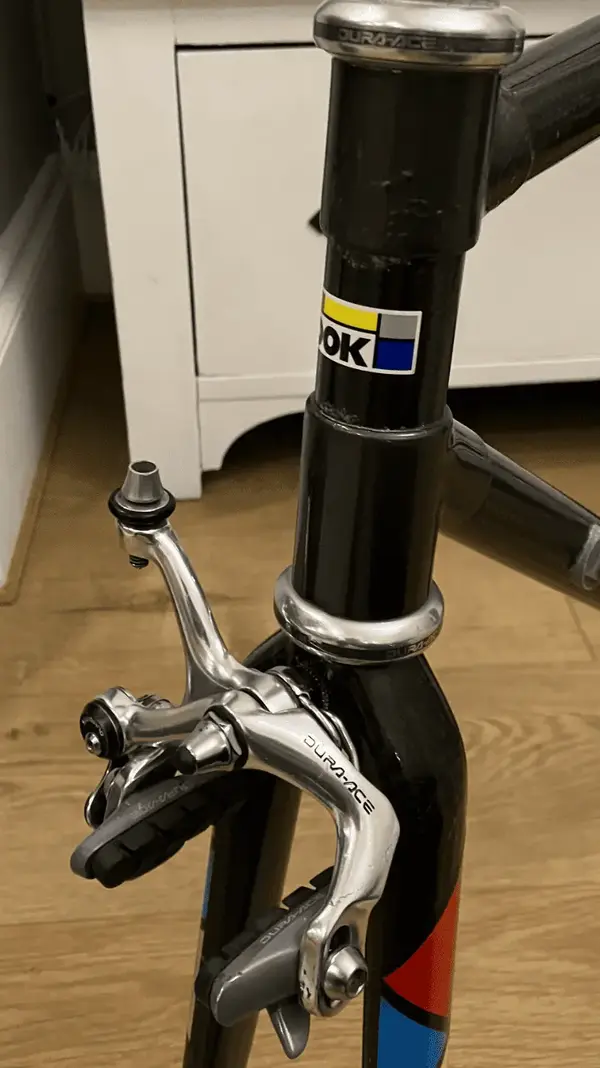
Now, as sharp as those brake calipers may look now, they actually needed a donor caliper to give up its arm and some better looking nuts/washers. They’ve got the all important rubber grommets too.

IMG_5200.jpeg


IMG_5202.jpeg

The donor caliper…

image.jpg

The headset may look a little worn on the outside, but it’s buttery smooth in operation. I had to swap out the original spacer as the fork steerer doesn’t have a locating indentation on the side.

IMG_5209.png

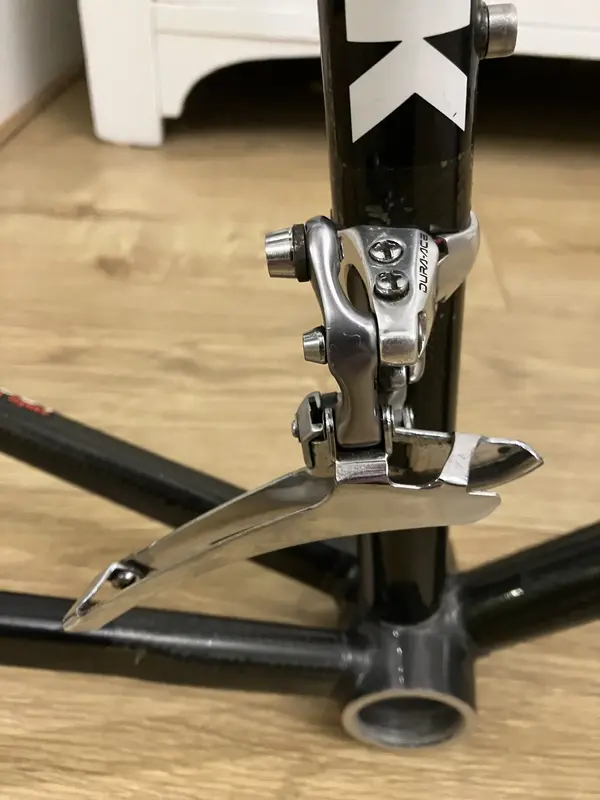
There’s not a lot to say about the front mech. I always find them the most boring part of any groupset. Anyway, it wouldn’t be right to exclude its picture…

IMG_5201.jpeg

The Dura Ace aero seat post can be tricky thing to find in 25mm diameter, and I guess I struck lucky as the only one I found has minimal superficial damage, plus the added bonus of the adjuster being rust free. I’ve seen quite a few where the front adjuster screw is rusted up and seized.

IMG_5205.jpeg

And then there’s the all important Look branded Rolls saddle in Cherry Red (pretty faded). I’ve only seen 3 of these for sale over the years, this one, the second was pretty much the same condition, and the last one was wrecked with gashes in the leather around the back. I’ve seen a mint condition one in a tan leather, but that doesn’t match my colour requirements here. But, a reminder here is that over restoring this isn’t my aim, so I think the saddle actually looks at home on the frame.

IMG_5199.jpeg

IMG_5203.jpeg

IMG_5208.jpeg
 
Last edited:
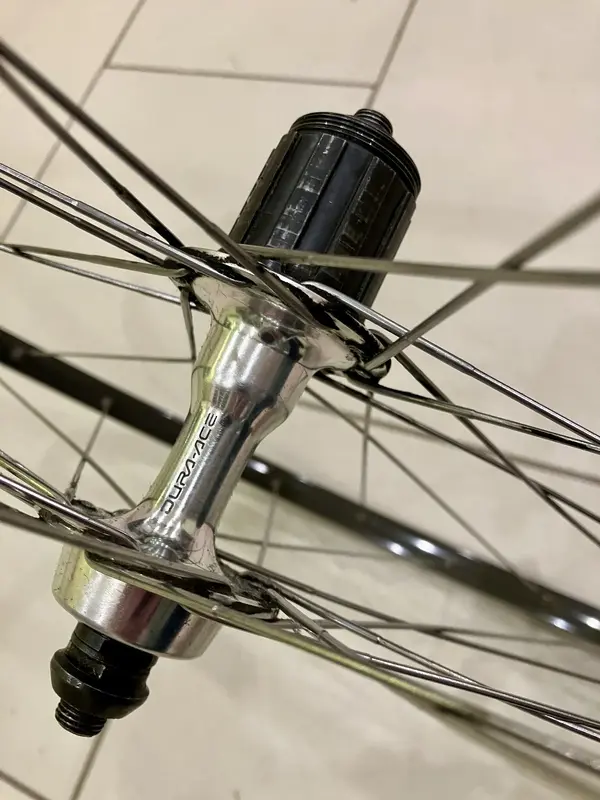
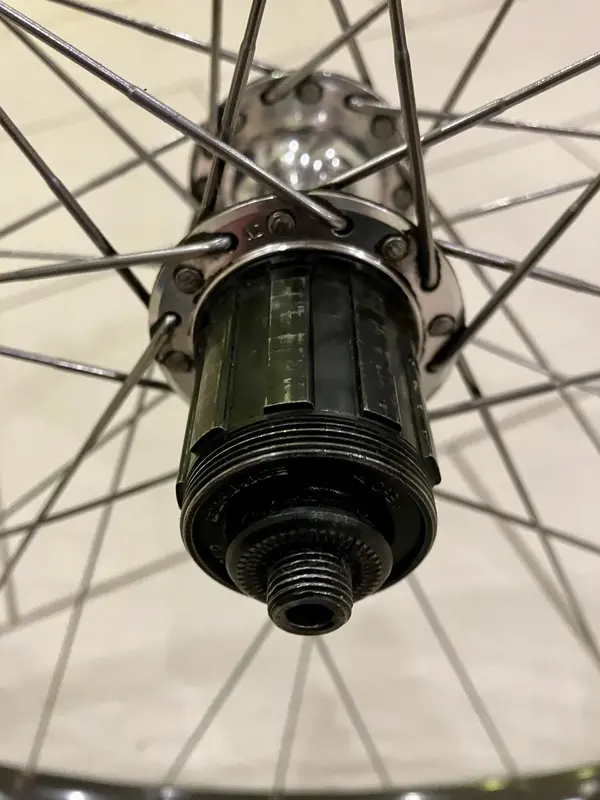
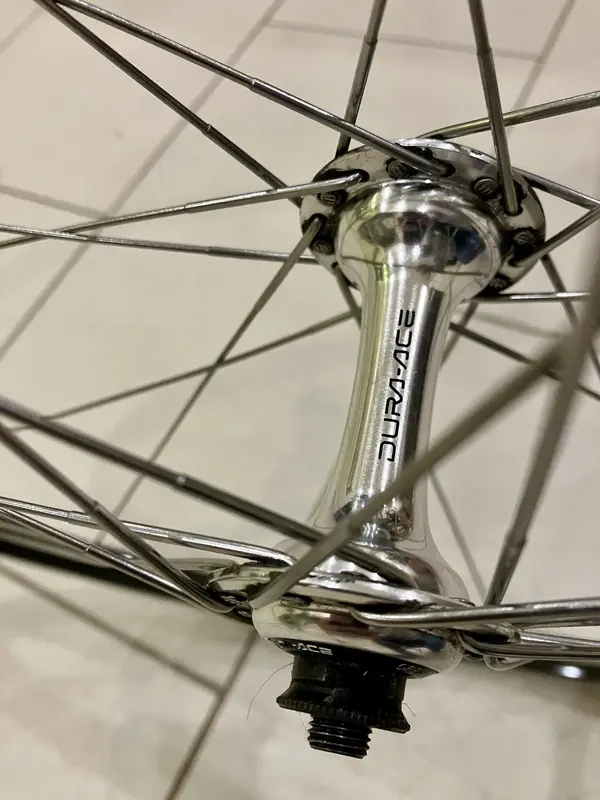
I had a couple of options in mind for the wheels, but the fully built set I’ve had stored for nearly a decade were looking favourite. They were more in keeping with the overall theme I’m going for here.
I should have taken some photos of what they looked like when I pulled them out of where they’ve been stored, as they were absolutely caked in dirt. The process of cleaning them has taken the best part of 3 hours, using degreaser and fine wire wool.
They’re internally very smooth, and really it’s the rims that are showing signs of wear, around their eyelets and braking track. They’re not concave however, and have many more miles of riding to give. The eyelets were tough work to clean as they’ve started to rust, so once I’d got them as rust free as I could, I dropped a blob of oil on each eyelet to help protect them. They’re not compromised in their function, and I’ll keep an eye on them in the future, but in reality I won’t be putting many wet road miles on them.
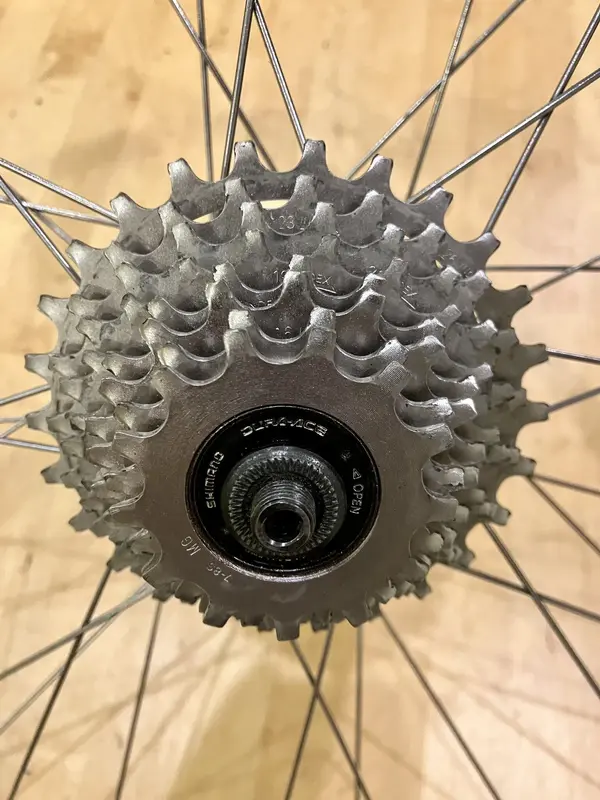
The wheels are 32 hole and use DT double butted spokes with brass nipples. Rims are old favourites; grey anodised Mavic MA40’s.
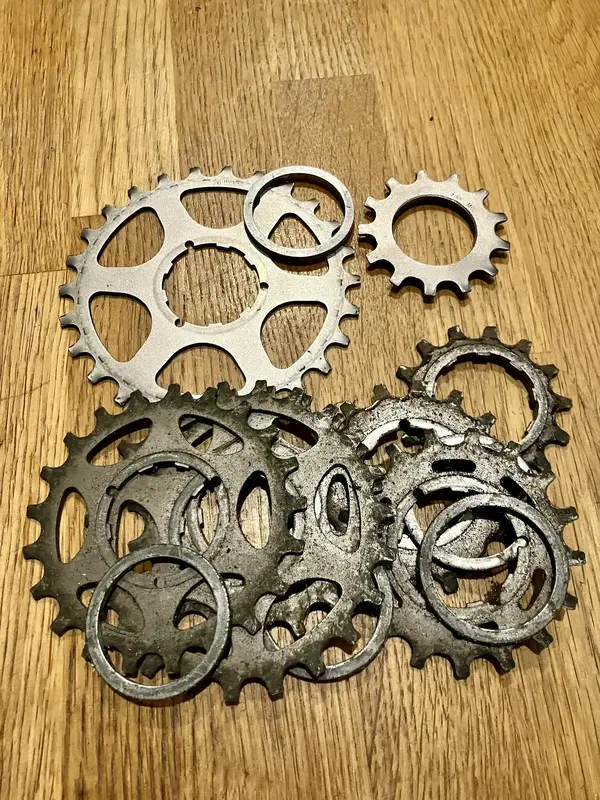
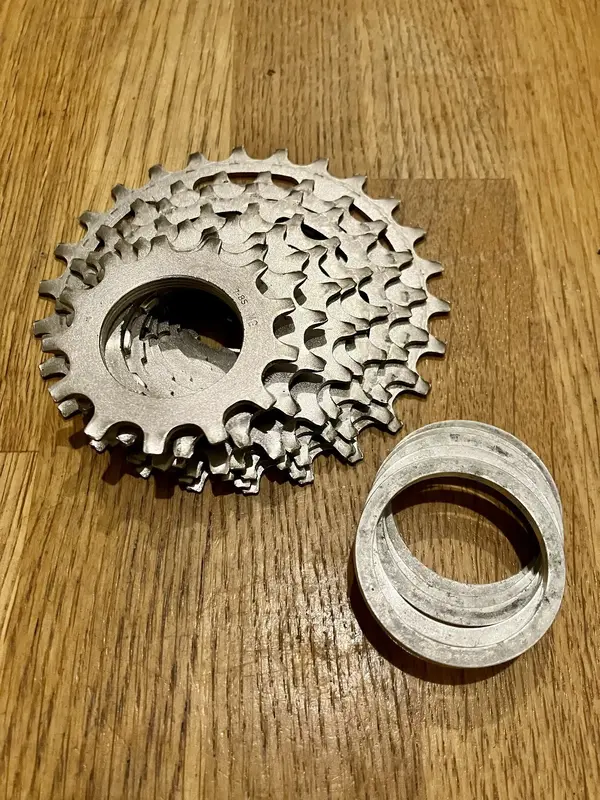
A bonus with using these wheels is that they come with a very useable UG cassette in relaxed ratios for those lazy climbs! I was looking around to see how readily available 8 speed UG cassettes are in 13/26, and they’re pretty rare nowadays.

IMG_5239.jpeg


IMG_5240.jpeg


IMG_5241.jpeg


IMG_5245.jpeg


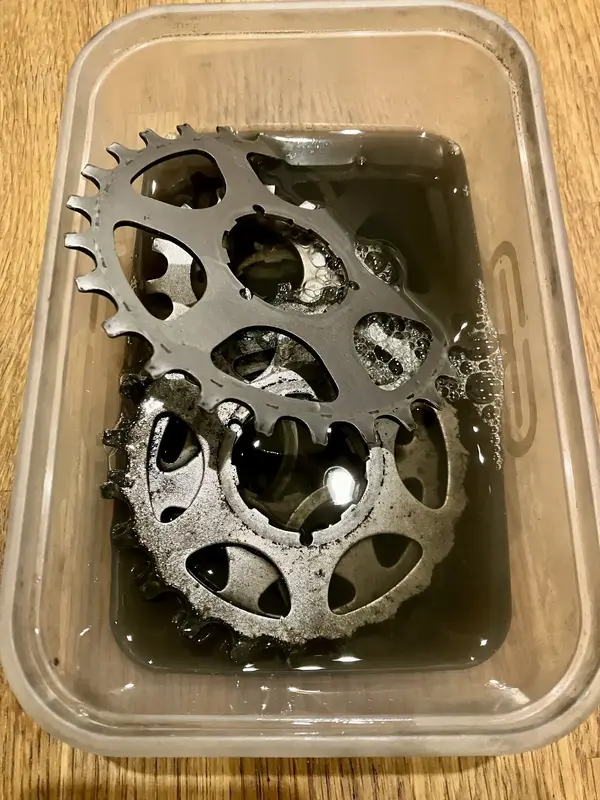
The cassette was dunked in degreaser for an hour before tackling it with a toothbrush to remove the more stubborn dirt. I’d started to clean a couple of cogs with wire wool as you can see in the next photo, but it wasn’t a very efficient method, hence the degreaser tub.

IMG_5236.jpeg


IMG_5237.jpeg

Degreased and ready for a go over with wire wool.

IMG_5238.jpeg

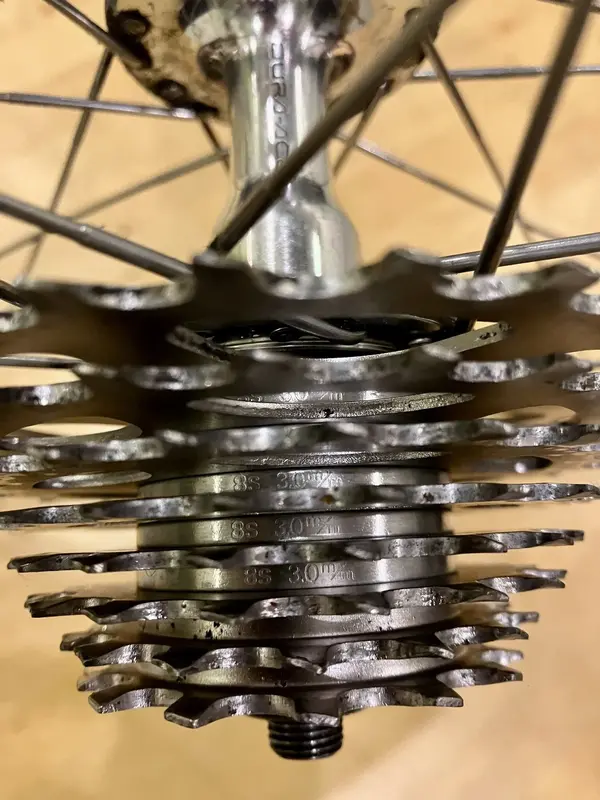
I love lining up the etched markings on each spacer when putting these back.

8s 3.0m/m

IMG_5243.jpeg

IMG_5244.jpeg
 
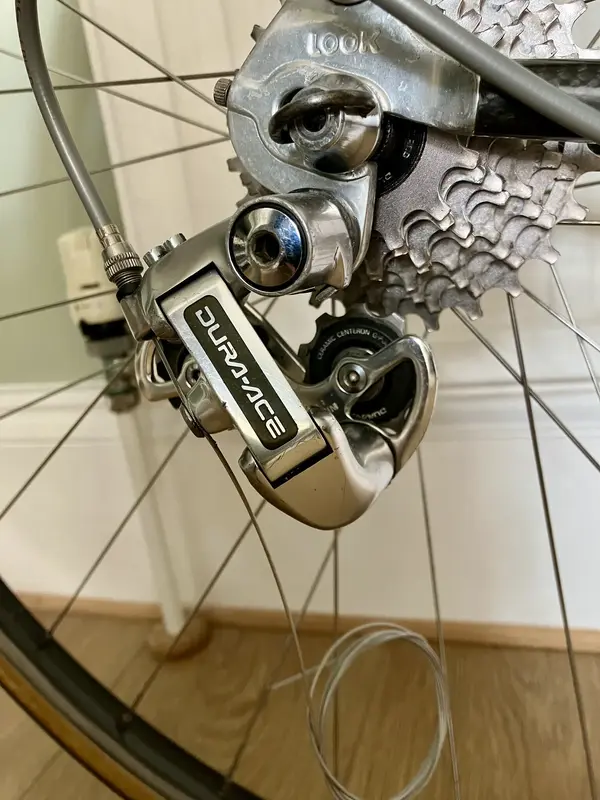
With wheels now attached, and the bike rolling, I could turn my attention to smaller details, like the gears. The rear mech needed nothing other than bolting in place. A hunt for my stash of genuine SIS rear derailleur cables, and it was paired with a NOS silver/grey outer, and correct stepped cable stop.

IMG_5311.jpeg

The correct lever adapters turned up, which allow the down tube shifters to be attached correctly to the frame’s mount.


IMG_5312.jpeg


One challenge I had, was with the cable guide under the BB shell, as the original is missing. I bought a Shimano one that uses the standard threaded bolt to secure it in place, but discovered the hole in my frame wasn’t threaded, plus it was 7mm wide!
I bought the Shimano guide with the expander type fitment, but this was nowhere near. The main problem I was finding with the guides is that they weren’t able to sit themselves in place as the BB shell is actually concave in shape. After much faffing, I gently held the guide over the hob and bent it into shape using heat. It’s now glued in place with a 3M sticky pad.

As the bike was beginning to take shape, my eyes were being drawn to all the areas of lacquer peel and bubbling, mostly around the lug joints, and rear stays. Some P400 emery paper removed the imperfections in the lacquer and allowed a clean surface to reapply new lacquer. The difference after is really effective, and just cleans up some crappy looking parts of the bike. I wasn’t going to restore the finish initially, but I’m glad I’ve cleaned up those few areas now I’ve done it. It just brings all the components up to the same level of patina.

The worst areas that I refinished are shown below. Once the lacquer hardens then it can be gently polished to give a lovely smooth glossy finish.

IMG_5313.jpeg

IMG_5314.jpeg

IMG_5315.jpeg

3TTT Super Competizione bars in 45cm width were sourced because all my spares in stock are 3TTT Ergo Forma SL which although they’re my favourite, they wouldn’t really suit this bike.

IMG_5318.jpeg

I’ve really struggled choosing a set of tyres for this because there’s so little available in 23mm width these days. Once I started looking around and asking questions, most people couldn’t understand why I wanted 23mm given the state of today’s roads. Sidewall colour was also another consideration as some manufacturers such as Panaracer and Continental make their sidewalls too brown and they look out of place. Vittoria came out the closest in terms of looks, and I compromised on a pair of 25’s which actually don’t look as bulbous as I imagined.

Overall, I’m pretty pleased with how it’s coming together now. I’ve some brake levers to take off another project as the ones in the box look too scratched. Plus, I’m looking out for a set of better (rust free) Dura Ace skewers as these are a bit too scruffy when you’re up close. I know I could be criticised for swapping components out for slightly better condition ones, but I believe that’s the challenge of bringing components together seamlessly when creating a bike with a set level of patina that’s consistent across all the different components.

IMG_5316.jpeg
 
Last edited:
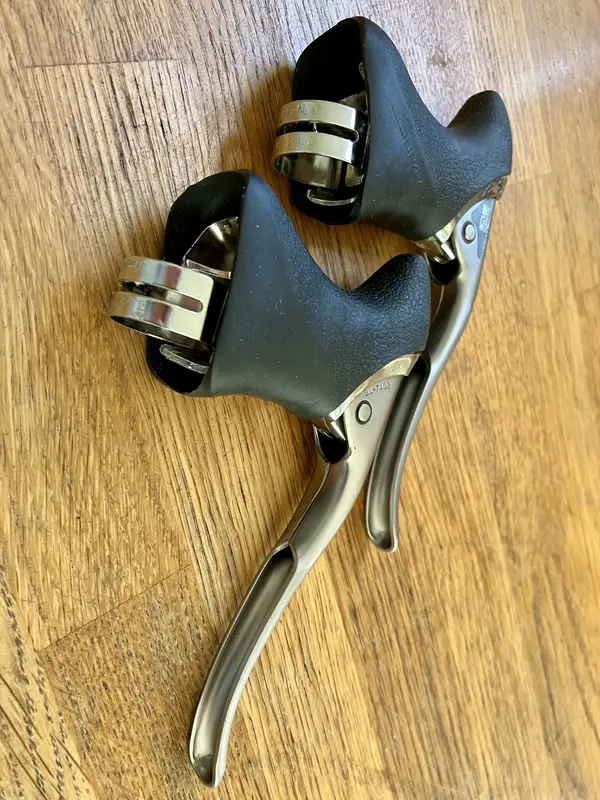
The brake levers have been transferred over from the next project as that won’t be running Dura Ace. They’re ok, and better than a lot of what’s out there. These levers seem to age badly, especially around the plastic chrome. I always wonder what the plastic underneath is like as you can strip the chrome finish using bleach, but I haven’t been brave enough to try in case I ruin a set of levers. I guess you could always coat them again once they’re stripped.

IMG_5319.jpeg

IMG_5326.jpeg


IMG_5327.jpeg
 
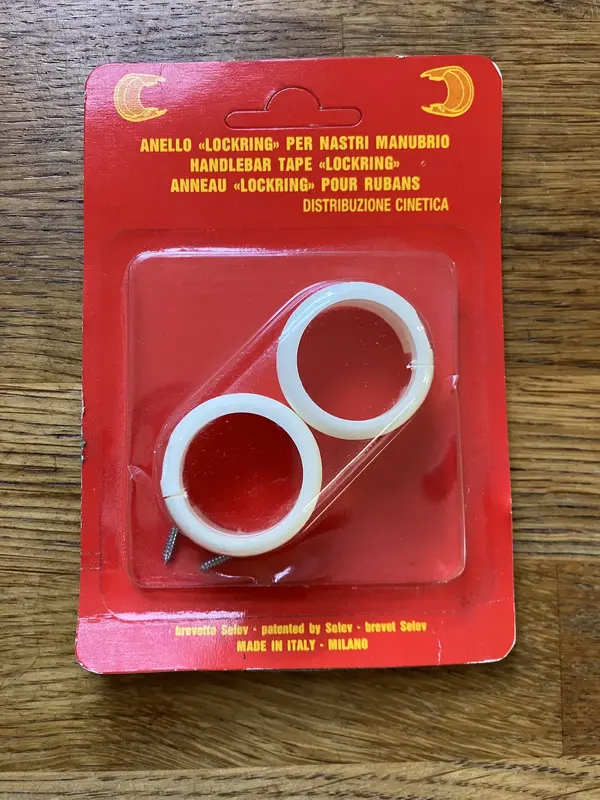
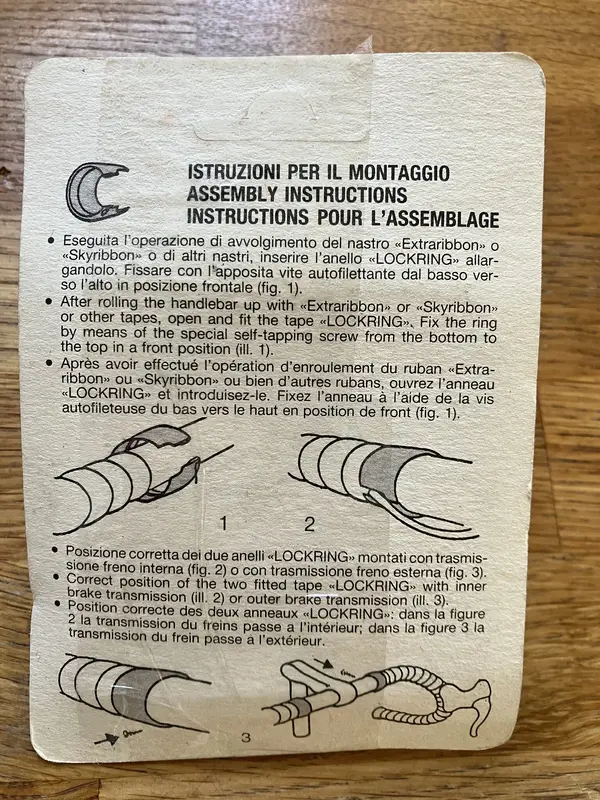
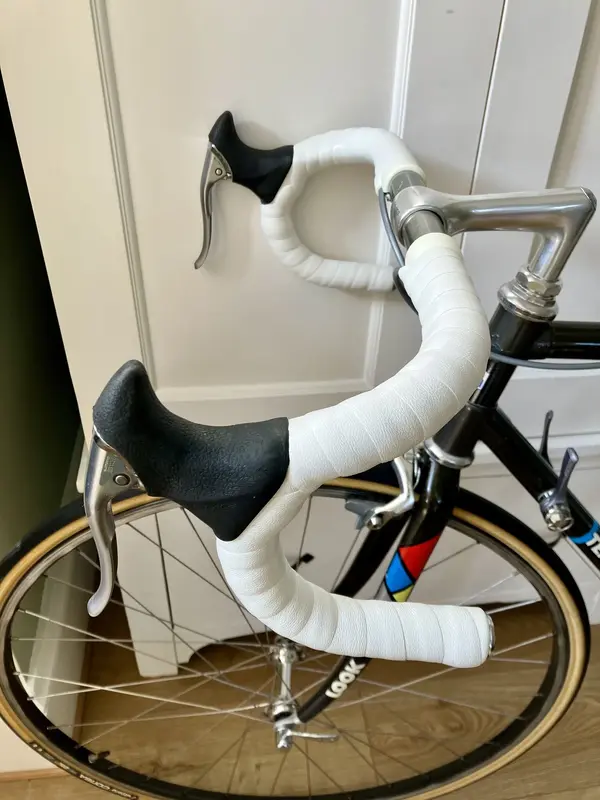
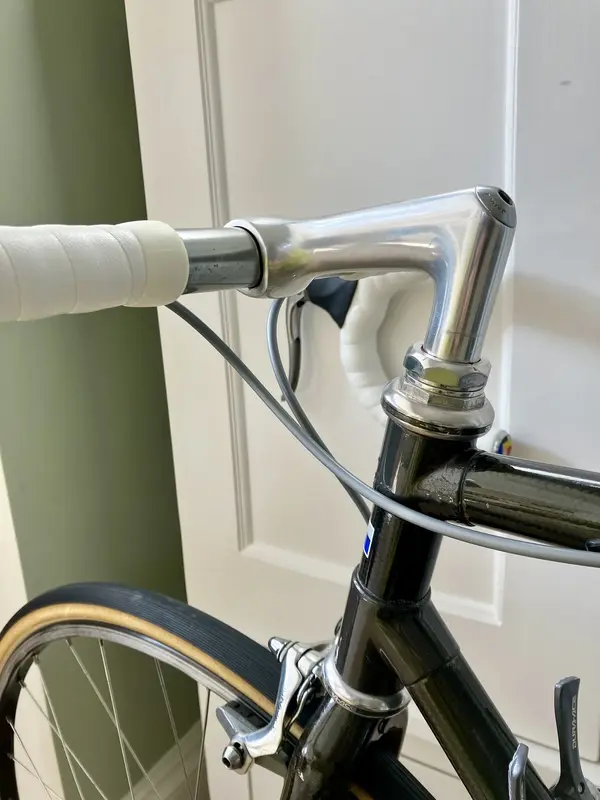
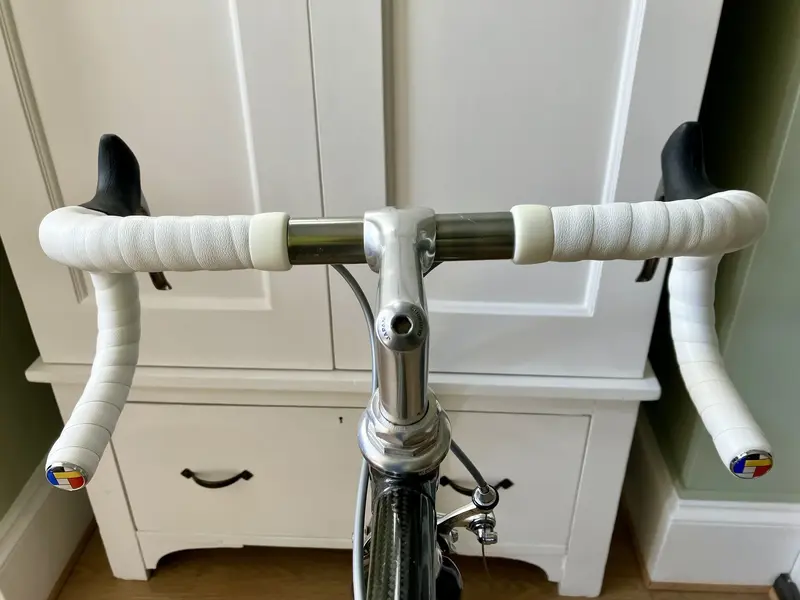
Once the bars and levers were positioned I couldn’t wait to get them wrapped. I’ve opted for the pvc foam bike ribbon (no idea of its official name) that was so common on bikes of this era. I’m also using some Selev bar tape lock rings instead of insulation tape. I’ve had a couple of bikes with these on, and I always remember how neat they kept the tape. I had some Mondrian bar ends in a bag, so used those, but I’m not entirely sure if they’re just a bit too gimmicky.


IMG_5329.jpeg

IMG_5330.jpeg

IMG_5331.jpeg

IMG_5332.jpeg

IMG_5333.jpeg

IMG_5334.jpeg

IMG_5335.jpeg
 
Last edited:
Back
Top