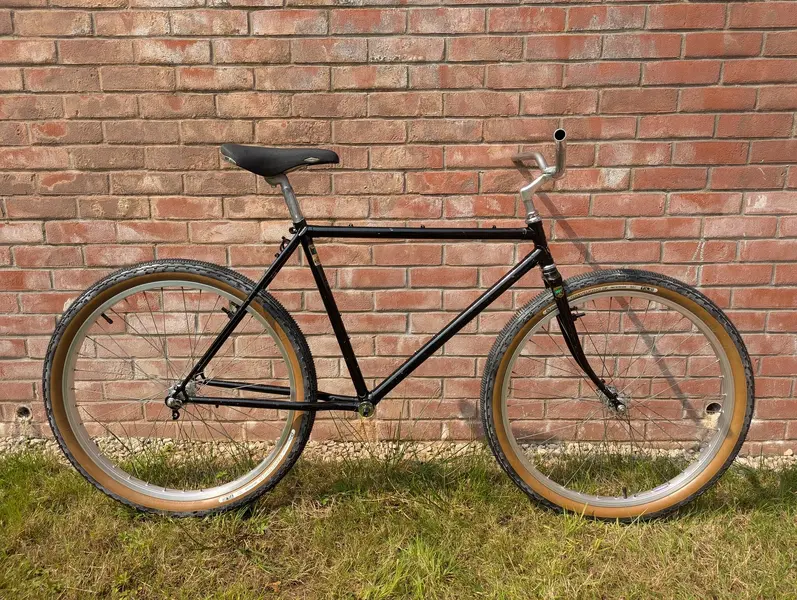
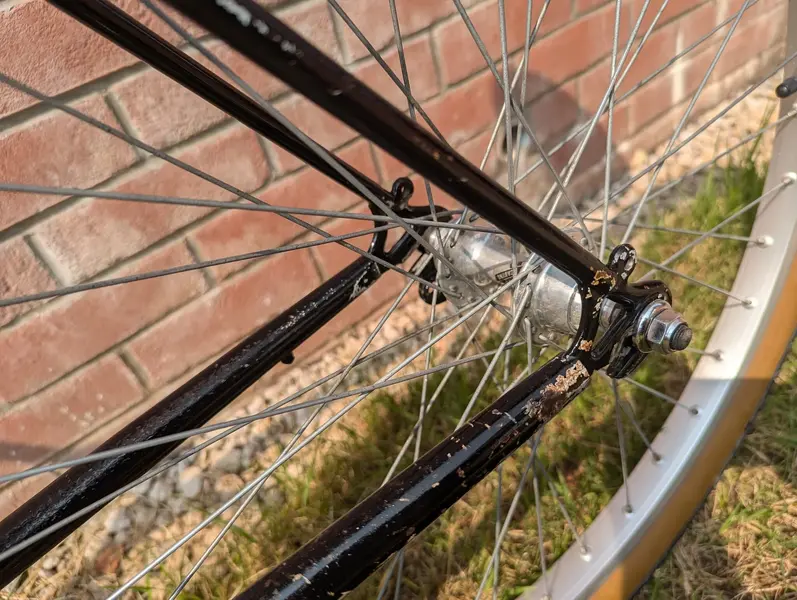
1984 Saracen 'Sherpa'

Absolutely agree. I've not done much with this one yet (daily bikes have been sucking up the little time I have for working on bikes atm) but I am amazed that it rides perfectly as is and aside from a good clean and a pair of tyres it shouldn't need anything.

I don't think it's seen a whole lot of use in it's 40 years but it still amazes me.

They really don't make them like they used to.
 
That's pretty cool 😎
Drop me a PM if you need grips, think I have some very similar ones sat in a box.
 
Thats pre conquests being called conquests.....ie they were named that after the Kilimanjaro record in dec 94. So its an saracen "ATB" if you go by their early adverts!
 
Thats pre conquests being called conquests.....ie they were named that after the Kilimanjaro record in dec 94. So its an saracen "ATB" if you go by their early adverts!
That was my thoughts to be honest but the reference to 'Sherpa' on the receipt threw me
 
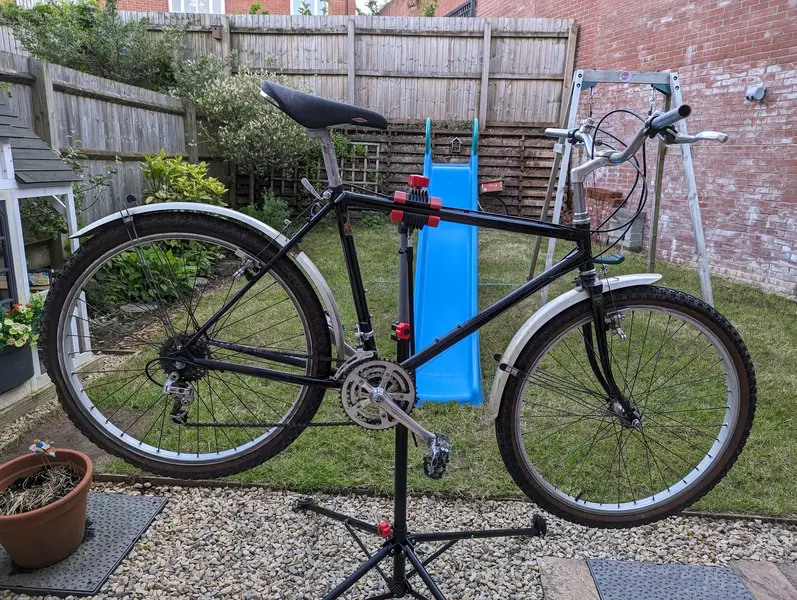
PXL_20240526_185700918.jpg

So small update, it's about time I actually made a start on this one so took advantage of the pleasant bank holiday evening and got this in the stand and stripped down completely. Just waiting on a freewheel removal tool and proper headset cup removal tool as I didn't feel smashing shit out of them with a large screwdriver was suitable on this one.

As expected, everything came apart pretty nice and nothing is particilarly worn so this should be a pretty simple rebuild.

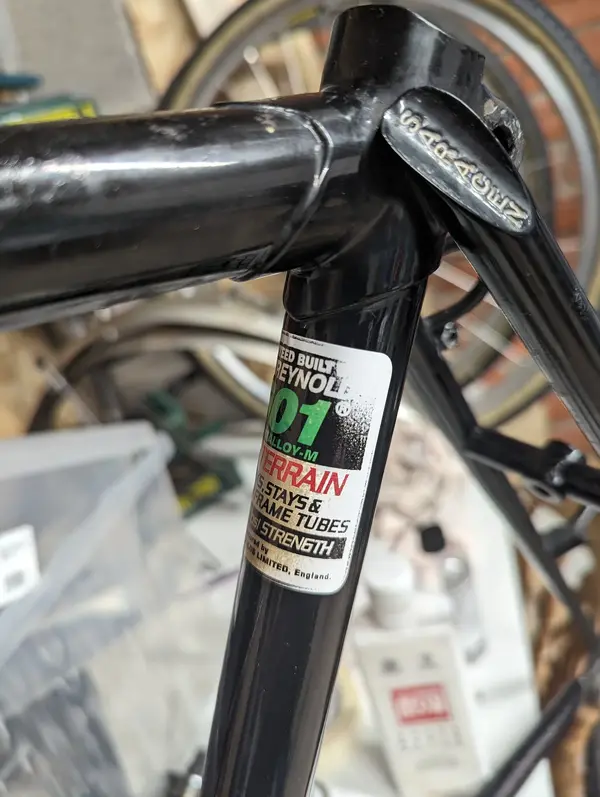
First thing to tackle is the frame. I did wonder initially if I might want to repaint this, which I'm usually pretty against, but a small cut and polish of a section of the seat tube has confirmed that this will come up lovely with a nice patina. They're only original once and all that:

PXL_20240527_223424463.jpg

As you can see, like the complete numpty that I am, I replaced the Reynolds decal before polishing and ruined it within seconds. Luckily I bought 2 so will replace it again once I've actually cleaned the rest of the frame like any normal person would.
 
Crikey, nearly 3 months later, about time I updated this.

In between keeping the kids occupied over the summer I have managed to steal a bit of time to make some progress on this.

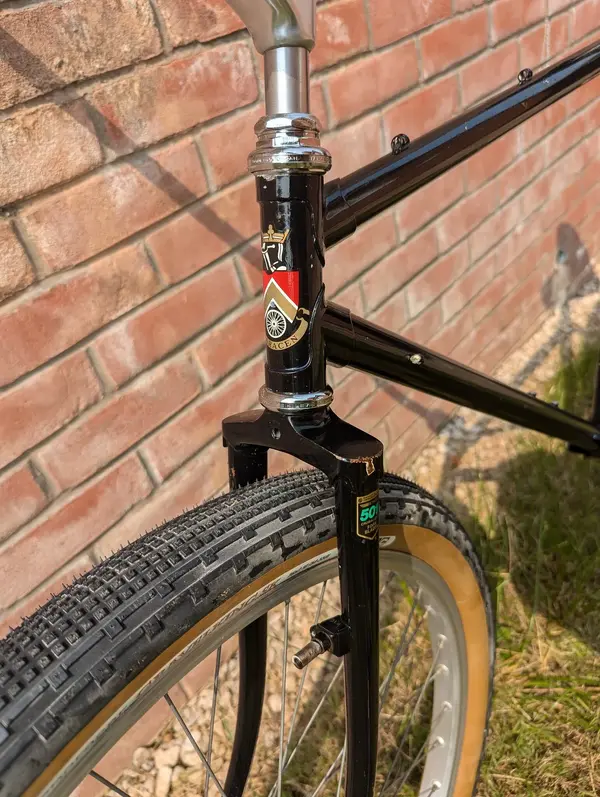
Finished polishing the frame and rather pleased with how well it came up doing everything by hand. I ended up putting a 2nd replacement Reynolds decal on the seat tube after I ruined the first with the polish. Another look at the H Lloyd site led me to the page mentioning that these decals are designed to be clear-coated or at least protected in some way (for some reason I'd previously convinced myself that the Reynolds decals were coated, but I clearly made that up). Since I had no intentions of painting anything I looked at trying to replicate the original decal by getting some form of clear film to put over the top. After several failed attempts with automotive PPF I settled on buying some of the sticky back plastic I used for covering my school books back in the day and making something out of that. It's not perfect by any stretch but the overall finish ended up looking similar to the decals on the fork and in keeping with the rest of the look of the frame, so I'm happy with it for now:

PXL_20240818_130106285.MP.jpg

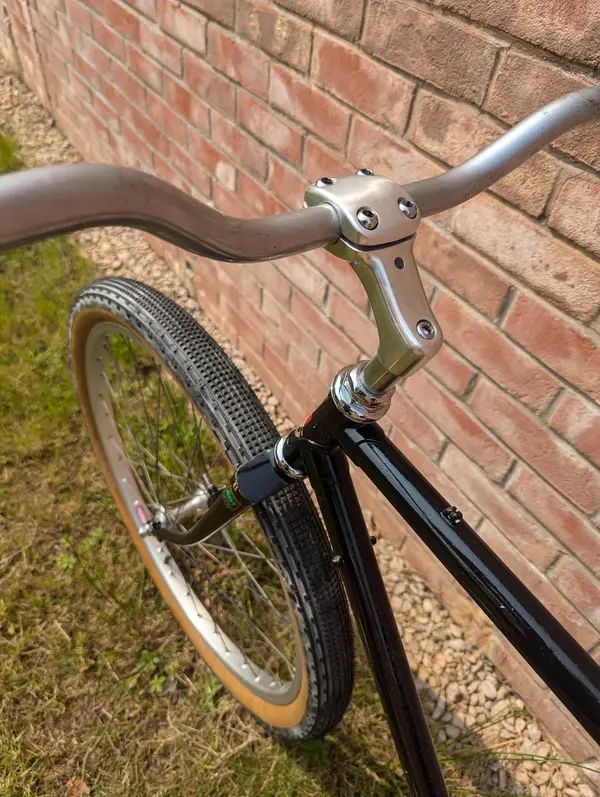
Since that, focus has been on getting all the bearings sorted. So headset, bottom bracket and hubs have all been cleaned and re-greased. Spokes have been tightened up and I popped on the new rubber. I love Gravel Kings so there was very little doubt in my mind that I wanted to put some of the 26" versions on this and man they are CHONKY! I think they look great though so I'm happy.

PXL_20240818_130229586.jpg
PXL_20240818_130131040.jpg
PXL_20240818_130140492.jpg
PXL_20240818_130122389.jpg

I haven't sorted the bars and seatpost out yet but have popped them in to try and get my head around the geometry on this. I always knew this was going to be a bit too small for me, the fluted seatpost is at maximum height above so I will need something a bit longer and hopefully it will be managable, but we shall see...
 

Latest posts

Back
Top