You are using an out of date browser. It may not display this or other websites correctly.
You should upgrade or use an alternative browser.
You should upgrade or use an alternative browser.
1966 Mercian Superlight Rebuild
- Thread starter Ralph_the_Rohan
- Start date
Ralph_the_Rohan
Retro Guru
Re:
Time for another quick update.
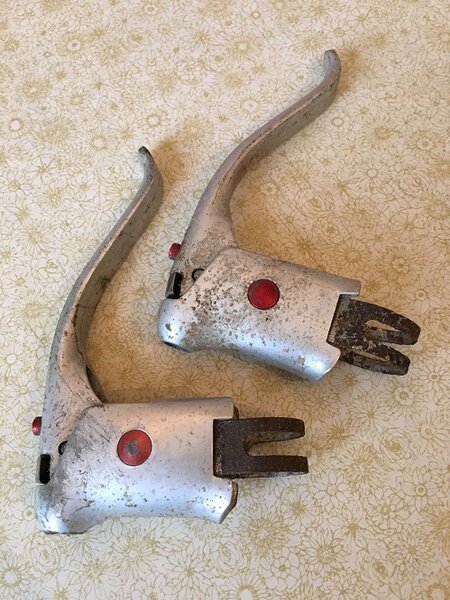
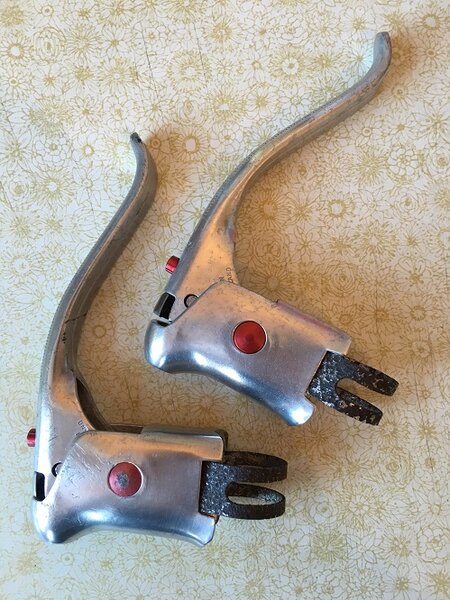
Next for a clean-up were the Weinmann Red Dot Levers….
Not much I could do with the Lever Clamps as they are quite corroded, but as they are covered in Bar Tape when in place it doesn’t matter too much. With a bit more work I could probably get some more of the slight marks that are left in the lever bodies out….
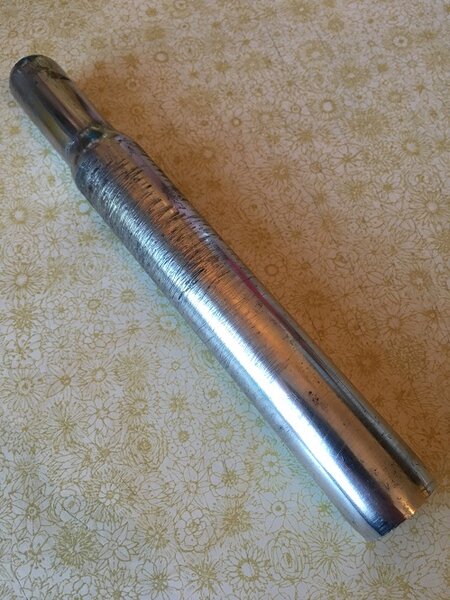
The seat post was not as corroded as most of the other parts as most of it was inside the seat tube. I gave it a quick clean-up and polish, but a lot of scoring was still visible….
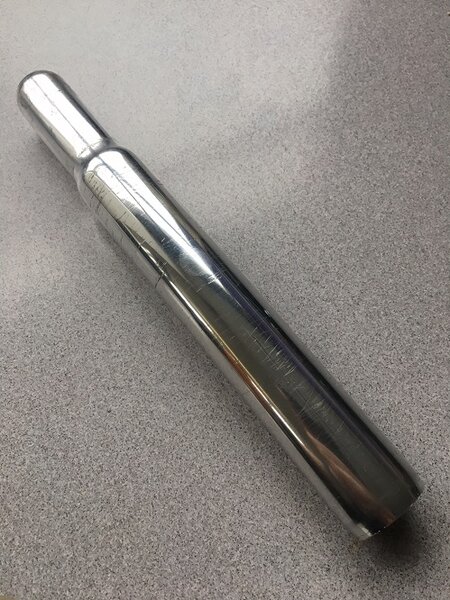
But after some careful use of gradually finer wet and dry paper and polish it ended up like this….
Still not perfect, but it’s good enough for now.
Attachments
Good work, I like to see some 'wear' on a period build.
Ralph_the_Rohan
Retro Guru
Re:
Further update….
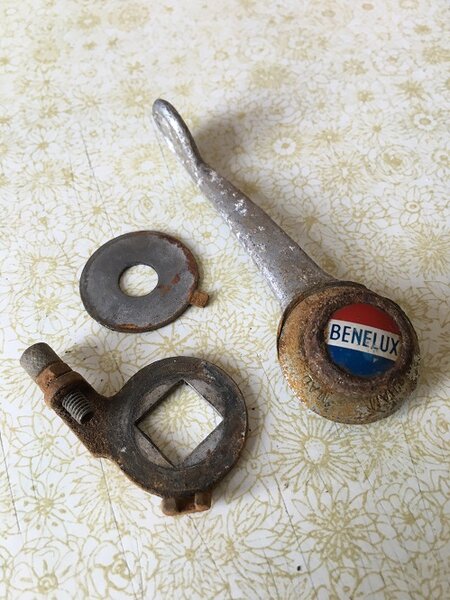
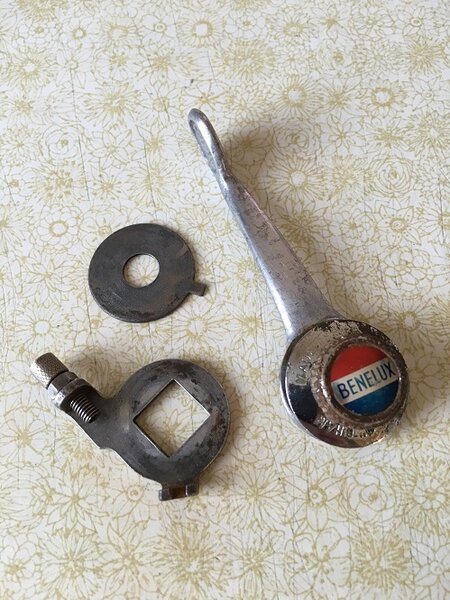
I had a couple of hours free at the weekend so decided to have a go at cleaning up the Benelux 60 rear derailleur and shifter.
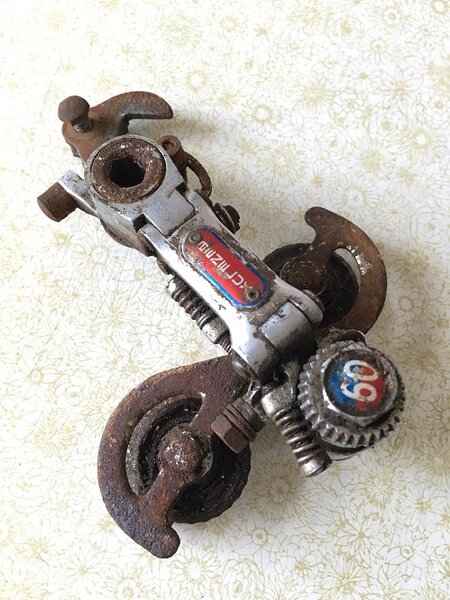
Rear derailleur before….
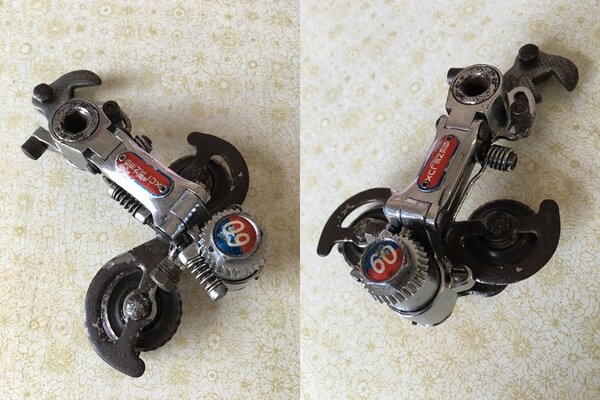
The main body of the rear derailleur, although being very grimy, cleaned up remarkably well. This was testament to the original quality of the chroming on the bronze main body. Unfortunately the same could not be said of the steel cages, as the chrome has virtually disappeared and the exposed steel had rusted. I’ve cleaned them up as far as I can, but a new pair of cages will be fitted if any crop up at a reasonable price….
Gear shifter before….
The gear shifter again cleaned up quite well, although the chrome plated cover has lost a small section of chrome and the knob which holds it all together has rusted beyond any further restoration. Again I’ll replace if possible….
Next in line is the Stronglight 49D Crankset.
Attachments
Ralph_the_Rohan
Retro Guru
Re:
Update time.
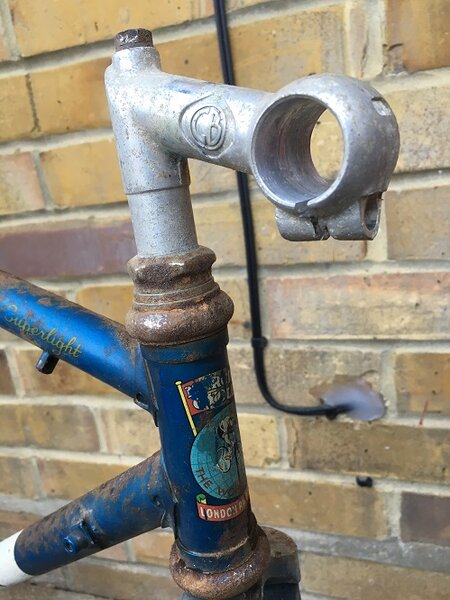
As I’ve mentioned previously the GB Norma Stem was stuck fast in the steerer tube and no amount of force or lubrication was having an effect. So, after putting it off for a while, I decided to go down the 'cutting it out' route. The Stem had a nasty crack in it anyway, so I didn’t feel too guilty about cutting it up.
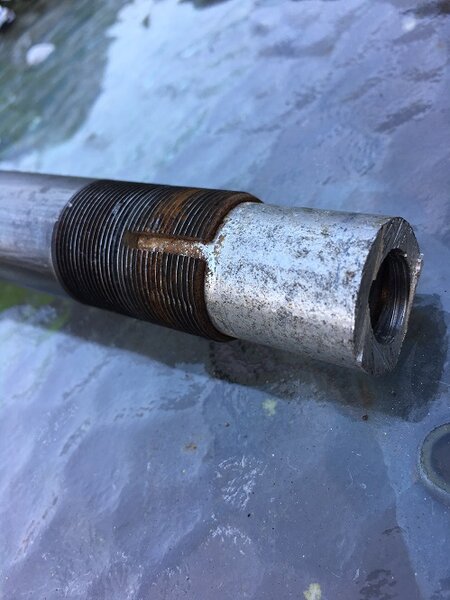
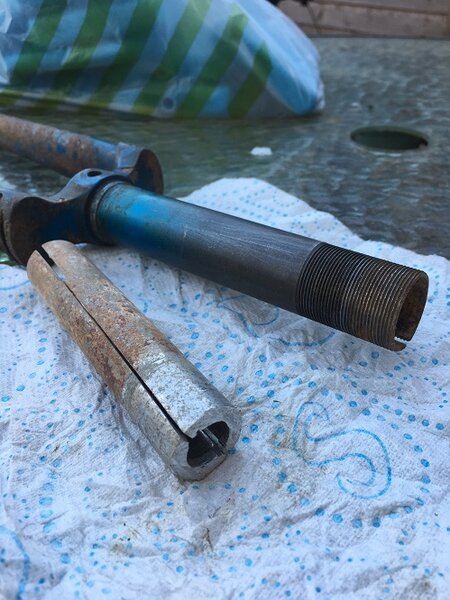
After removing the expander bolt I decided to cut it just below the swage line, figuring that the stem wall would be thinner from that point down, and it would still leave enough of the stem protruding from the forks to get a decent grip on.
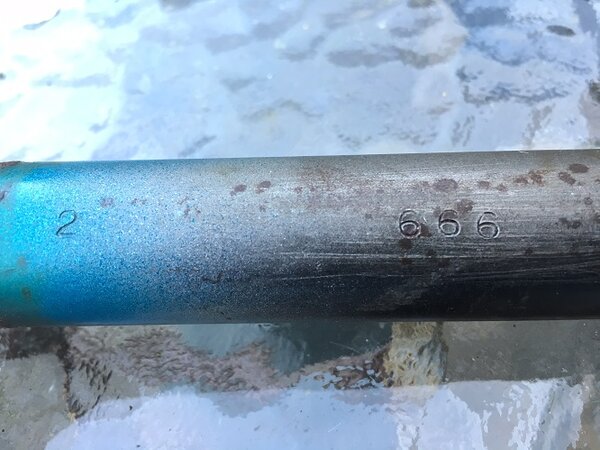
Once that was done, I could remove the headset, then remove the forks from the frame and confirm that the frame number was "666".
I then proceeded to cut two opposite slots in the length of the remaining stem, being careful to keep checking my progress to avoid any chance of cutting into the steerer tube. I used a brand new hacksaw blade for each cut and was surpised at how easy and quick this process was. Once both cuts had been made, I gripped the piece of protruding stem with a self gripping wrench and gave it a twist. I was rewarded with a pleasing crack as the stem broke free and out it popped!
Considering how tightly the stem had seemed to be stuck, and after reading various online accounts of this method, I was really surprised at how well it worked, but now it's out the build can continue.
More updates as they happen.
Steve.
Attachments
Good work, that stick stem was the work of the devil!
Ralph_the_Rohan
Retro Guru
Re:
Further update.
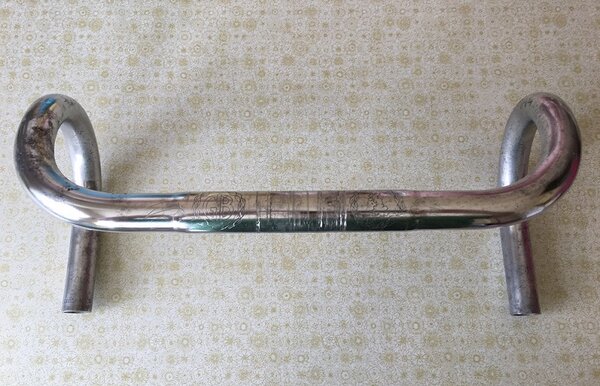
Gave the original GB Ventoux Bars a quick clean. They didn’t need much as they only had light surface corrosion and most of the bars are covered in tape anyway, so I didn’t go too mad. The centre section with the engraving cleaned up quite nicely, although there is some heavy scoring on one side. Hopefully it hasn’t compromised their integrity too much, but I’ll need to keep a close eye on them when in use.
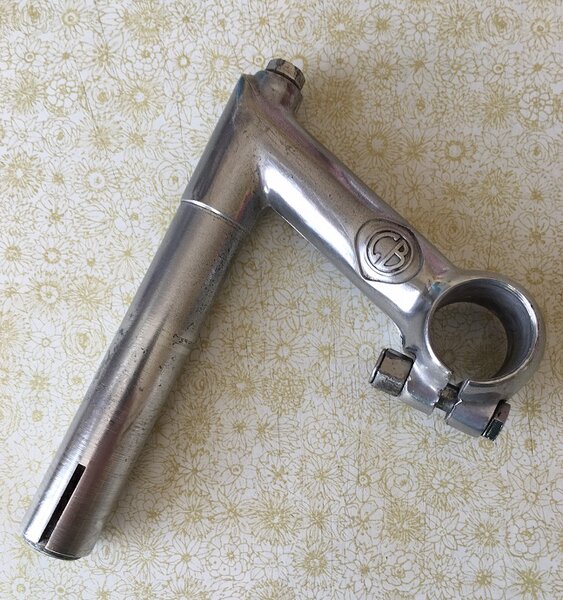
Also gave the newly acquired GB Norma Stem a quick polish.
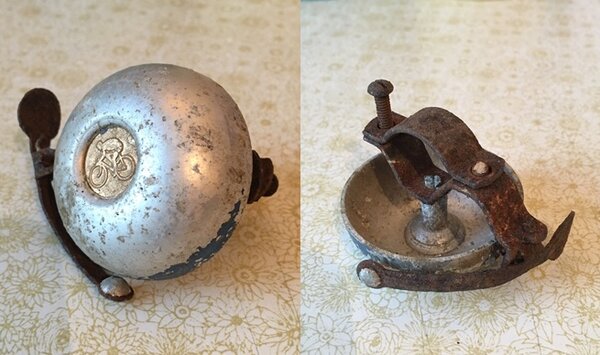
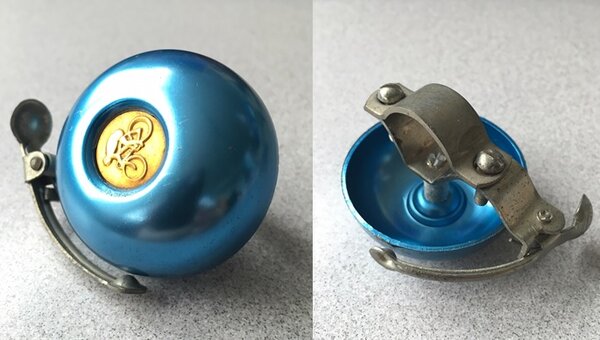
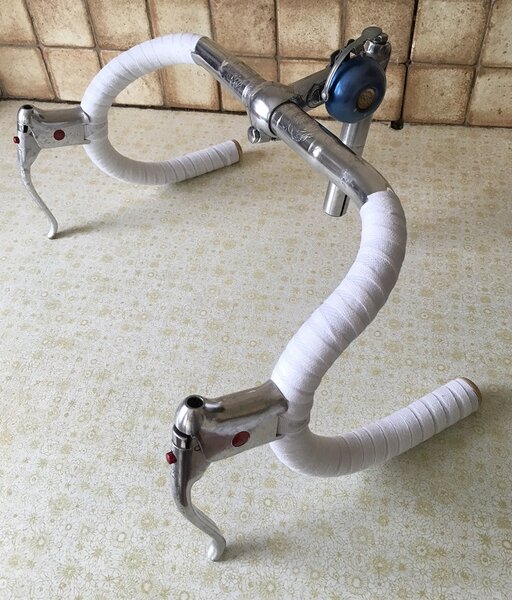
Then did my first bit of build up by fitting the bars into the stem, fitted the Weinmann Levers and the replacement blue Adie Bell, before adding Bar Tape. Still need to get some white plastic tape to finish off the ends.
Wheels next.
Attachments
Looking good.
Similar threads
- Replies
- 4
- Views
- 1K
- Replies
- 0
- Views
- 1K
