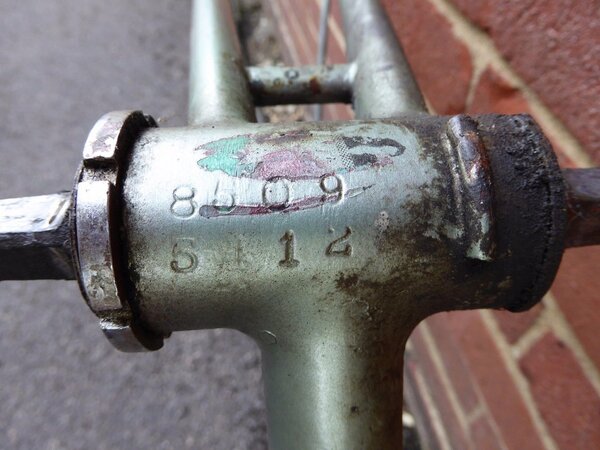
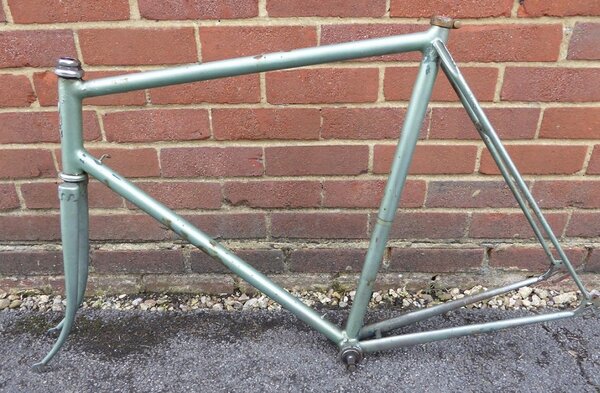
1954 Claud Butler Jubilee Special #5412 8509

Peachy!

Retrobike Rider
BoTM Winner
Gold Trader
rBoTM Triple Crown
rBotM Winner
98+ BoTM Winner
Claud Butler Fan
VCC Claud Butler ME
Feedback
View
**EDIT - June '18 RbotM 1940-1959 Theme Month Winner**


Right, this one has been rattling around the workshop for a while and only recently I thought I’d better get on with it, but just at a nice steady pace…..
Then Jamiedyer asked for some theme ideas for RBotM & I suggested blocks of dates, such as 40’s & 50’s, 60’s & 70’s etc. I didn’t expect him to take my ideas on!
So now I have a choice to make, either ignore the proffered chance to compete against the best RetroBIKE protagonists and enjoy a lazy summer cleaning/bolting shiny bits together or… dive into the shed and crack on!

28 days? I must be mad! 🤦
 

Attachments

  • CB54Jubilee (3).jpg
    CB54Jubilee (3).jpg
    177.2 KB · Views: 3,582
  • CB54Jubilee (2).jpg
    CB54Jubilee (2).jpg
    199.7 KB · Views: 3,582
Last edited:
T– minus (RBotM June) 28 days & counting

The plan for this frame set was to make it a near catalogue restoration, with a few reasonable exceptions (the price of some of the period bits & bats is getting a bit silly). Not a museum piece, path ride or serious vintage tourer, but a bit of fun to buzz around the village on or stick on the bike rack to show off at the sea front. So, the plan is to fit a 18t single speed freewheel and a big 52t crank… that should get the heart pumping!
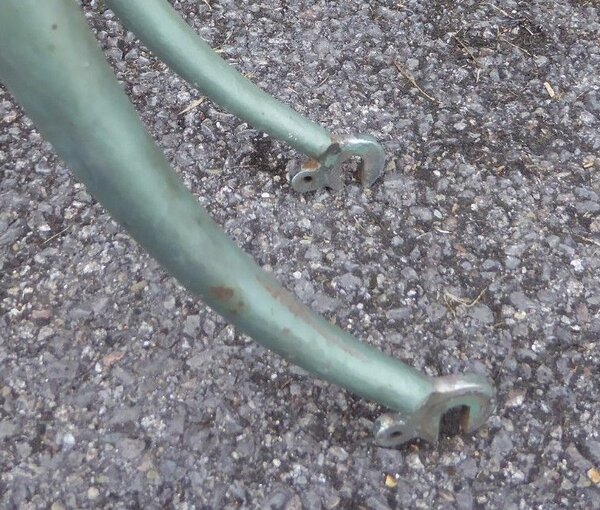
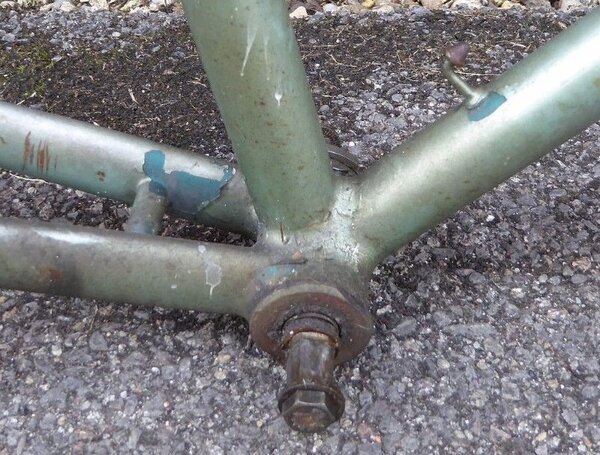
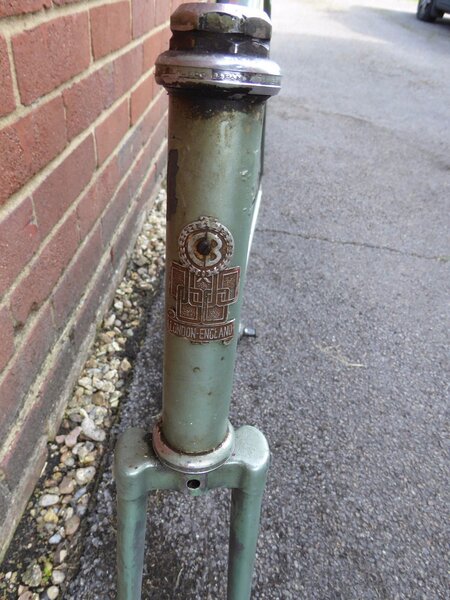
First off, quick chat about the frame set, it was bought on evil-bay for less than a trip to Starbucks and arrived with a nasty layer of rattle can green metallic paint, a Tange headset, and a “made in Japan” square tapered BB spindle & cups (both of which are now on my daughters Majetique). It didn’t take too long to identify the original colour as the spray paint in some places had been applied over areas that hadn’t been cleaned properly, this flaked off to reveal a nice flamboyant bottle green and some chromed drop-outs & fork crown, all of which are currently being sorted at the hands of The Donald at Bob Jacksons in Leeds.

Oh, & the bloody screw-hole through the middle of the original CB badge will be properly brazed!
 

Attachments

  • CB54Jubilee (12).jpg
    CB54Jubilee (12).jpg
    147.7 KB · Views: 3,555
  • CB54Jubilee (10).jpg
    CB54Jubilee (10).jpg
    139.3 KB · Views: 3,555
  • CB54Jubilee (4).jpg
    CB54Jubilee (4).jpg
    287.9 KB · Views: 3,558
The History Man":3qcov77d said:
Single speed? Really?
Not the original plan, it was going to have a 4 speed Sturmey FW hub, but that needs stripping down & re-building as its only got 2nd, 3rd & 4th engaging at the moment and I don’t have time to do that and build this bike, so that will come latter..
 
T– minus (RBotM June) 27 days & counting
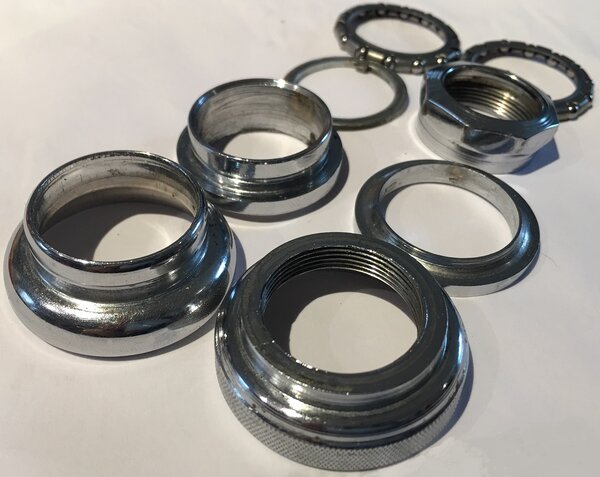
After a Saturday evening scrambling through boxes trying to find descent period correct parts, I think I have everything I need. But there’s a lot to clean with what might seem like a healthy amount of time (27 days) but minus a 50 hour week, plus a daily hour & a half commute, 2 children, 2 dogs, 2 goats, 4 chickens, 2 Guinea pigs and a job list from the missus that would make your eyes bleed, it’s going to be tight… first to be ticked off of the list is a late 50’s Brampton Continental head set (with new caged balls) after a little bit of elbow grease with the magic combination of kitchen foil & water, then abracadabra! Shiny and new (well nearly)
 

Attachments

  • BramptonContinental.jpeg
    BramptonContinental.jpeg
    148.8 KB · Views: 3,510
T– minus (RBotM June) 26 days & counting
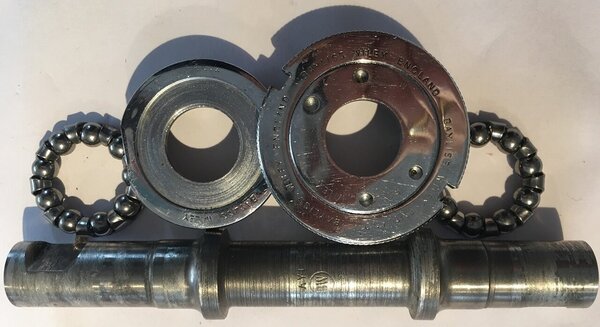
Finishing off the bearing parts for the frame set will be this combination of Bayliss Wiley cups and a Bayliss Wiley 2C axle, yes I know the cups are possibly a little later, but they are nice and shiny! :cool:
 

Attachments

  • BaylissWiley-BB.jpeg
    BaylissWiley-BB.jpeg
    156.6 KB · Views: 3,481
T– minus (RBotM June) 25 days & counting
Right, Seat post & Bar stem next I guess;
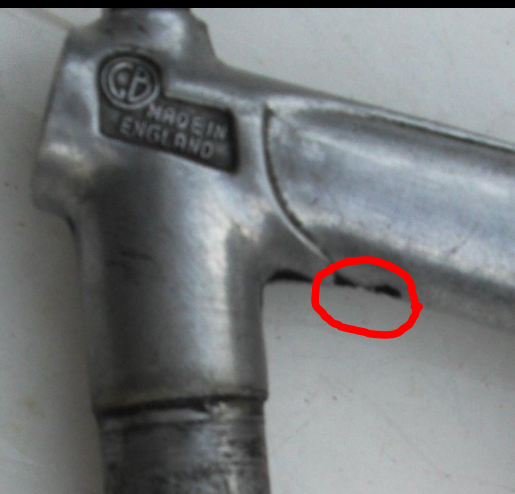
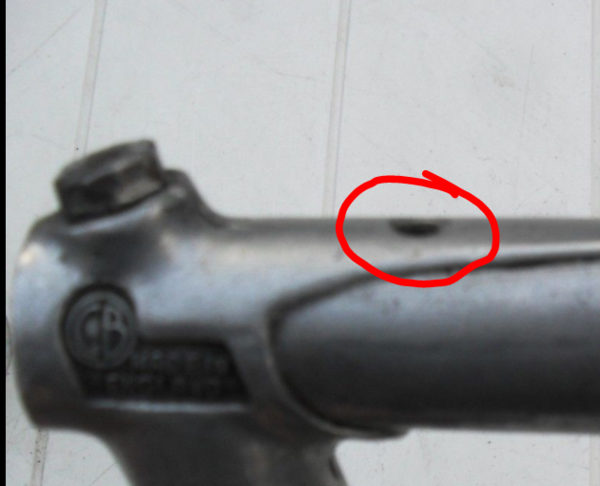
I bought a descent length 50’s GB Forged Hiduminium Spear point, rather cheaply sometime ago. How? I hear you ask? As these things are starting to get a bit pricey on the e-bay of thieves..
Well, this one had a ragged hole drilled in the top to accommodate a centre pull cable, and TWO holes underneath which had been made, I guess, in attempt to line them up!.
Plan is to take it into work, fire up the TIG welder and shove some aluminium in there! I’ll let you know how I got on latter…… :shock:
 

Attachments

  • GBstem.PNG
    GBstem.PNG
    63.9 KB · Views: 3,450
  • GBstem2.PNG
    GBstem2.PNG
    65.9 KB · Views: 3,450
stevevw":1e3oy70h said:
If you get this done I am going to place my vote with you whatever the competition is.

Thanks for your support Steve, it’s very much appreciated! :D

Results of my TIG work will be posted in the morning :cool:
 
T– minus (RBotM June) 24 days & counting

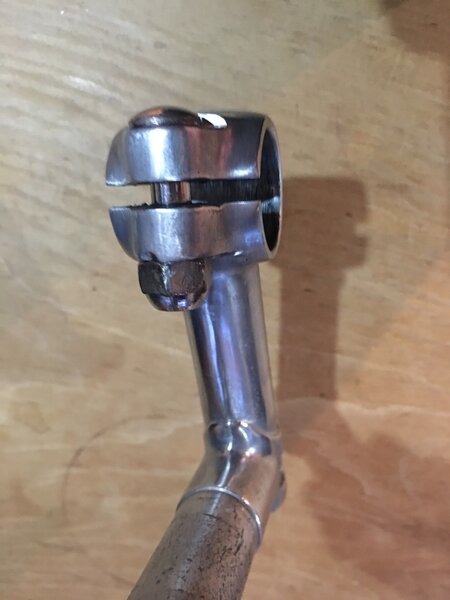
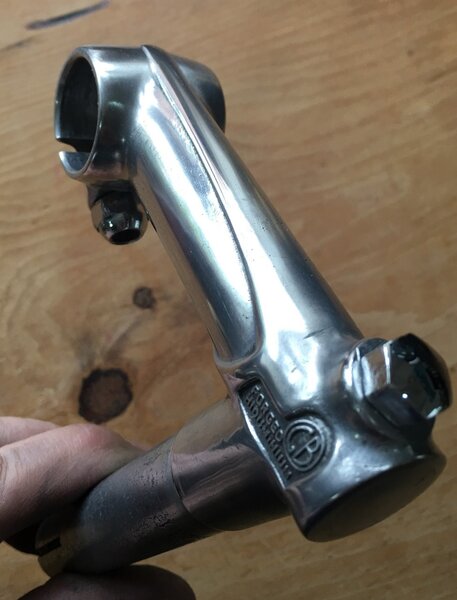
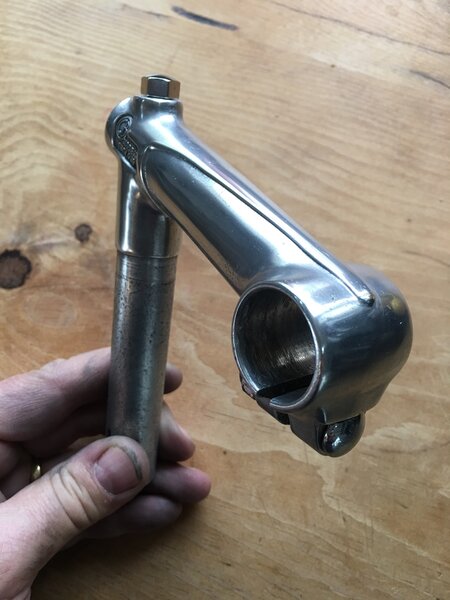
Now then, that was so much easier and more successful than I could possibly have hoped for!
After a couple of tests on a scrappy old 80’s SR, I built up the courage to give it a go. I first “cleaned the wounds” by drilling out further with a counter sink bit to give me some clean fresh metal to play with, then in with the TIG.
It looked a little mucky after I’d finished, but after a bit of effort with a fine file, then 400 grit, 800 grit, 1200 grit and a polish, here is the result: (which I’m quite proud of) ;)
 

Attachments

  • GBForged.c.jpeg
    GBForged.c.jpeg
    97.4 KB · Views: 3,393
  • GBForged.b.jpeg
    GBForged.b.jpeg
    128.2 KB · Views: 3,393
  • GBForged.a.jpeg
    GBForged.a.jpeg
    209.4 KB · Views: 3,393
Back
Top