Sunbeam (Tourist T1 1949?)

Henne

Retro Guru
Feedback
View
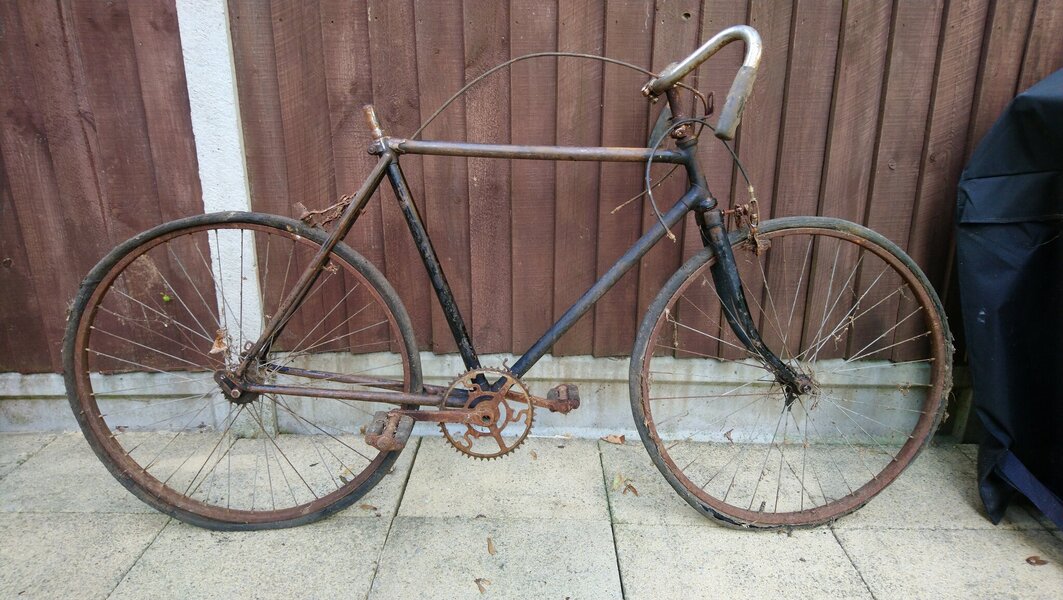
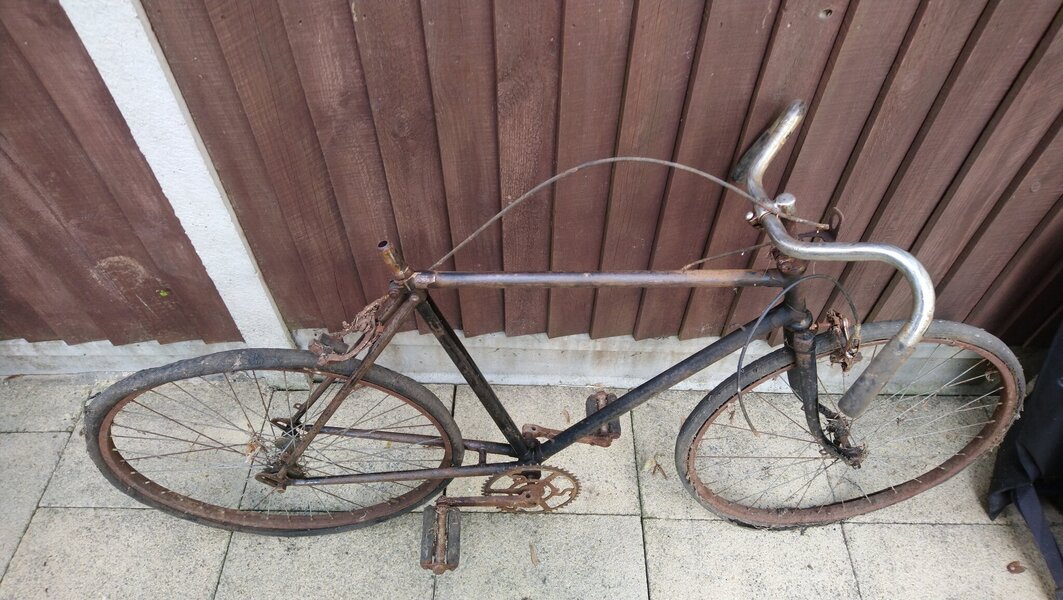
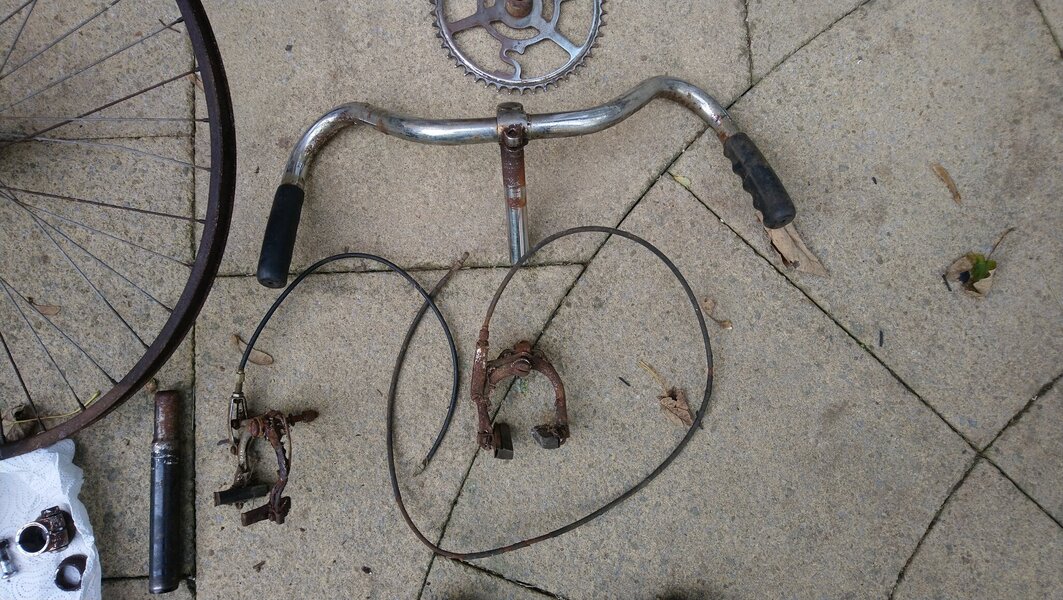
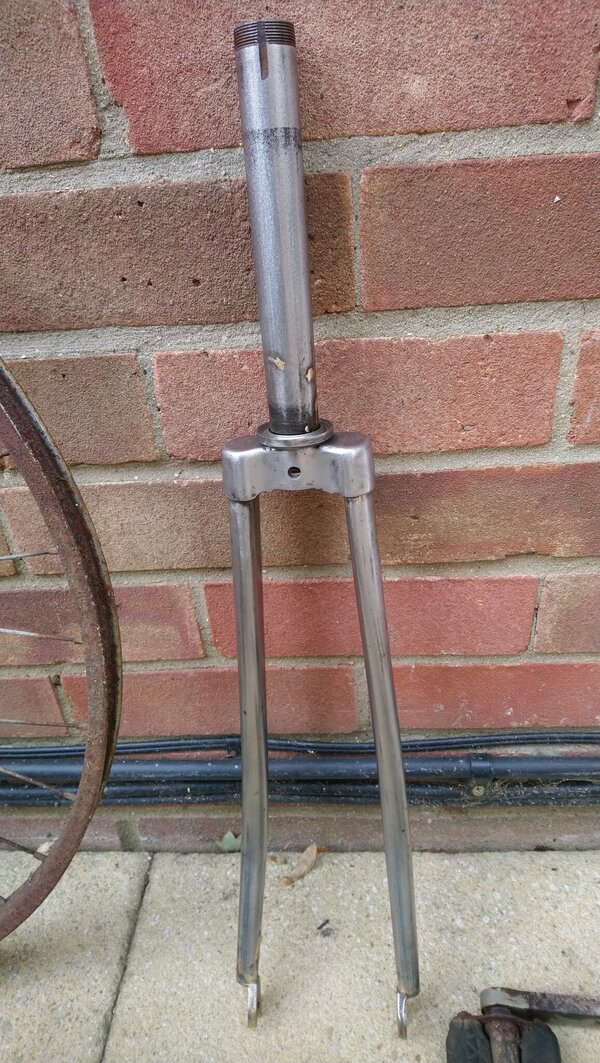
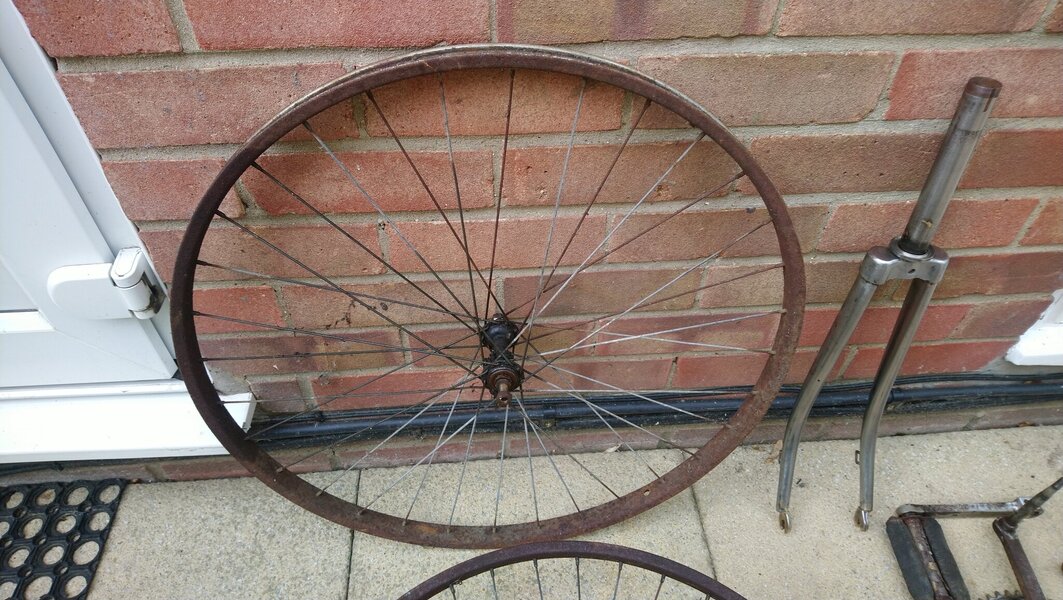
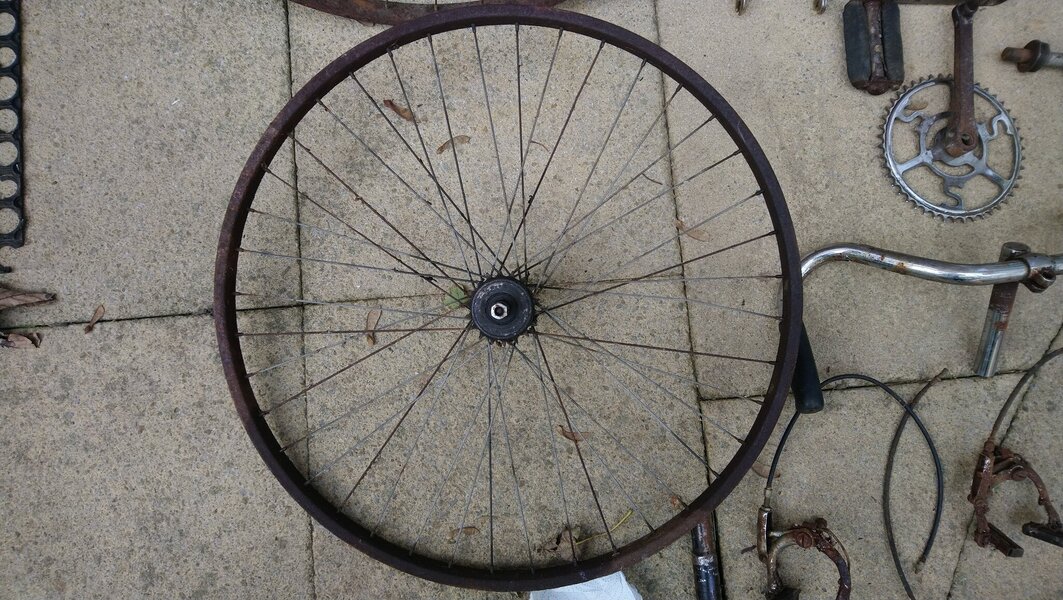
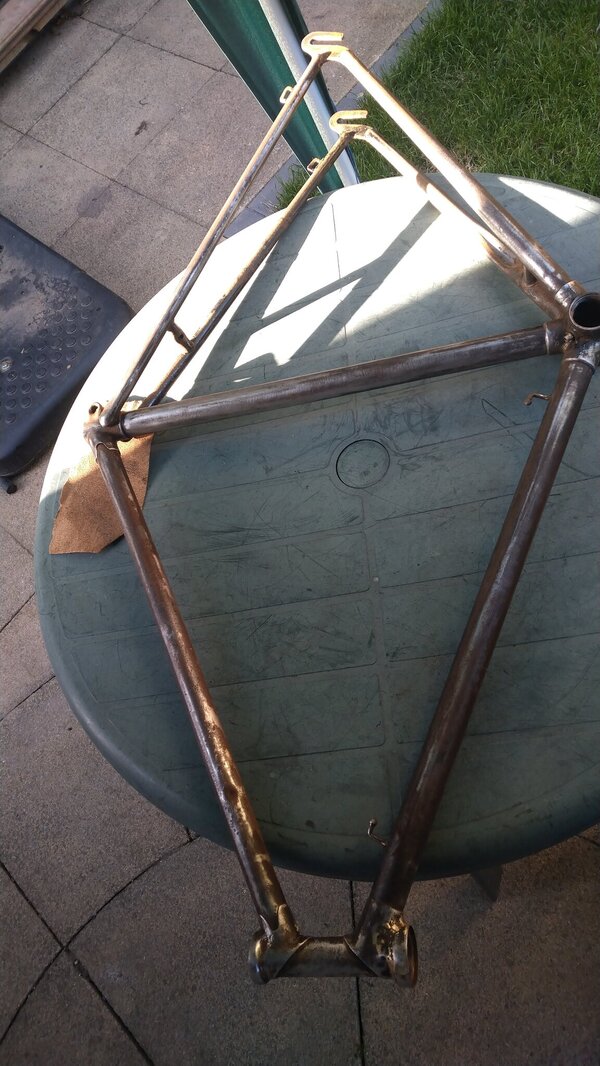
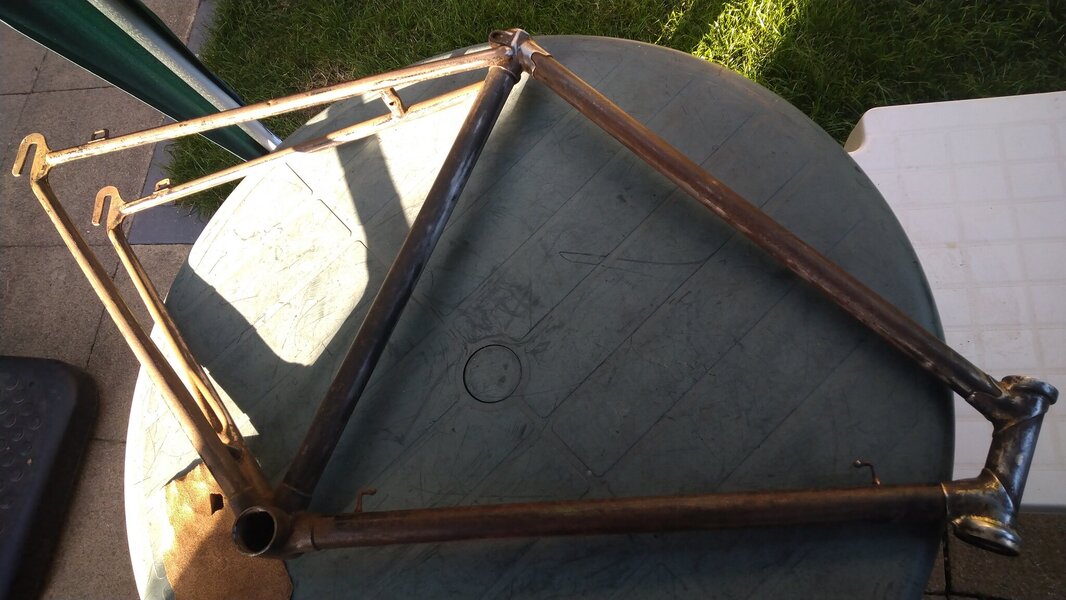
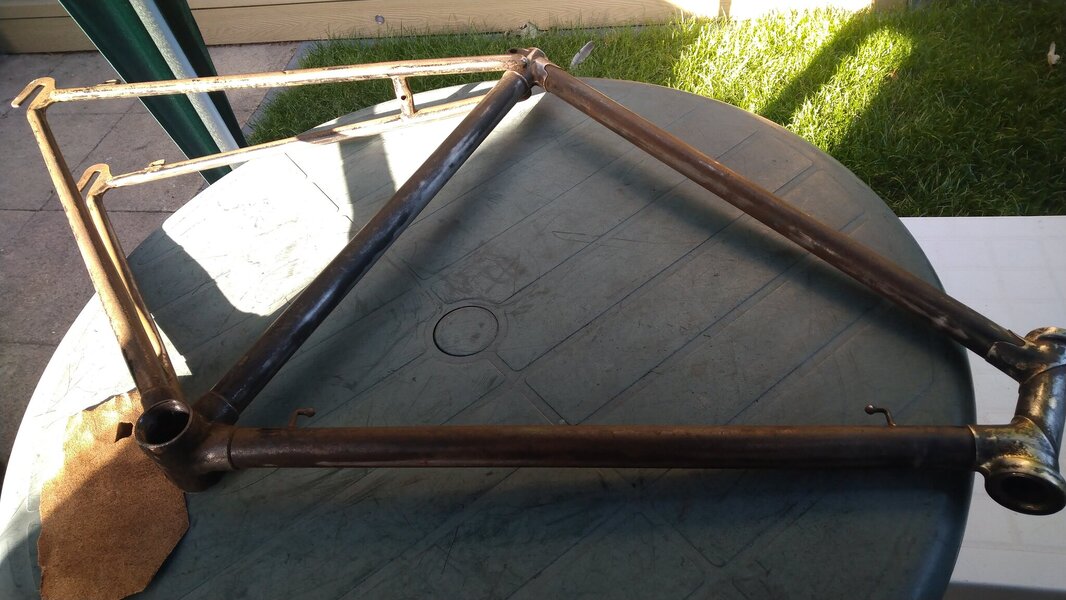
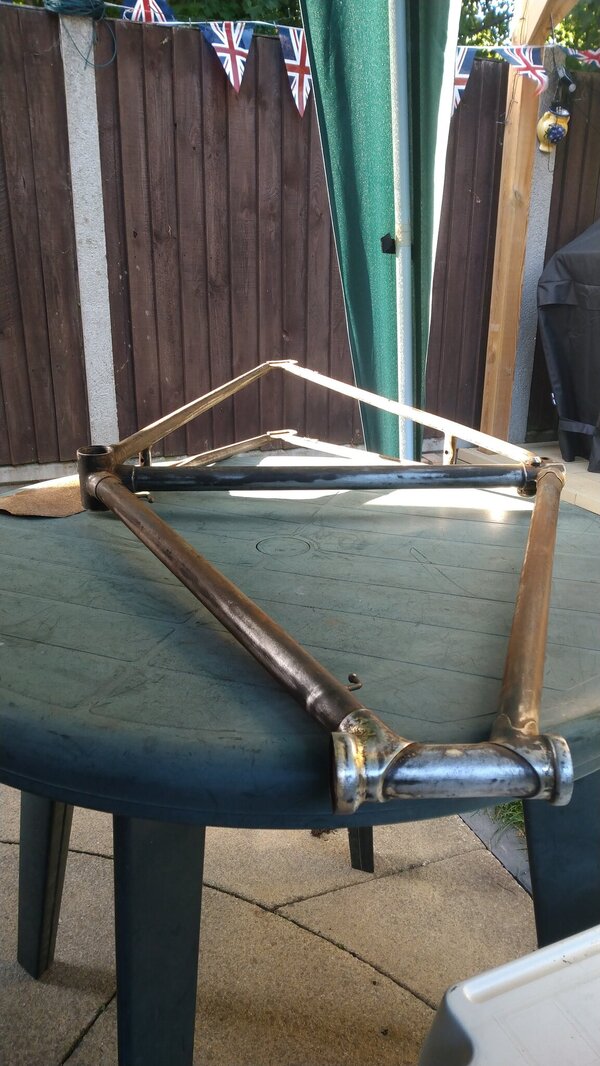
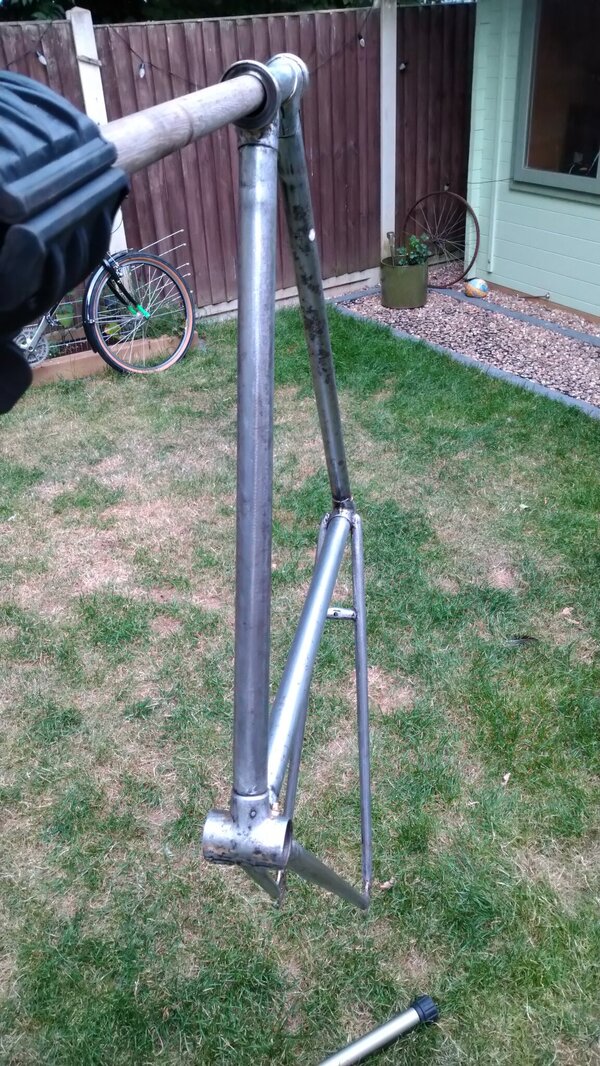
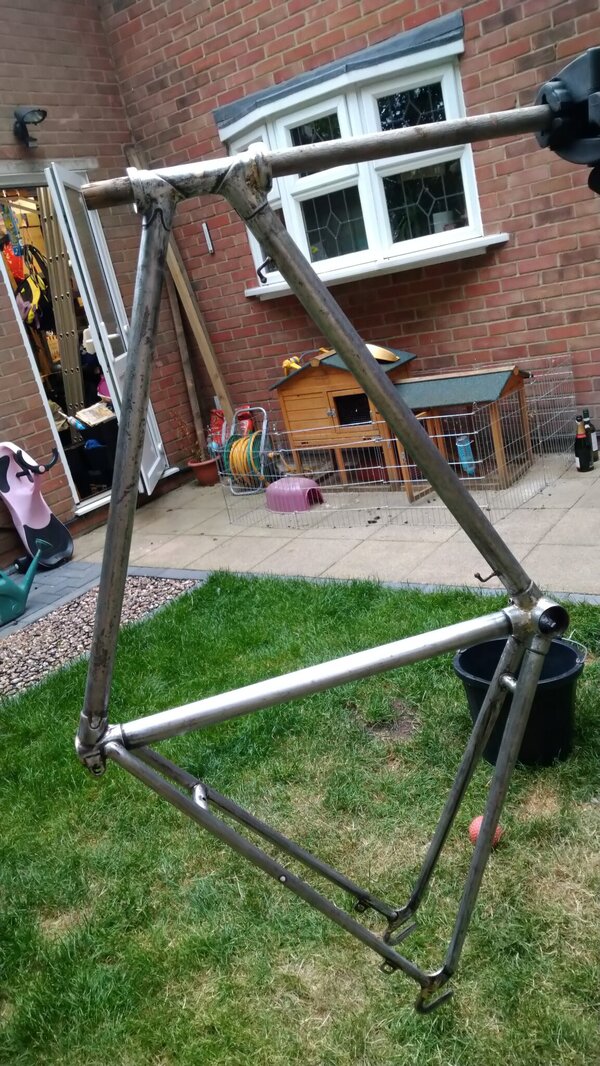
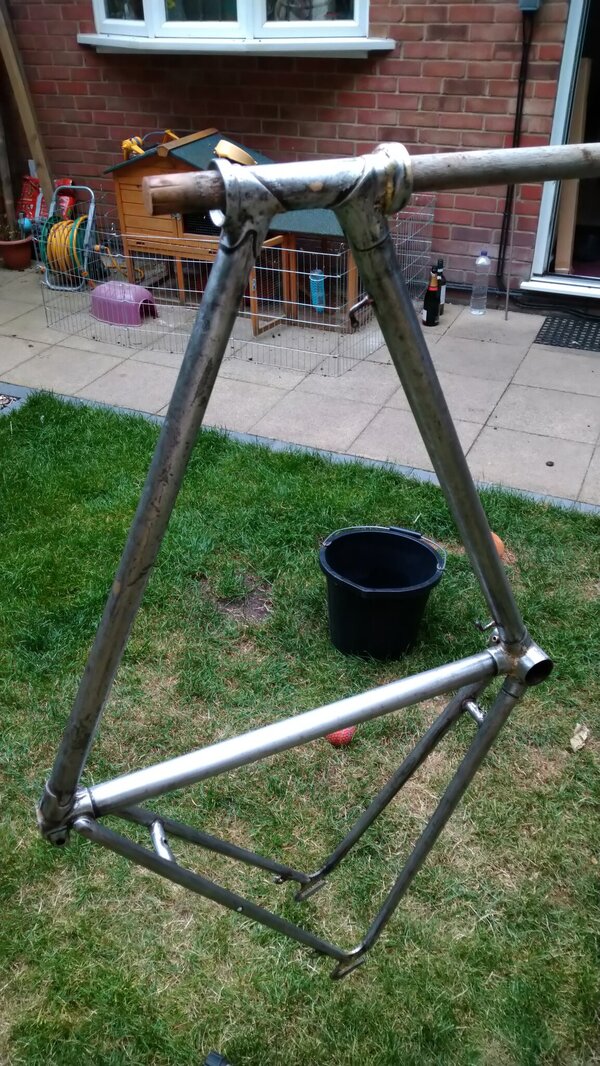
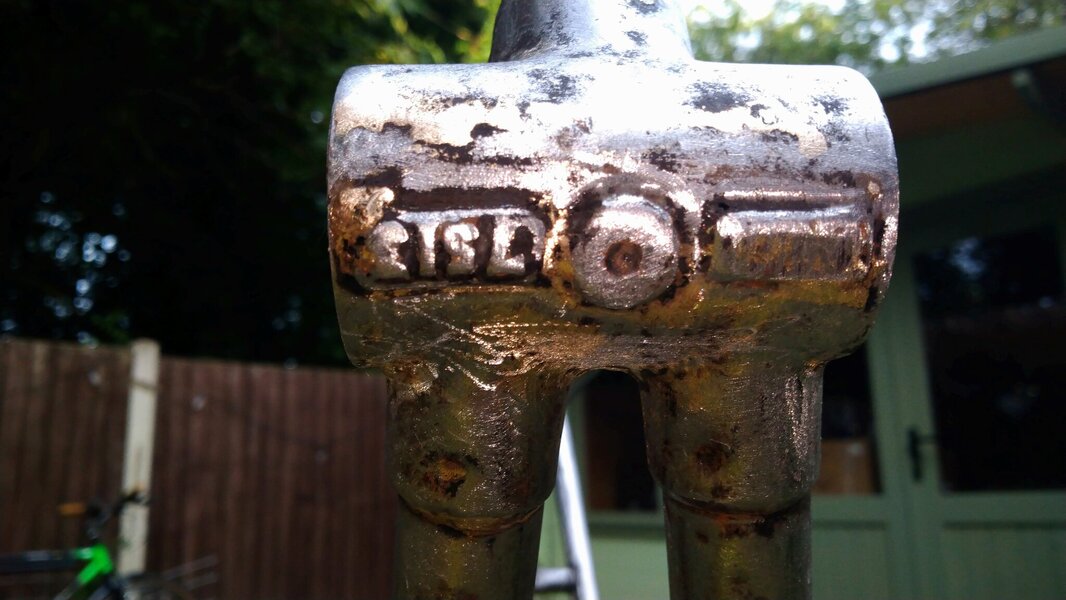
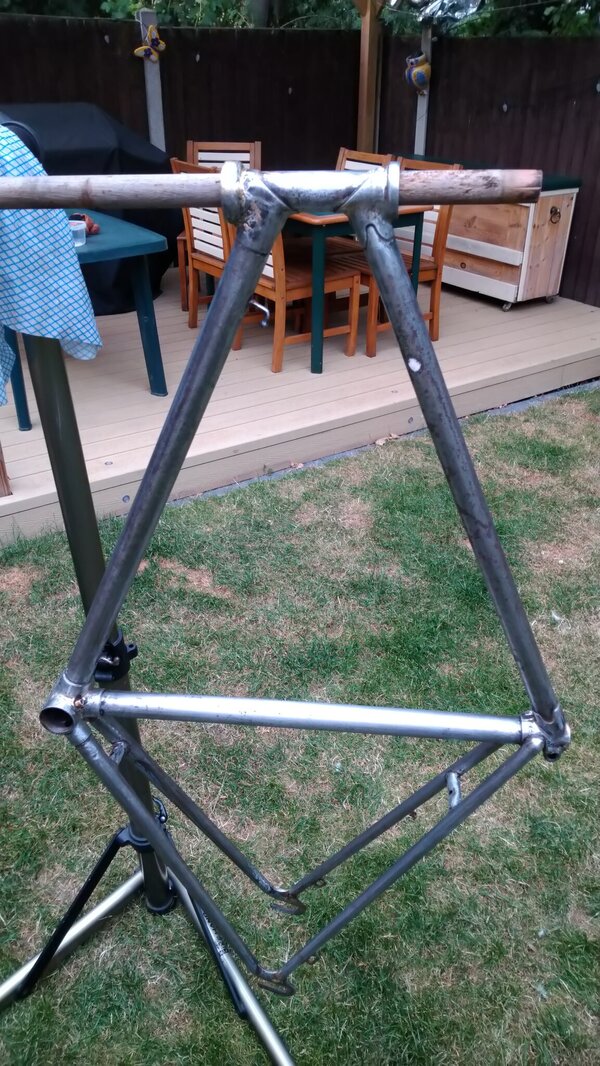
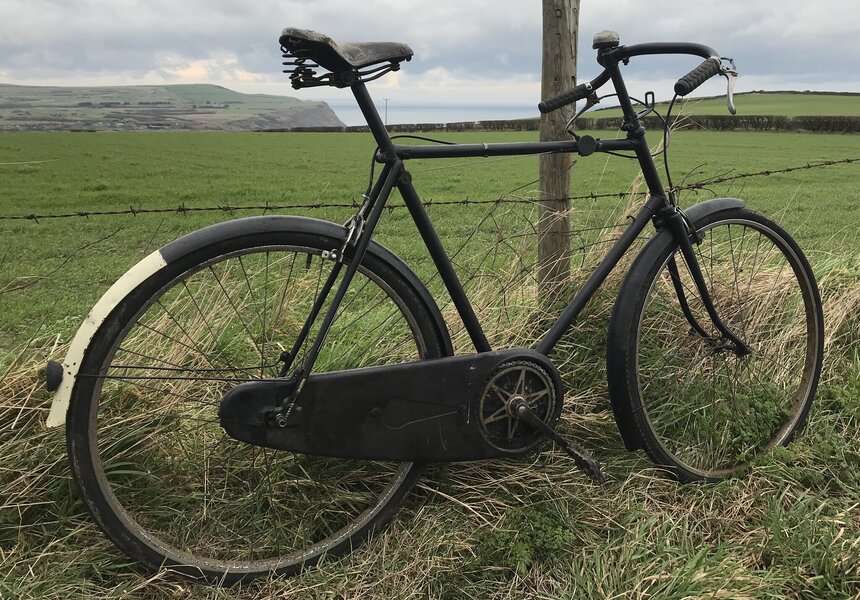
This is my father-in-law’s old bike that he bought when he was 13. I was given the bike by his son who had it for 20 years in his garden shed and he had planned to restore it to a working condition but recently concluded that he wasn’t going to do anything with it. I had reservations as it was in a bad way but if the post, stem and bb would come out, then it had potential. Interestingly enough it has a 110mm rear drop out, 90mm front drop out on the forks, and takes a 26 x 1 3/8 wheel. Frame and forks weigh in around 4kg. Plan is to strip off the paint and see what condition it is in and go from there. I will keep it single speed (flip/flop hub) but not sure whether to try out 700c or to stick with the 26 x 1 3/8 size wheels which I have found on eBay with the correct hub width for a reasonable price.

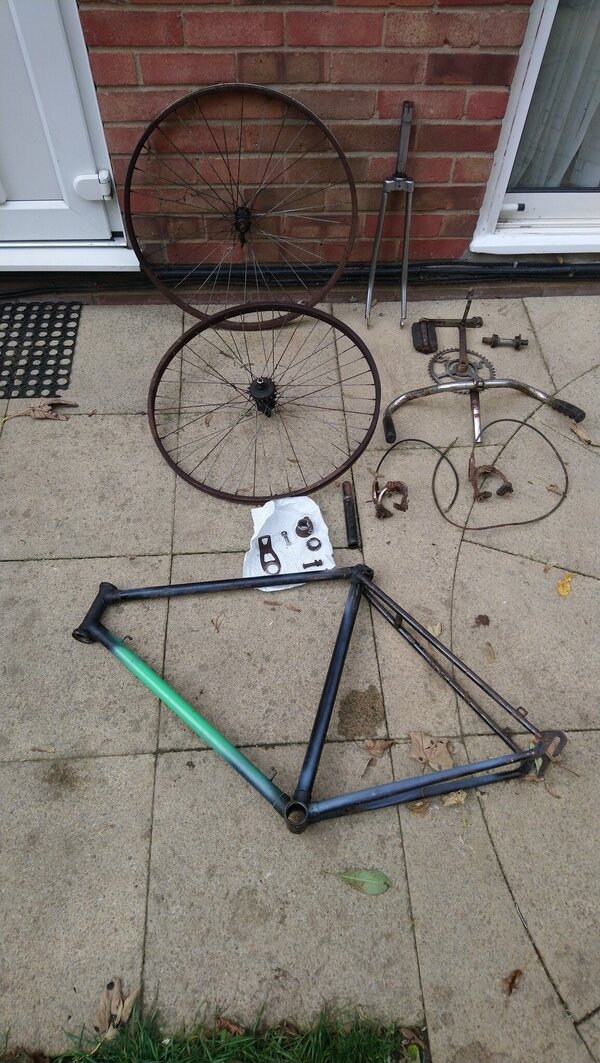
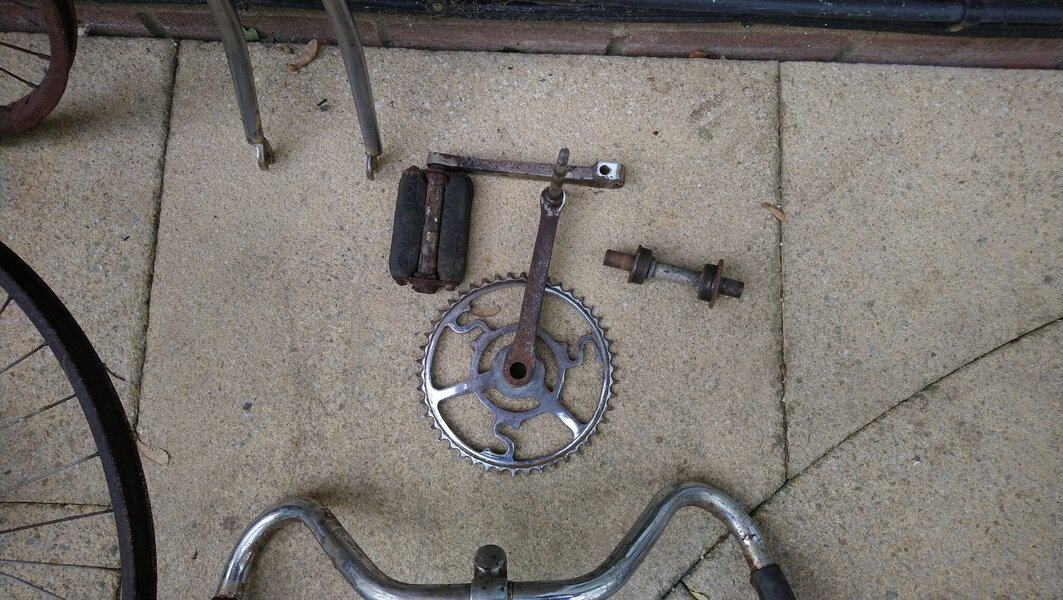
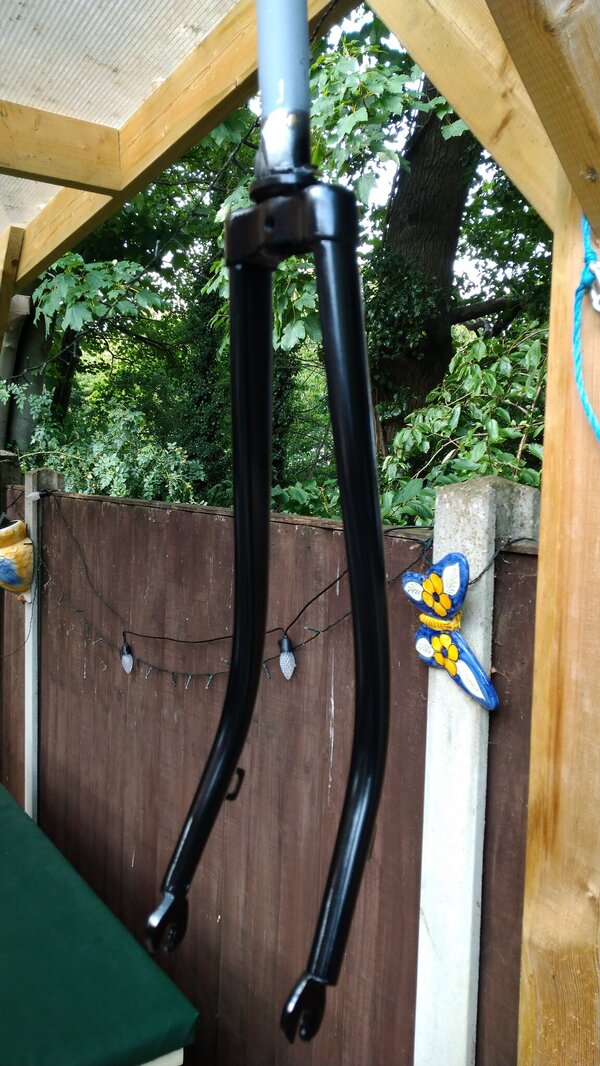
All the bits came off okay with help from penetrating oil. The pedals are stuck in the cranks and will need work but I will probably go for a cotterless crank and bb. So far the forks have come up well after sandpaper rub down. Next will be working on the frame.
 

Attachments

  • B98FE4B0-C7F6-47F9-A28F-F5508F824E69.jpeg
    B98FE4B0-C7F6-47F9-A28F-F5508F824E69.jpeg
    512.8 KB · Views: 55
  • F88E744D-AE9B-400E-BC69-D57F34AC97BD.jpeg
    F88E744D-AE9B-400E-BC69-D57F34AC97BD.jpeg
    494.7 KB · Views: 51
  • 99951DAA-50A4-4EA4-BC02-F2F1C4902A90.jpeg
    99951DAA-50A4-4EA4-BC02-F2F1C4902A90.jpeg
    598.2 KB · Views: 48
  • 92D65B7F-048D-457A-B013-3D9237DE7531.jpeg
    92D65B7F-048D-457A-B013-3D9237DE7531.jpeg
    706 KB · Views: 44
  • 80FFB2AE-EB72-4A2F-A6BB-A43F2639C3F1.jpeg
    80FFB2AE-EB72-4A2F-A6BB-A43F2639C3F1.jpeg
    730.9 KB · Views: 41
  • D152EB91-0436-4CBD-B518-5E9114B02CAD.jpeg
    D152EB91-0436-4CBD-B518-5E9114B02CAD.jpeg
    668.6 KB · Views: 40
  • A951AB6C-4EE3-406B-A5A8-613C75CDC245.jpeg
    A951AB6C-4EE3-406B-A5A8-613C75CDC245.jpeg
    588.6 KB · Views: 39
  • 965B795A-B4EE-48C8-8E8A-C5CCA24DB183.jpeg
    965B795A-B4EE-48C8-8E8A-C5CCA24DB183.jpeg
    714.7 KB · Views: 52
The frame has a pre-war appearance, but the brakes are post war BSA. Not uncommon in the 40s for makers to use up anything they had.
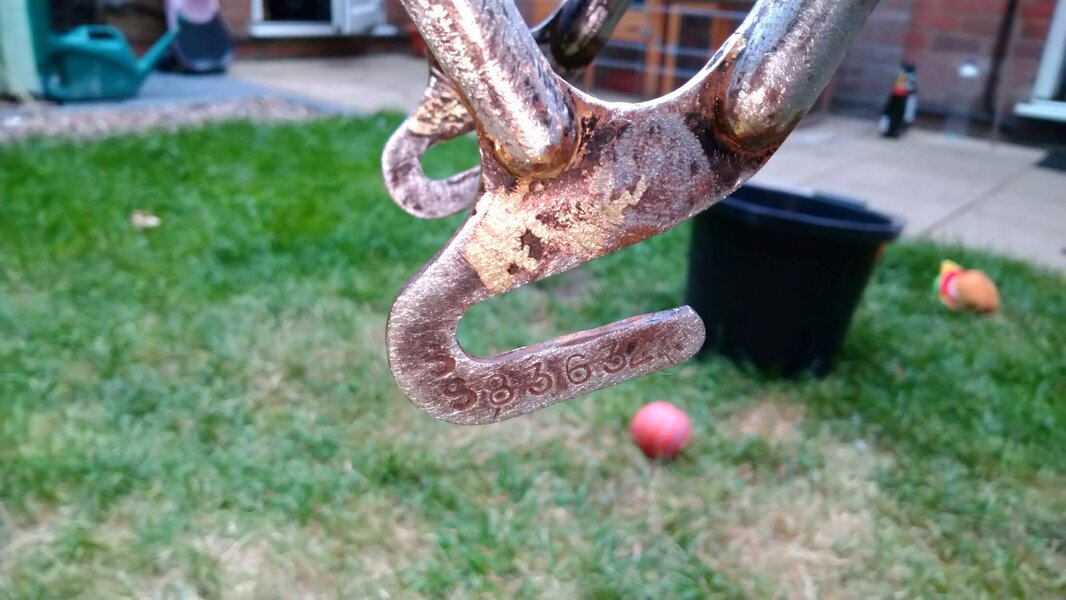
1949 would be a fair guess, possibly a bit earlier.. Are the hubs and bracket set BSA?

Keith
 
Lovely, would be a shame to lose that chainwheel.

Heat is your friend, get the crank in a sturdy vice and a blowtorch on axle, get it red hot and dribble a bucket of water on it.

Do this a few times and then use a well fitting spanner.

You can also chop the axle down if you think you can get a decent socket on it.
 
As long as you have a solidly fixed vice the best method is to clamp the axle flats in the vice then put a big smooth-jawed adjustable spanner on the flats of the crank at the BB end. Nothing beat us using that method.
 
Thanks guys for your comments and duly noted regarding tackling the pedals. I don’t have a sturdy vice but I may know a neighbour who can help out. The bb axle has Bayliss Wiley Made in England stamped on it. The hubs are rusty but I will see if I can get a name or marker stamp. From what I have read on line about Sunbeam in the 1940s, the company had frames left over from before the war and sold what they had post WW2, so you are probably correct in your assumption Keith. Again, a few models were on offer, one with rod brakes and the other with calipers plus different handlebars could be chosen. It would be interesting to know what the tube set is and I presume that it the frame and forks would have been hand built? I do like the cranks and it would be nice to use it but not sure if using a cotterpin bb would be worthwhile but I would keep them if I changed my mind in the future.
 
Last edited:
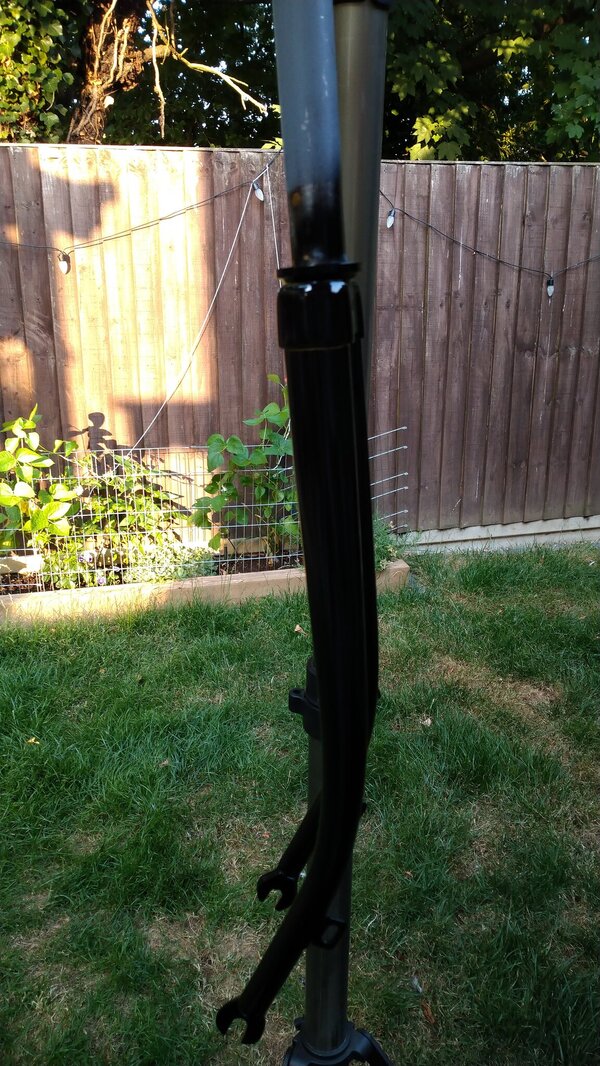
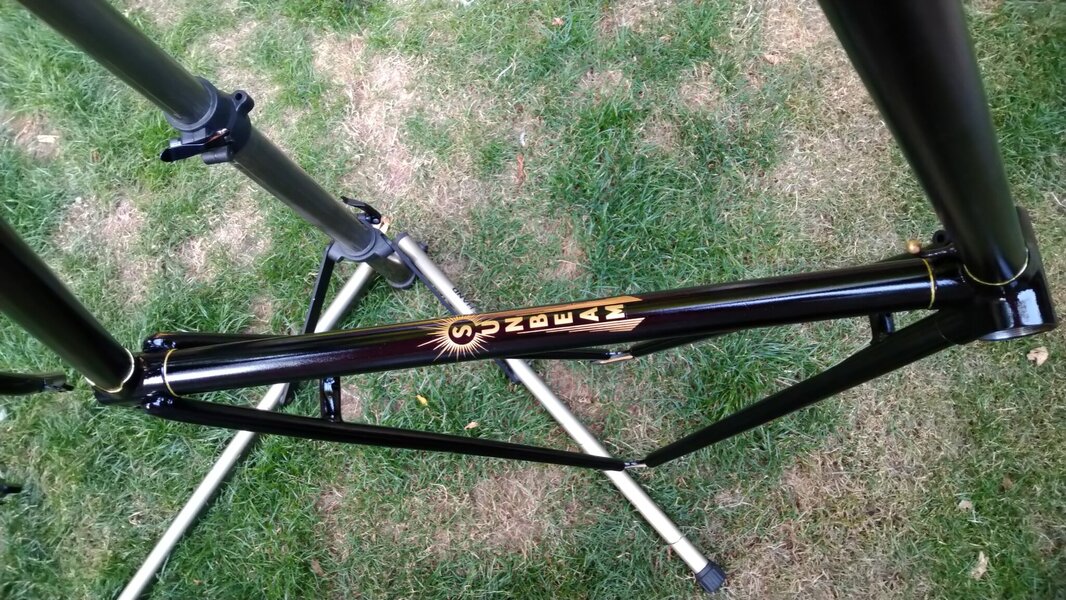
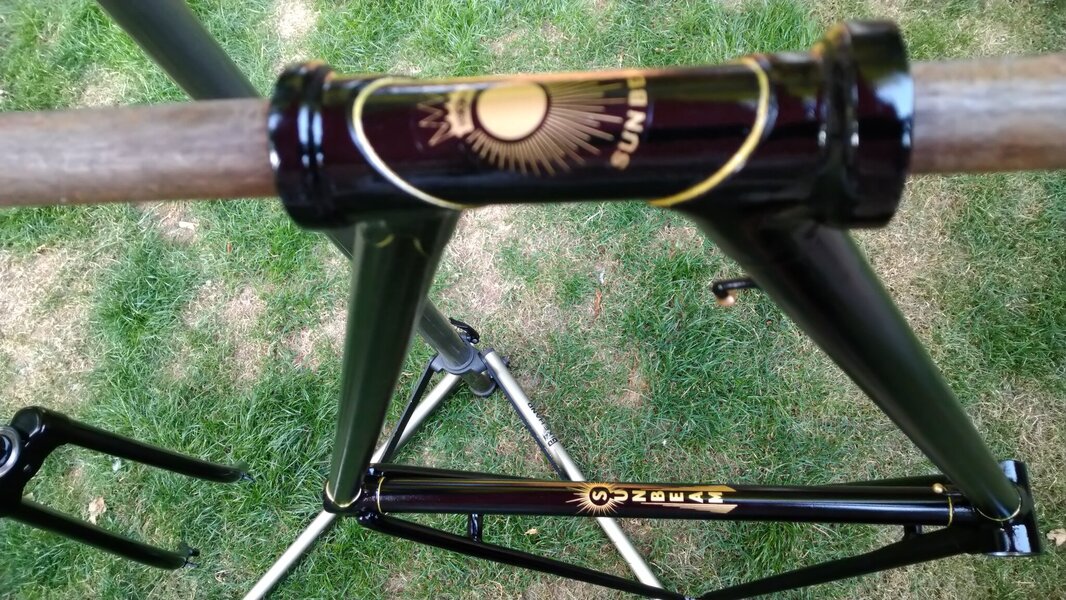
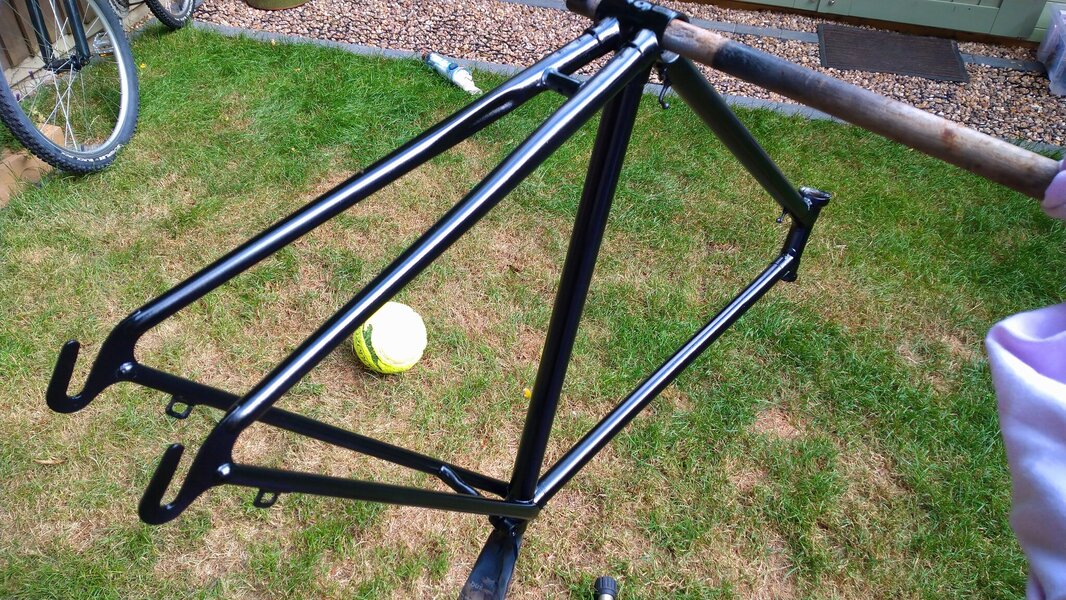
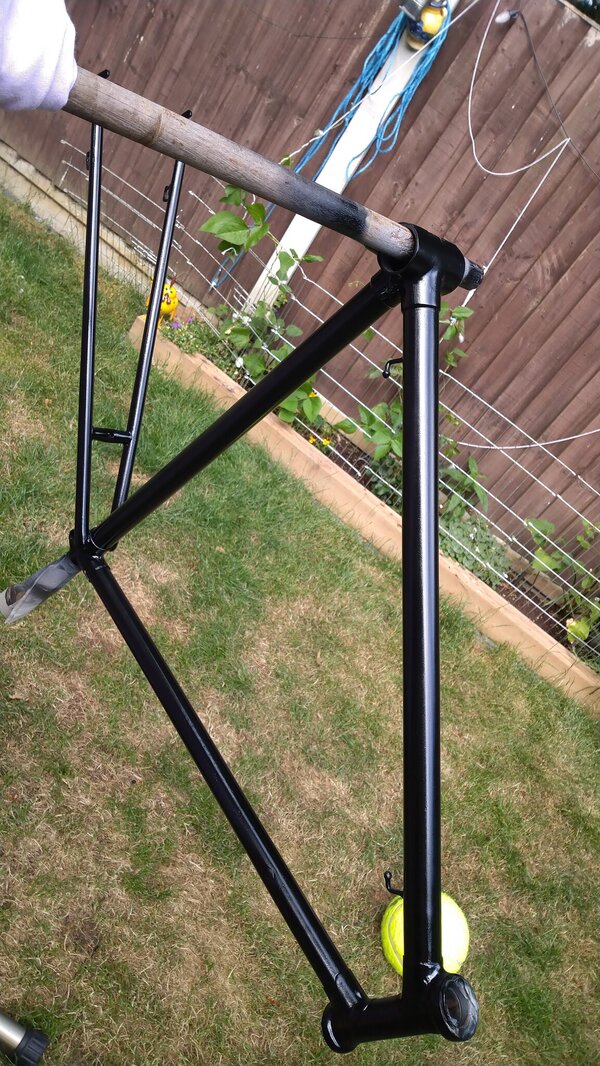
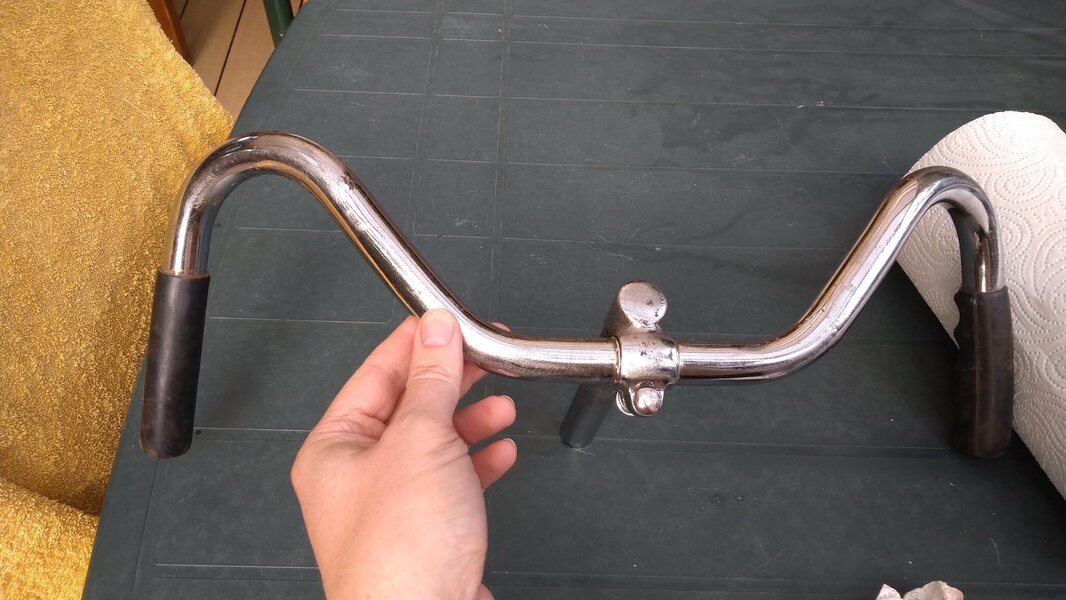
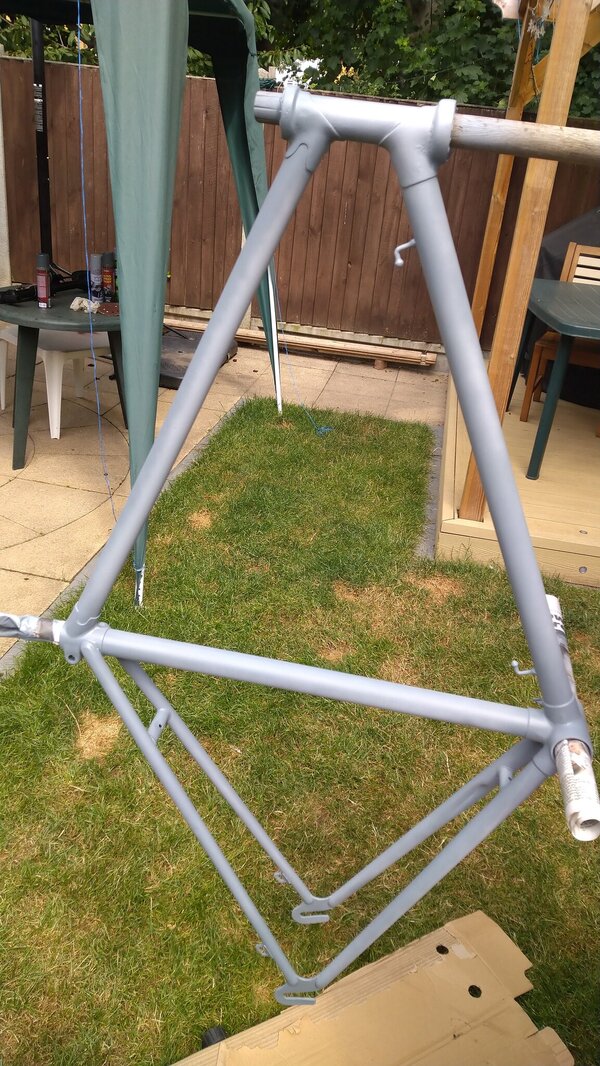
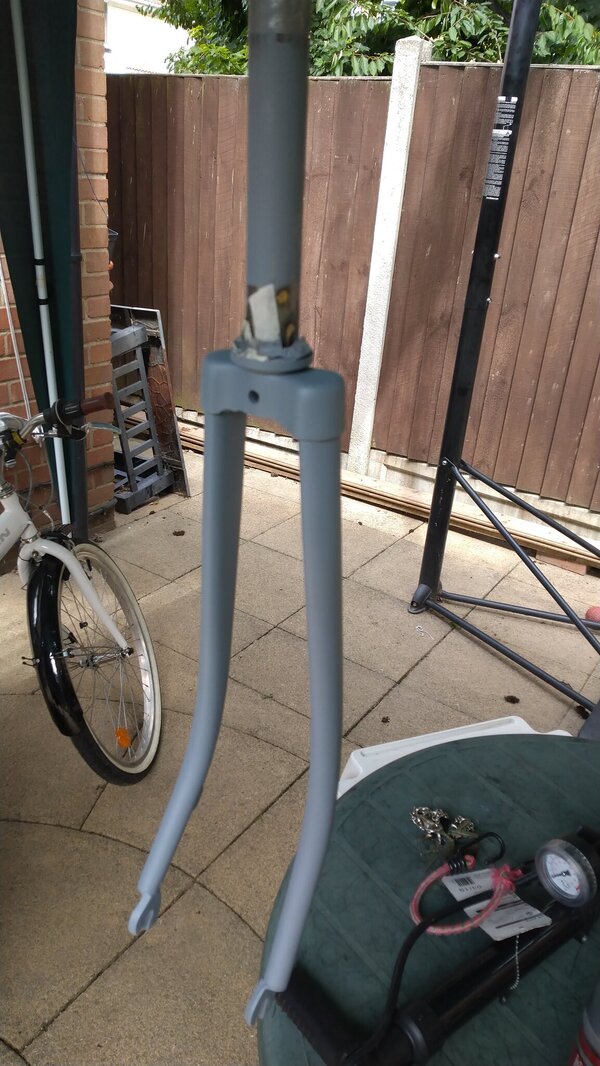
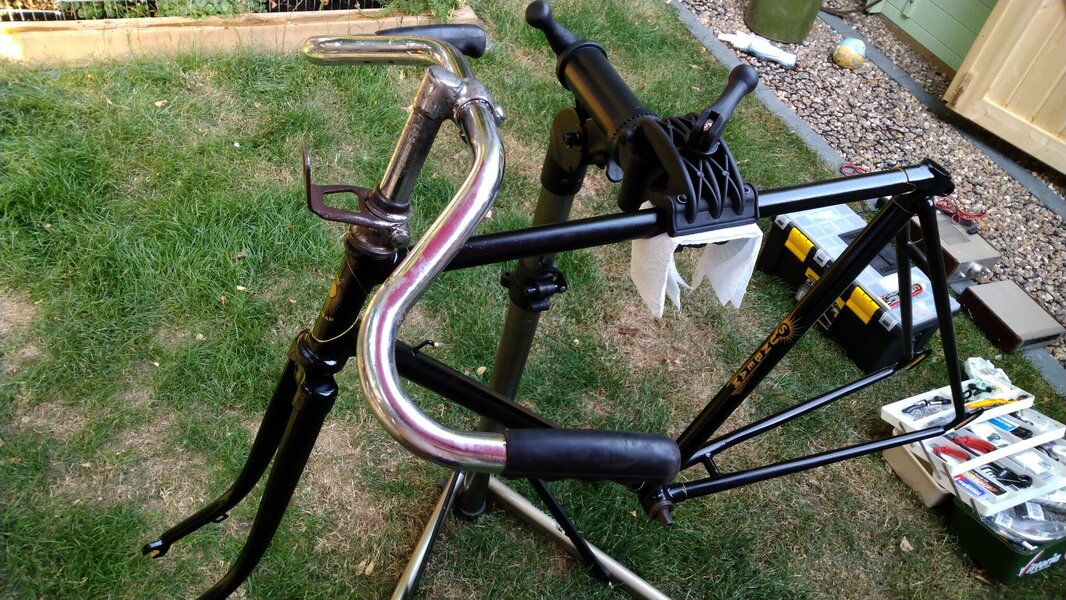
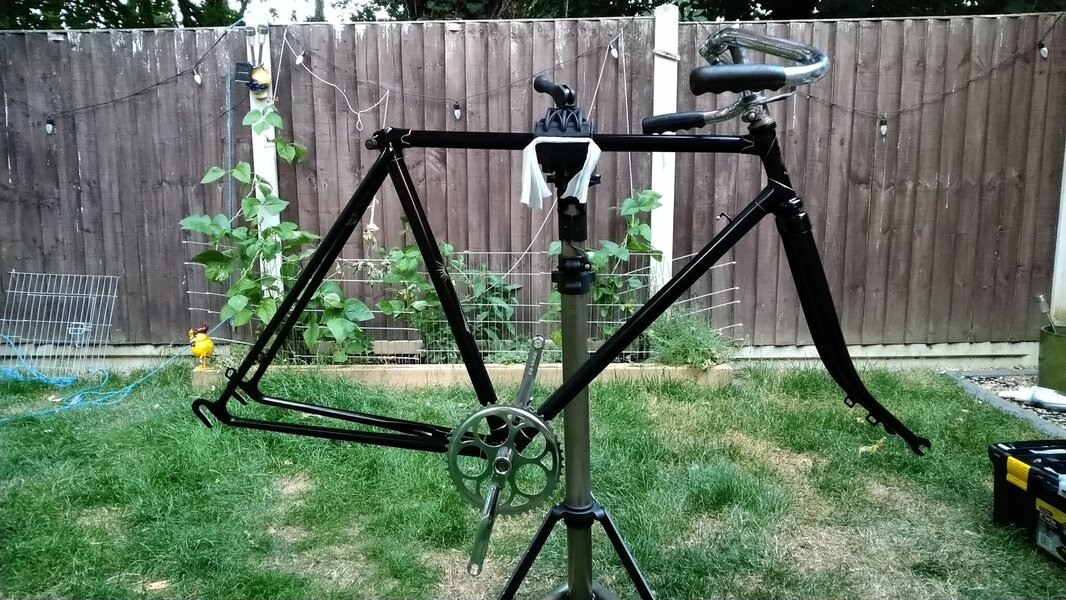
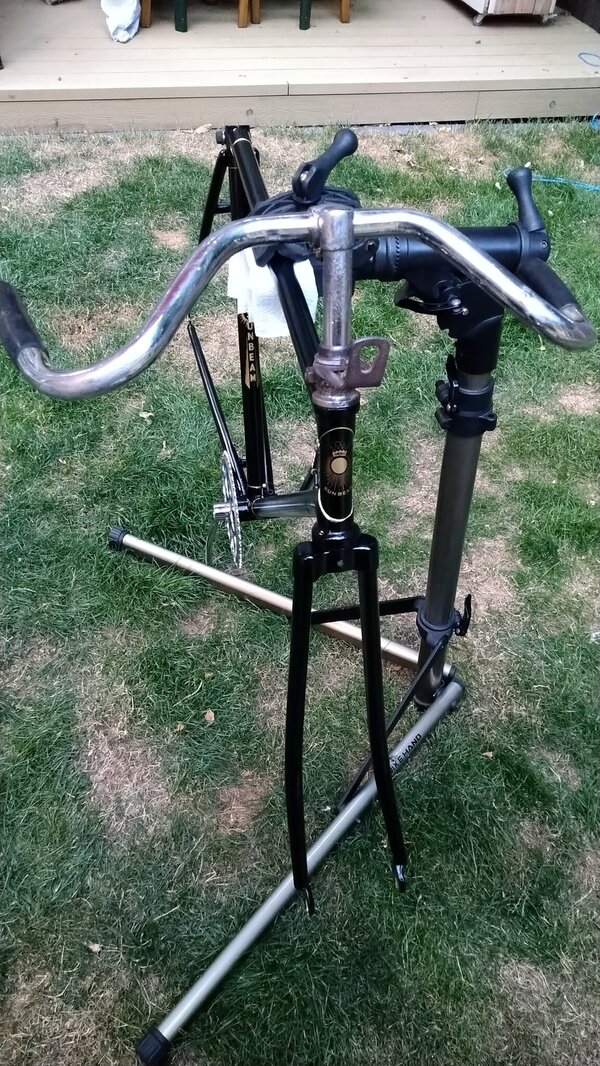
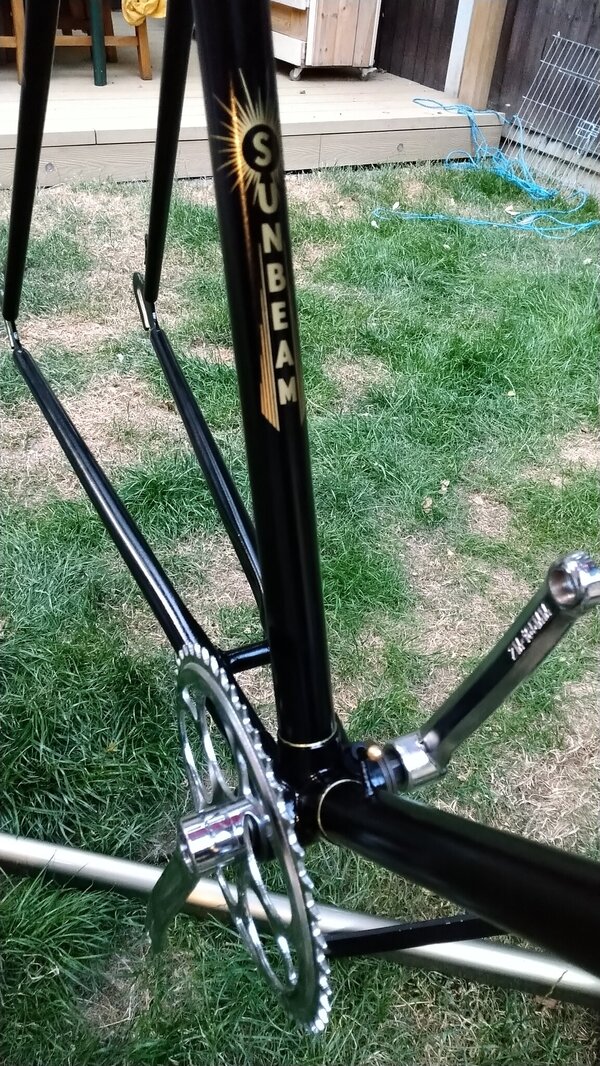
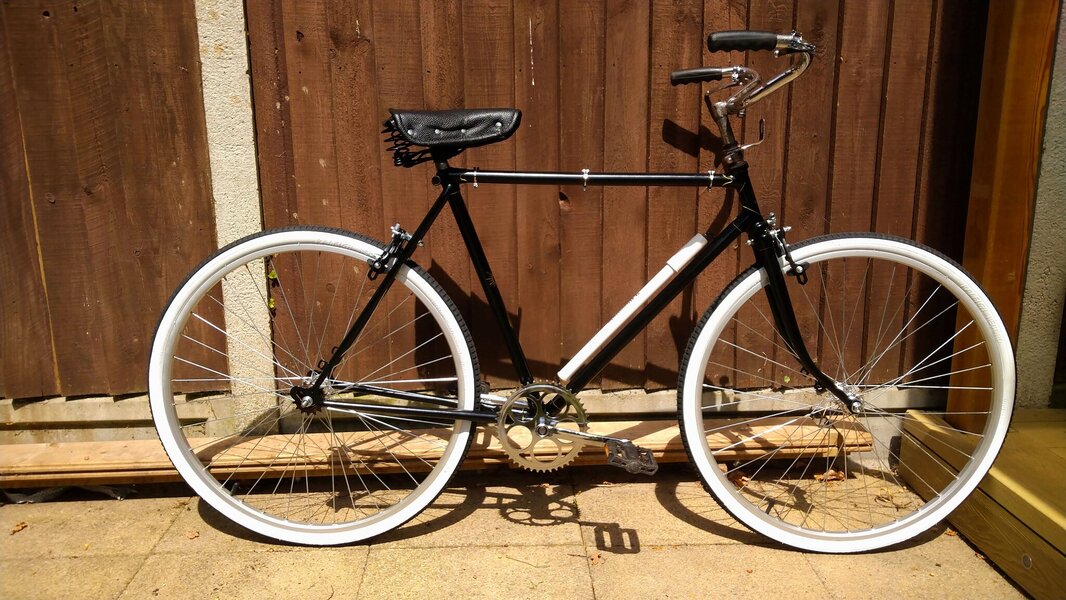
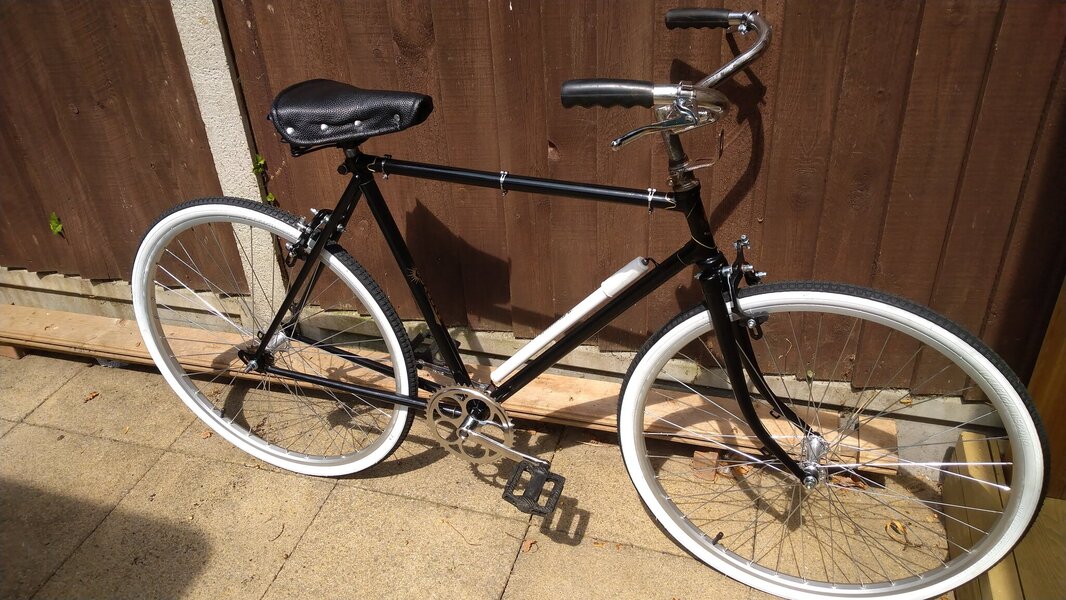
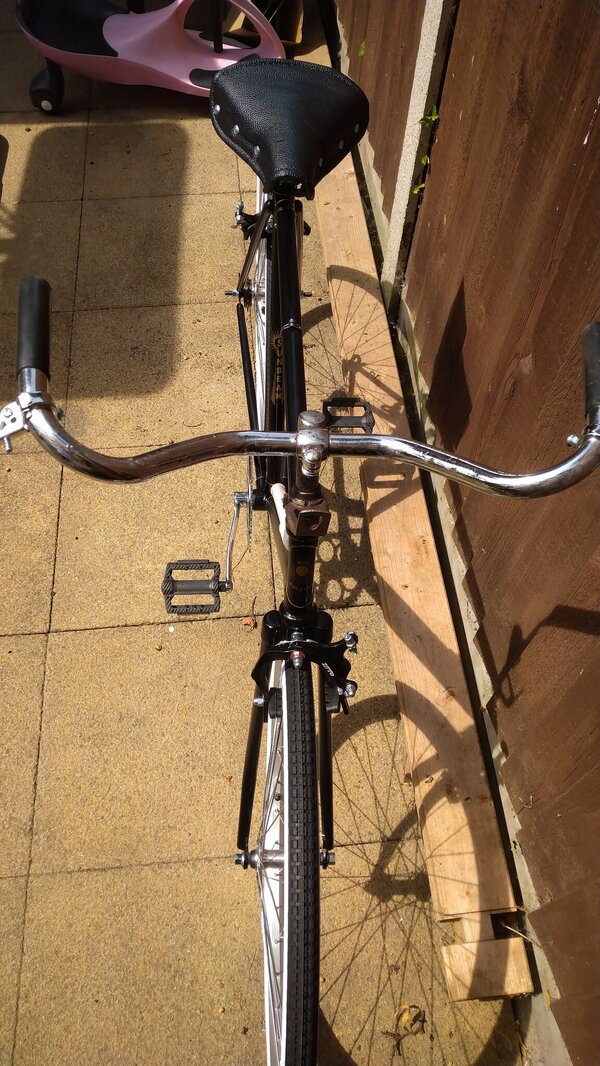
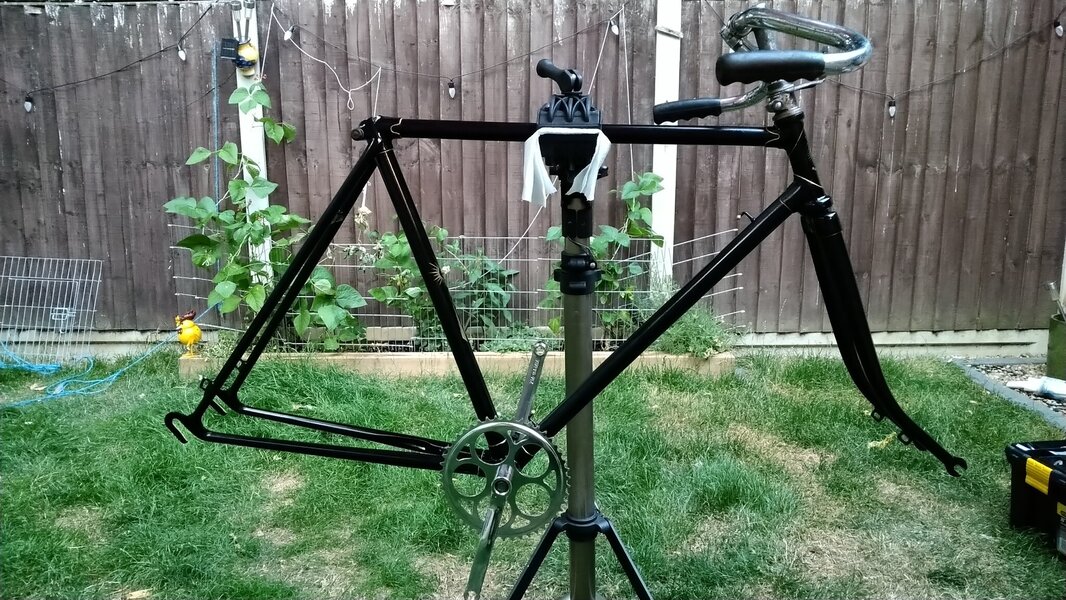
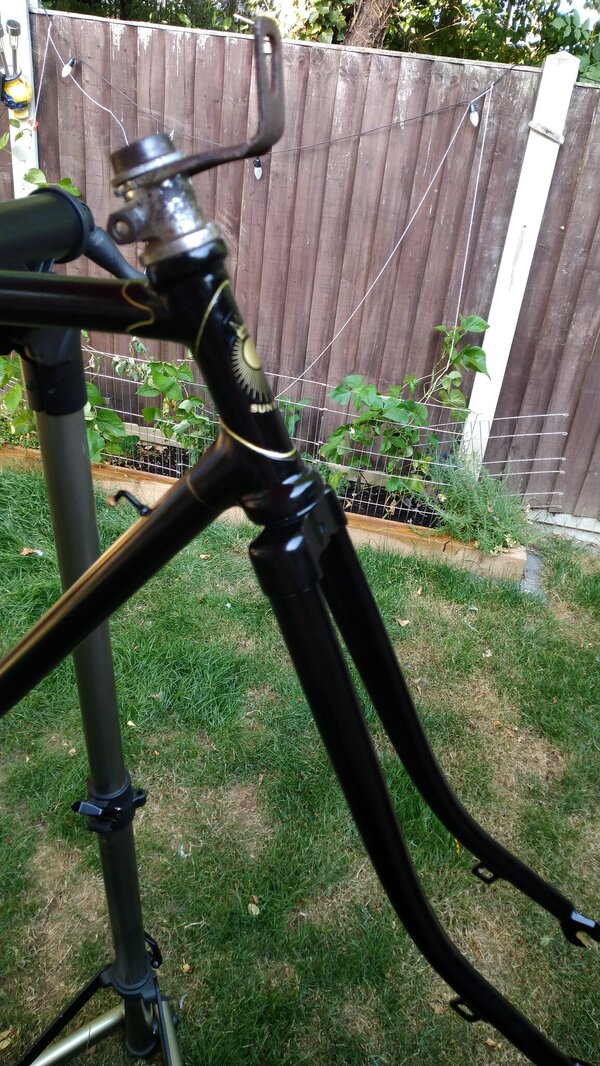
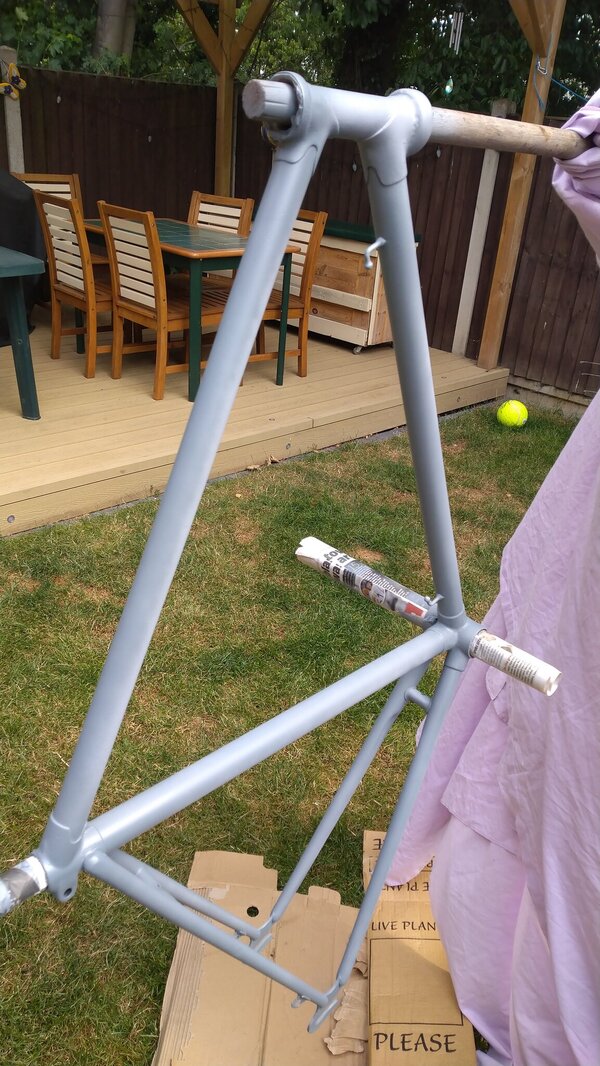
Well, I've been working on this as and when I had spare time. With the better sunny weather in June, I decided one Sunday to tackle the paint on the frame and rust. I used some Wickes paint stripper I had lying around to try and soften the paint which was pretty hardy. I don't know if the paint was truly original but it may have seen a lick of paint since the 1940s but the true state of it meant it was hard to tell and besides, the surface of the tubes were pretty rusty. Before spending anymore wonga on this project, I would see what the condition the tubes were in. After the stripper which basically soften the paint, I stripped it off with a scraper. It took two attempts and half a day with paint stripper. I then used some course sandpaper to remove what was left and also used an electric sanding disc to save time. Tubes seemed solid but some pitting here and there. Luckily the rust hadn't penetrated through and structurily, it seemed sound to start the project. With the good weather, I primed the frame with a few coats and over the space of a week when time permitted, then applied the colour base coat of black to keep it original to its era. To keep costs down, some black gloss paint in a can from poundland was applied. I was surprised as to how decent this was and gave a nice glossy finish. A can did a few coats. I left the frame and forks in the sun to bake over the course of a couple of weeks whilst working from home 🙂. In the meantime, I got busy ordering the wheels - 26x1 3/8, rear 3/8 axle with 110mm and front was 5/16 axle and 90mm. Got a new pair off ebay with tyres from bankrupt cycles, with tubes and tyres for a reasonable price. Handle bars, stem, headset were cleaned up, firstly, left in cheap Morrisons coke for a week to remove and soften the rust. This did a decent job and it actually worked. I then used tin foil dipped in water to clean off the rust on the chrome. This helped keep the good chrome in tact and not damage it. I will leave it as is as it gives it some history and patina. The original side pull brakes were beyond a clean and repair and so I sort some off ebay. I would have like chrome or silver but could only source the correct drop cheaply in black. Got some period looking parts such as chrome levers, a chainset a springy saddle off ebay too. I got a gold metallic pen to line the lugs and I sourced some period decals off H Lloyd website, applied these when the paint had hardened sufficiently and applied a couple of coats of lacquer. Built it up and just need to add cables. May go with white to match the white walls.
 

Attachments

  • DSC_1007.JPG
    DSC_1007.JPG
    429.5 KB · Views: 15
  • DSC_1008.JPG
    DSC_1008.JPG
    339.1 KB · Views: 12
  • DSC_1009.JPG
    DSC_1009.JPG
    378.6 KB · Views: 12
  • DSC_1010.JPG
    DSC_1010.JPG
    423.7 KB · Views: 12
  • DSC_1516.JPG
    DSC_1516.JPG
    641.3 KB · Views: 12
  • DSC_1515.JPG
    DSC_1515.JPG
    544.3 KB · Views: 11
  • DSC_1514.JPG
    DSC_1514.JPG
    579.8 KB · Views: 12
  • DSC_1510.JPG
    DSC_1510.JPG
    281.5 KB · Views: 12
  • DSC_1511.JPG
    DSC_1511.JPG
    284 KB · Views: 12
  • DSC_1512.JPG
    DSC_1512.JPG
    554.1 KB · Views: 15
Last edited:
More pics
 

Attachments

  • DSC_1665.JPG
    DSC_1665.JPG
    646.2 KB · Views: 15
  • DSC_1661.JPG
    DSC_1661.JPG
    595.4 KB · Views: 16
  • DSC_1662.JPG
    DSC_1662.JPG
    615.3 KB · Views: 15
  • DSC_1577.JPG
    DSC_1577.JPG
    959.1 KB · Views: 17
  • DSC_1578.JPG
    DSC_1578.JPG
    466.5 KB · Views: 15
  • DSC_1579.JPG
    DSC_1579.JPG
    636.2 KB · Views: 14
  • DSC_1580.JPG
    DSC_1580.JPG
    357.6 KB · Views: 13
  • DSC_1571.JPG
    DSC_1571.JPG
    650.3 KB · Views: 12
  • DSC_1572.JPG
    DSC_1572.JPG
    416.9 KB · Views: 14
  • DSC_1570.JPG
    DSC_1570.JPG
    532.2 KB · Views: 15
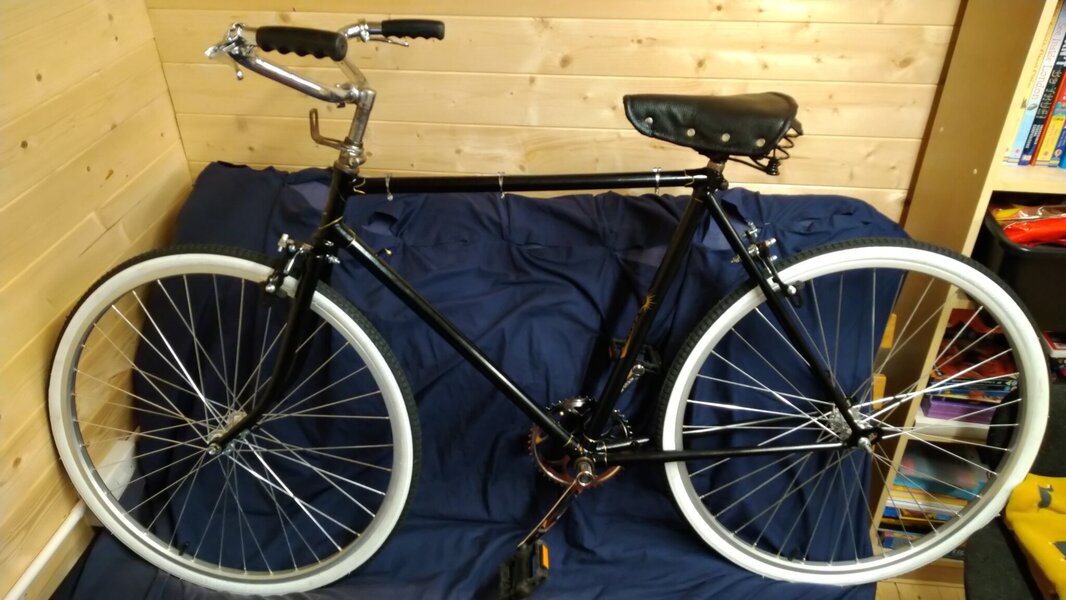
If I was to do it again with a bigger budget, I would consider getting the frame powder coated for durability but I may do this later on. The practice I have had lug lining and applying the decals has given me the confidence in my ability that I could do it again. I did dry test the handlebars in the down position with the stem facing back towards the seat, which I think was how it was when it was last in a rideable state. However, for comfort and safety and for my 86 year old father-in-law to try and throw his leg over again, the bars and stem are in a more traditional position. Once all the family have had a go, I may revert it back to the lower position for a more racer look.
 

Attachments

  • DSC_1672.JPG
    DSC_1672.JPG
    711.3 KB · Views: 28
  • DSC_1675.JPG
    DSC_1675.JPG
    638.6 KB · Views: 24
  • DSC_1677.JPG
    DSC_1677.JPG
    709.7 KB · Views: 22
  • DSC_1678.JPG
    DSC_1678.JPG
    712.2 KB · Views: 22
  • DSC_1679.JPG
    DSC_1679.JPG
    276.7 KB · Views: 28
  • DSC_1687.JPG
    DSC_1687.JPG
    524 KB · Views: 35
  • DSC_1688.JPG
    DSC_1688.JPG
    585.1 KB · Views: 32
  • DSC_1689.JPG
    DSC_1689.JPG
    646.4 KB · Views: 29
  • DSC_1674.JPG
    DSC_1674.JPG
    645.3 KB · Views: 28
  • DSC_1669.JPG
    DSC_1669.JPG
    658.8 KB · Views: 29
Last edited:

Latest posts

Back
Top