RockShox issue - Help please

Sharpie1969

Retro Newbie
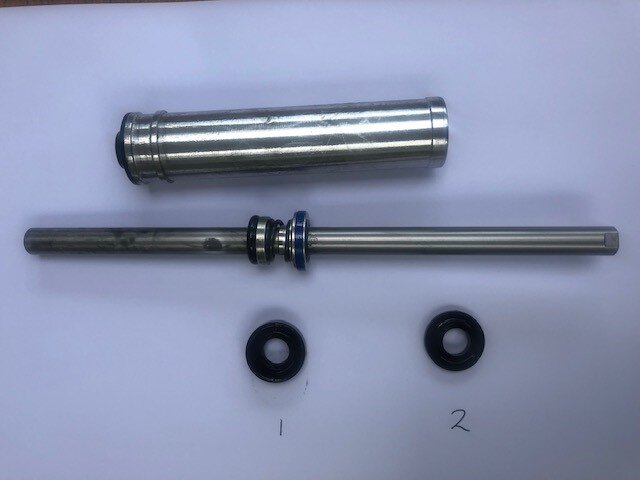
hello I hope someone can help me - I am try to replace my elastamers on my RockShox judy sl, I have seen a few videos on You tube - it seems straightforward - I have parts ready to buy from SRP - but having problem dissembling - video shows two Allen key nut at the bottom - is something wrong with mine? photo attached. Have removed one bolt, but have this red rod thing sticking out. thanks
 

Attachments

  • bike.jpg
    bike.jpg
    59.4 KB · Views: 29
The red rod is the rebound adjuster. It is a dial on top of a long and thin allen key fitting. It should just pull down/away from fork leg, revealing an Allen bolt like the one you've removed, but with a hole in for the adjuster allen fitting to go through and into the damper on the inside of the csu.
 
Ok, I have now removed the outer bit and have tried to push out the rod bits, but although they move when I look into the top part I see a white plastic thick washer that seems to be stuck and not allowing the rods to come out. I have put some grease into the shaft but is there a tool I need to use, or any suggestions on how to help shift them? thank you
 
If you are trying to remove the fork internals, you need to first separate the uppers from the lowers.

Screw the lower leg bolts in a few turns at least, then tap firmly with a rubber mallet until the bolts have moved inwards. This frees the damper rods from the lower leg taper. Remove the bolts and the uppers should pull out of the lowers.

If you want to remove the damper and dummy leg shaft from the uppers, you need to remove the circlips holding them in place. These are at the bottom of each upper tube. Once the circlips are removed you can pull out the damper and dummy led from the bottom.

Springs or elastomers are removed from the top, and before you remove the lower legs and dampers. If your crown has pinch bolts on the side, loosen them then unscrew the top caps, remove them and then pull out the springs or elastomer stacks. If elastomers, hope they haven't turned into a sticky mush, or crumbled into dust. If they have, clean out the mess but avoid using anything rough or abrasive. Hot soapy water and patience is what's needed.

Assess everything, clean, service if needed, then put it all back together, damper and dummy leg first (lubricate moving parts with a suspension grease. I have some fluid for the dampers and Judy butter. I also lube the bushings in the lower legs (after cleaning and drying) and fill the void under the wiper seals with judy butter too (new seals tend to have a bit of grease applied but I add some more if they look a bit dry).

Make sure you seat the circlips back on fully. Pop the uppers back into the lowers and tighten the bolts (make sure the one with the hole goes on the damper side). Tighten up, not too much or you can crack the lowers (don't know the correct torque, but if you find the number and have a torque wrench, use it).

Drop the elastomers or spring assembly back in, fit top caps, tighten crown pinch bolts (again, torque to correct pressure if you can), fit the damper dial and all done.
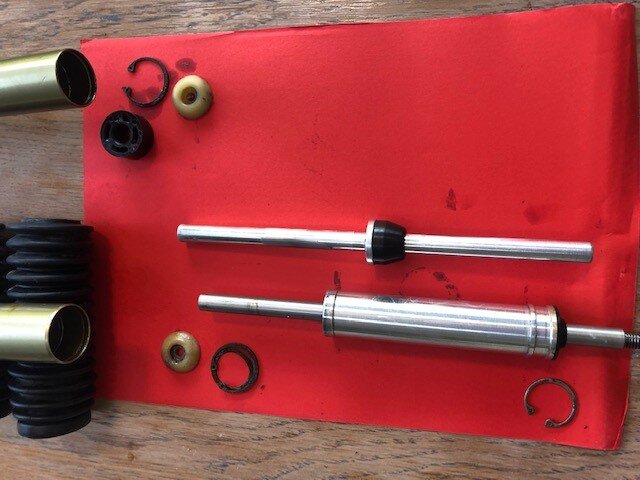
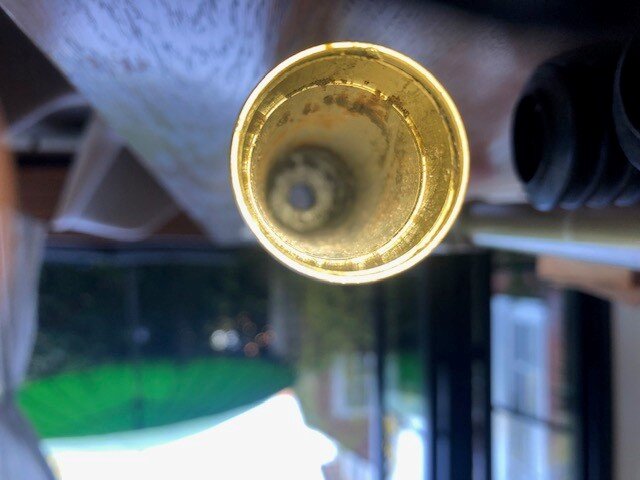
Thank you again. I have done as above. I have taken a photo of what I have removed. One elastimer was in pieces/dust the other came out whole. One leg of the fork is now empty, but the other has something in it - can this come out? Does the piston looking bit need to come apart for clean or is there a way I can clean as is?
 

Attachments

  • bits.jpg
    bits.jpg
    46.3 KB · Views: 8
  • ineer.jpg
    ineer.jpg
    36.1 KB · Views: 8
The white bit should come out.

Unless the damper isn't working or needs a service, I would clean it up, apply some suspension lube to the shaft and pop back in once you've got the elastomer dust out. I'd replace with springs if you can.

At least the damper is metal and not plastic, so servicing is an option if you ever want to.
 
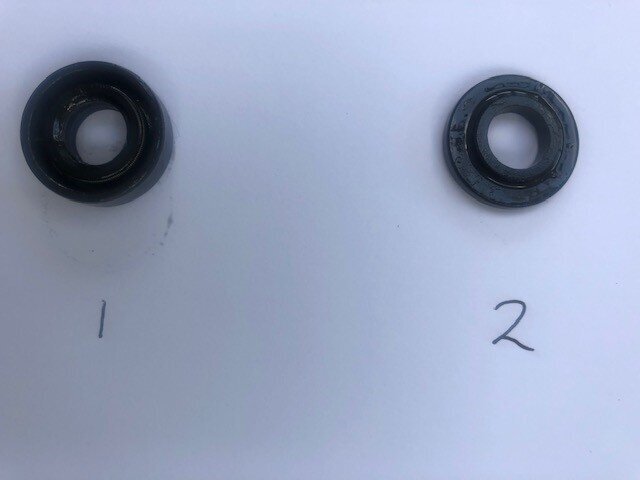
My new spring assembly has arrived. I have the diagrams of the Judy SL but need some help as i stupidly didn't take enough photo of the cartridge set up. I have two washers - do both fit into the cartridge? I know the slimmer one does and fixes with the spring washer at the bottom , can you help me on where fatter washer 1 goes? bike1.jpg bike2.jpg
 
Last edited:

Latest posts

Back
Top