You are using an out of date browser. It may not display this or other websites correctly.
You should upgrade or use an alternative browser.
You should upgrade or use an alternative browser.
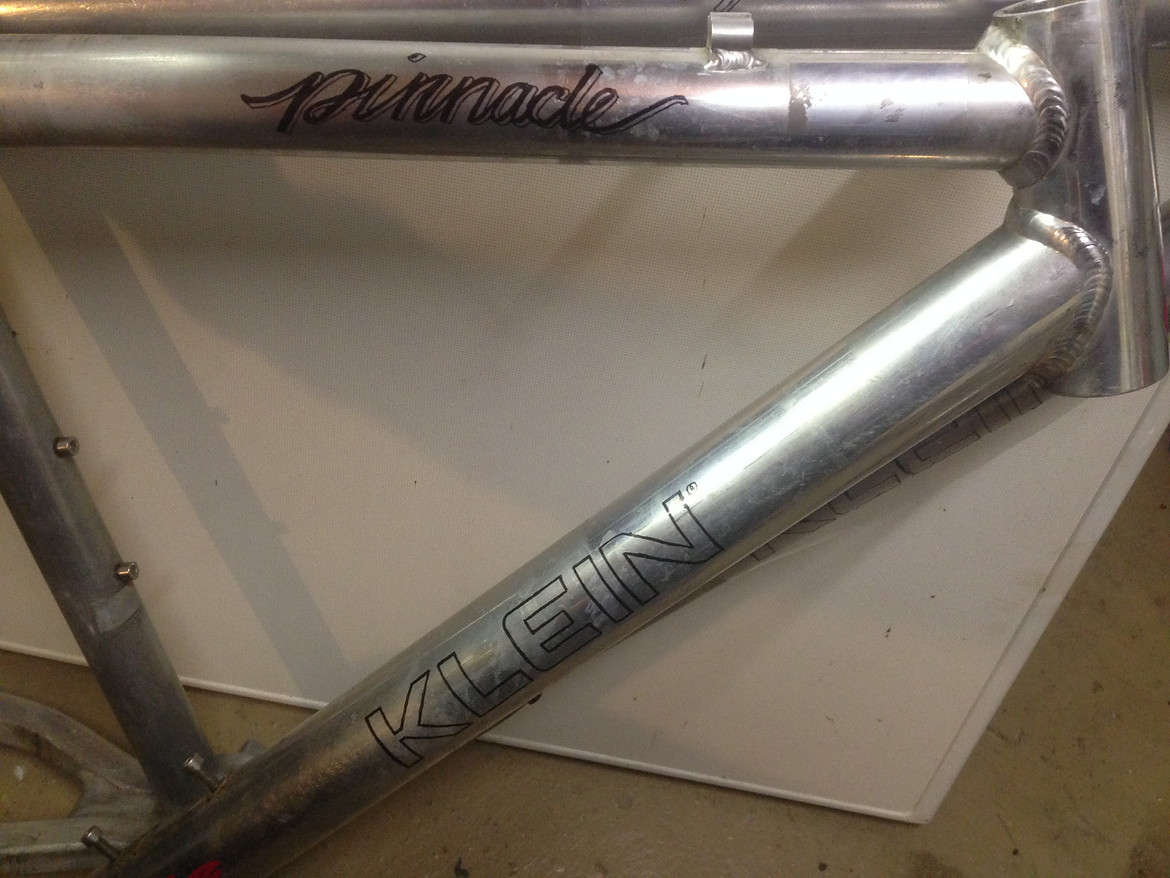
Rat Klein pinnacle build - Selfmade parts content!
- Thread starter Thias
- Start date
Thias
Klein Fan
With the brake stop kinda sorted nextup was the steerer situation.
The heasdset was absolutely knackerd. Whoever did that clearly had no clue. And apparently not the right tools.
As a reminder:
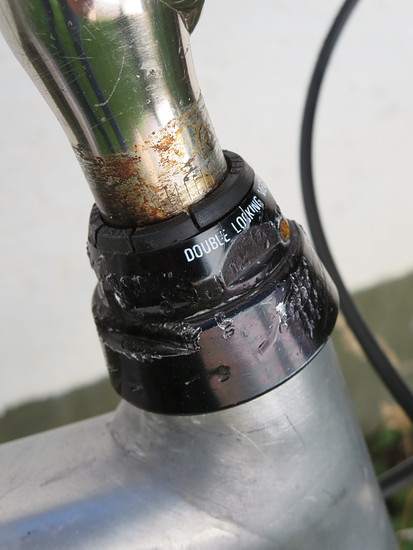
Did a bit of thinking back and forth. And as I am not particularly a fan when it comes to threaded headsets, I thought, maybe I should try and "rescue" this one by convertig it to ahead-set. Would fit the theme of this build quite nicely, wouldn't it?
So I proceeded to take it all apart while searching the interwebs about how a aheadset actually works. Of course I found some other guys that already did, what I had in mind. Nice to have some footsteps to follow.
First order of business, clamp the old scratched top nut/race into the lathe.
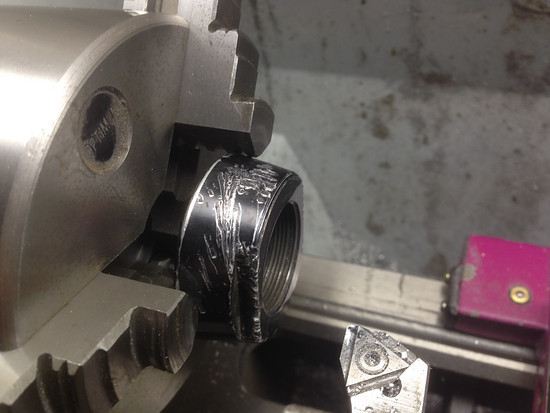
Then I shortened it and turned an inside taper. It would later fit the also tapered clamping ring, you can see in the following picture.

I lost the colseup pictures of those parts. But they fit together perfectly and this is how it looks like mounted to the frame:
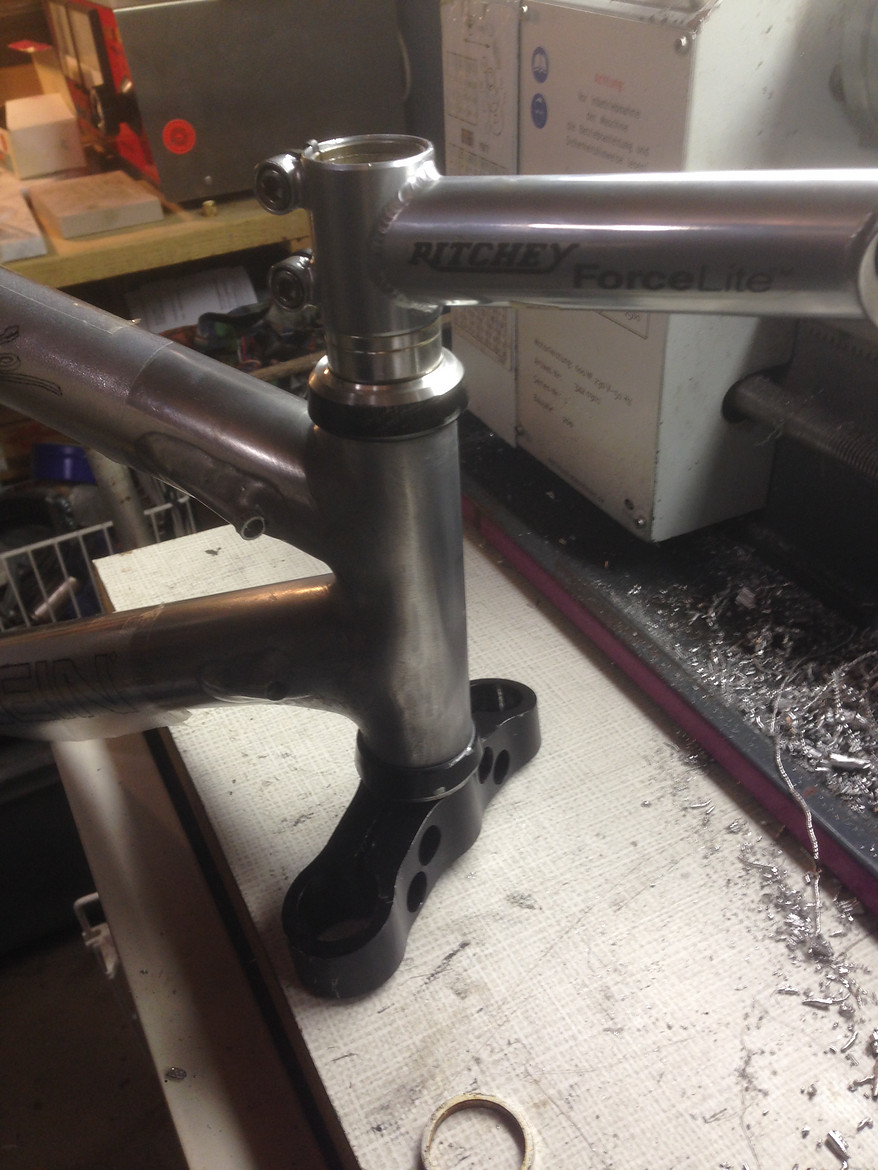
The former threaded headset is now an aheadset, using all the original cones and bearings. Those were still good, despite the outside appearance.
The heasdset was absolutely knackerd. Whoever did that clearly had no clue. And apparently not the right tools.
As a reminder:

Did a bit of thinking back and forth. And as I am not particularly a fan when it comes to threaded headsets, I thought, maybe I should try and "rescue" this one by convertig it to ahead-set. Would fit the theme of this build quite nicely, wouldn't it?
So I proceeded to take it all apart while searching the interwebs about how a aheadset actually works. Of course I found some other guys that already did, what I had in mind. Nice to have some footsteps to follow.
First order of business, clamp the old scratched top nut/race into the lathe.

Then I shortened it and turned an inside taper. It would later fit the also tapered clamping ring, you can see in the following picture.

I lost the colseup pictures of those parts. But they fit together perfectly and this is how it looks like mounted to the frame:

The former threaded headset is now an aheadset, using all the original cones and bearings. Those were still good, despite the outside appearance.
Last edited:
Thias
Klein Fan
Some of you may think: But what about the treaded steerer tube?
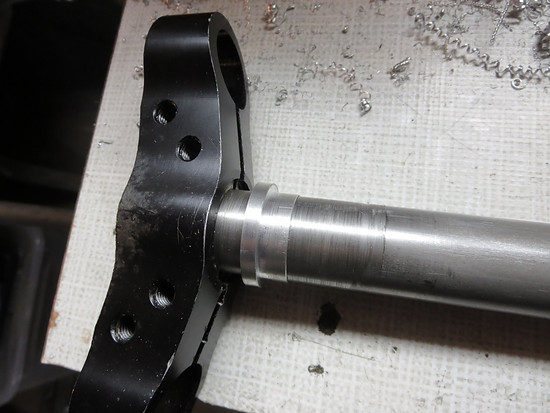
Yes. You are right. I had to swap it. Luckily I had some 1" RST fork laying around. I hacksawed its steerer to length and used it.
I had to make a new sleeve for the lower headset cup. The old one broke while hammering out the threaded steering tube.
Yes. You are right. I had to swap it. Luckily I had some 1" RST fork laying around. I hacksawed its steerer to length and used it.
I had to make a new sleeve for the lower headset cup. The old one broke while hammering out the threaded steering tube.

Thias
Klein Fan
The rest of the RS1 fork also needed some tlc.
First, of course, outer appearance.
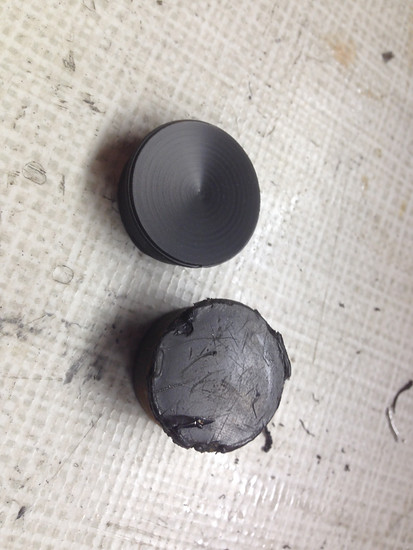
Second: The air filler valves and new oil. Some nice fellow rb-user messaged me a service manual for the fork. It said to use ATF oil and, most importantly, it had the instructions about the oil level.
Thats the air valve. It has a retainling clip, that has to come out first.
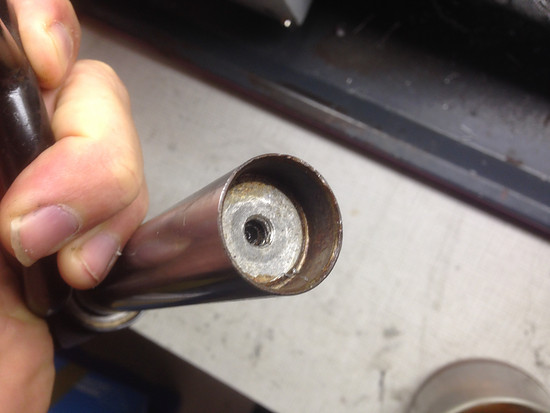
Then you can use a screw to pull out that valve, so you can fill in new oil.
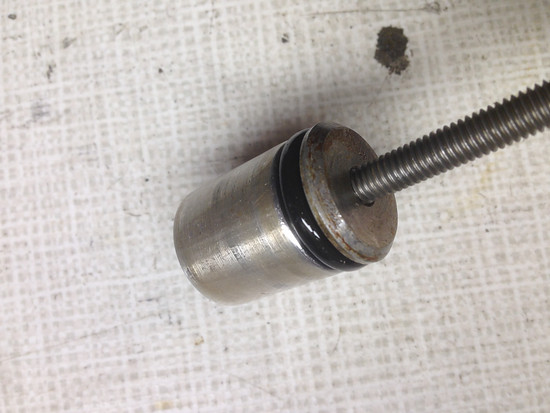
Small service done. Simple as that. Put in some air, too. Of course.
First, of course, outer appearance.

Second: The air filler valves and new oil. Some nice fellow rb-user messaged me a service manual for the fork. It said to use ATF oil and, most importantly, it had the instructions about the oil level.
Thats the air valve. It has a retainling clip, that has to come out first.

Then you can use a screw to pull out that valve, so you can fill in new oil.

Small service done. Simple as that. Put in some air, too. Of course.
Last edited:
Thias
Klein Fan
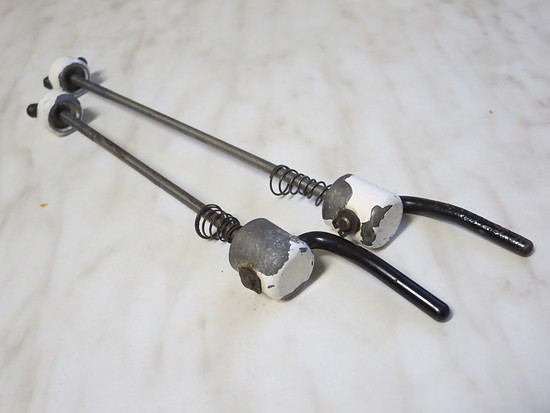
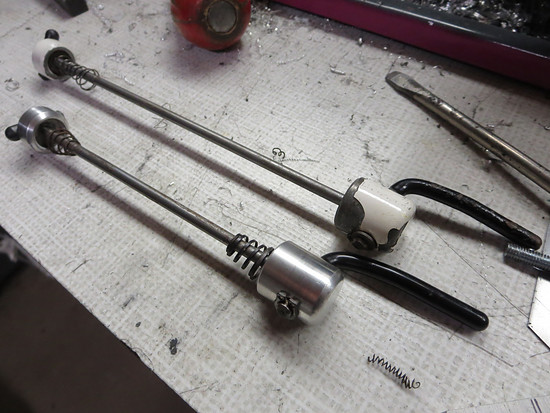
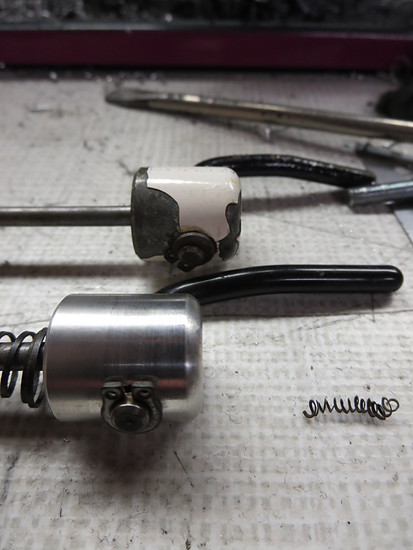
At the time I was reading storys about Cunningham and his bikes. The guy was building his own bikes and parts in his shed, basically. And Potts, and WTB. I was really really inspired. So I made this:
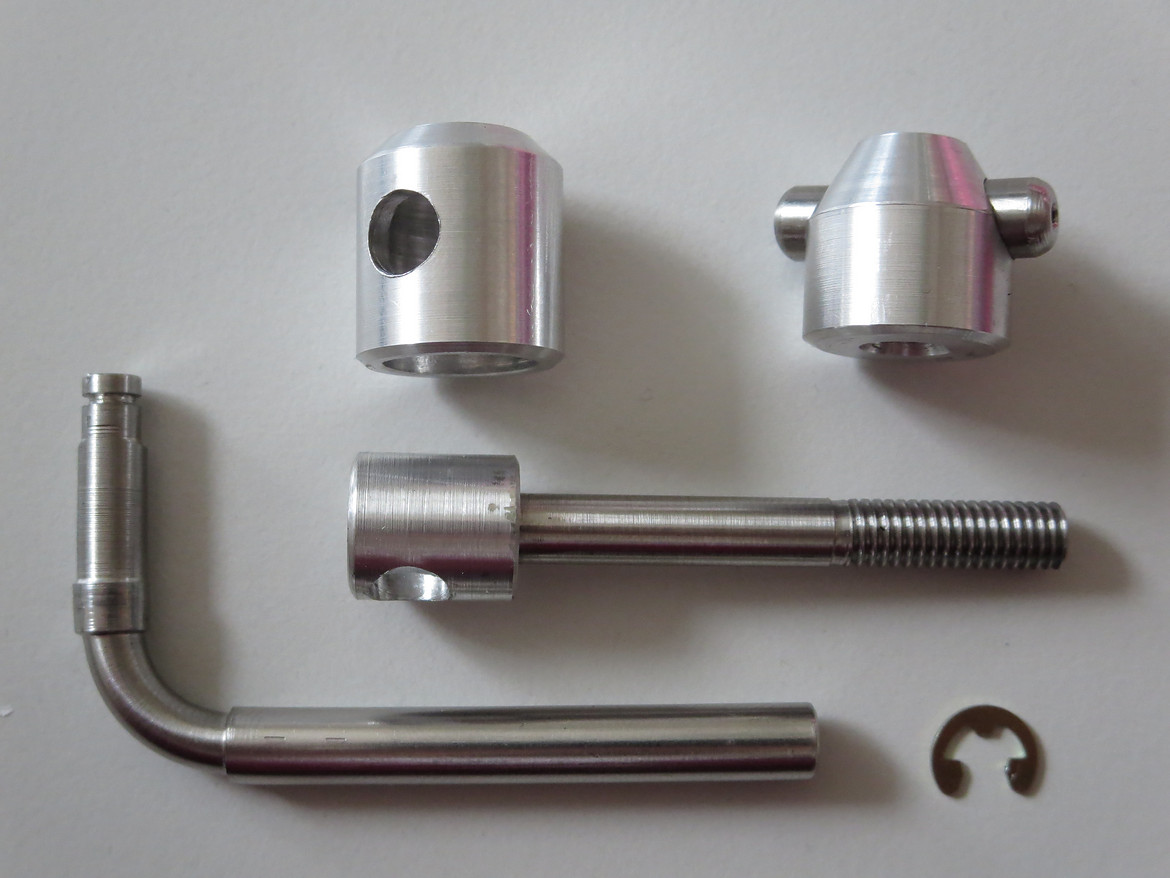
That's a seattube fastener - or whatever you call these in britain? Skewer? Quick release?
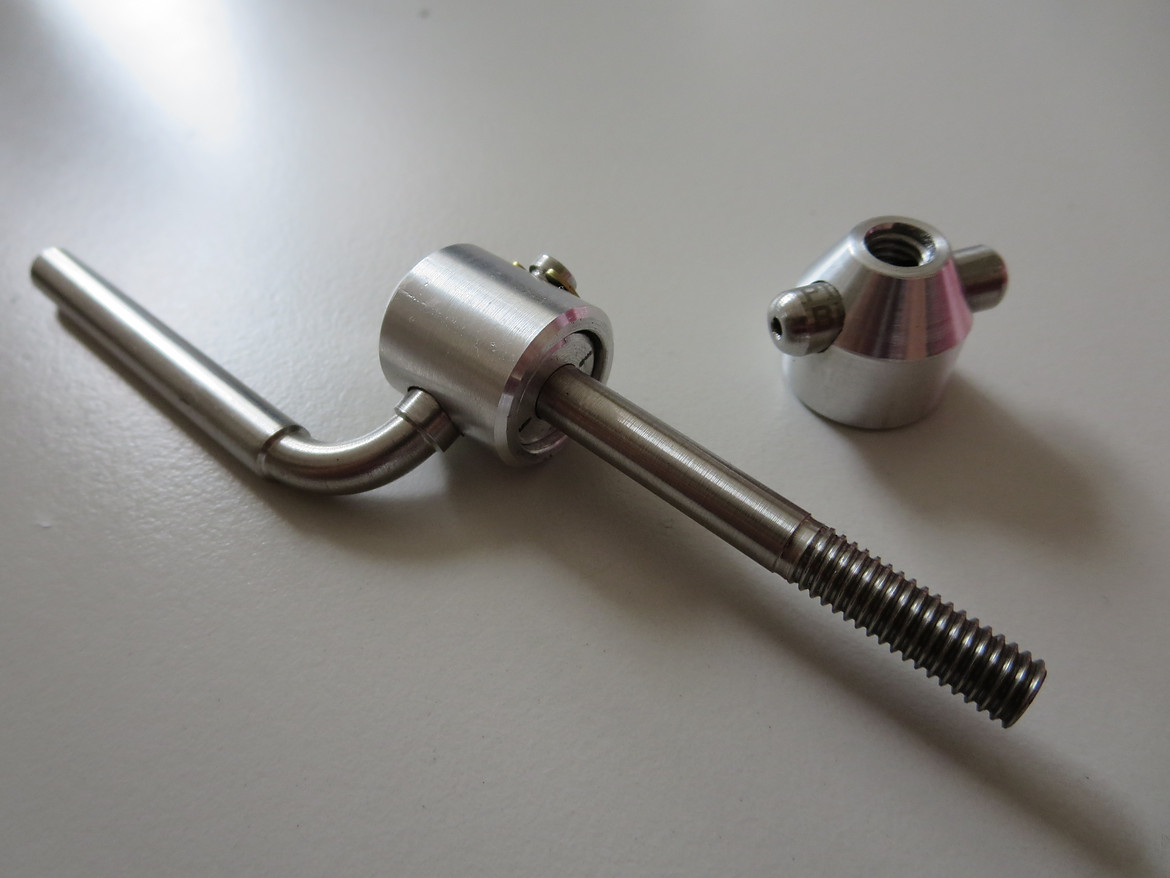
I made it from scrap. I was really proud I was able to make someting like that.
Something klicked. And I challenged myself to make as many parts for this bike myself as I could manage.
And if I wasn't able to make them myself, I would at least try and give them parts some personal "touch".
That would be the theme of this bike from now on.
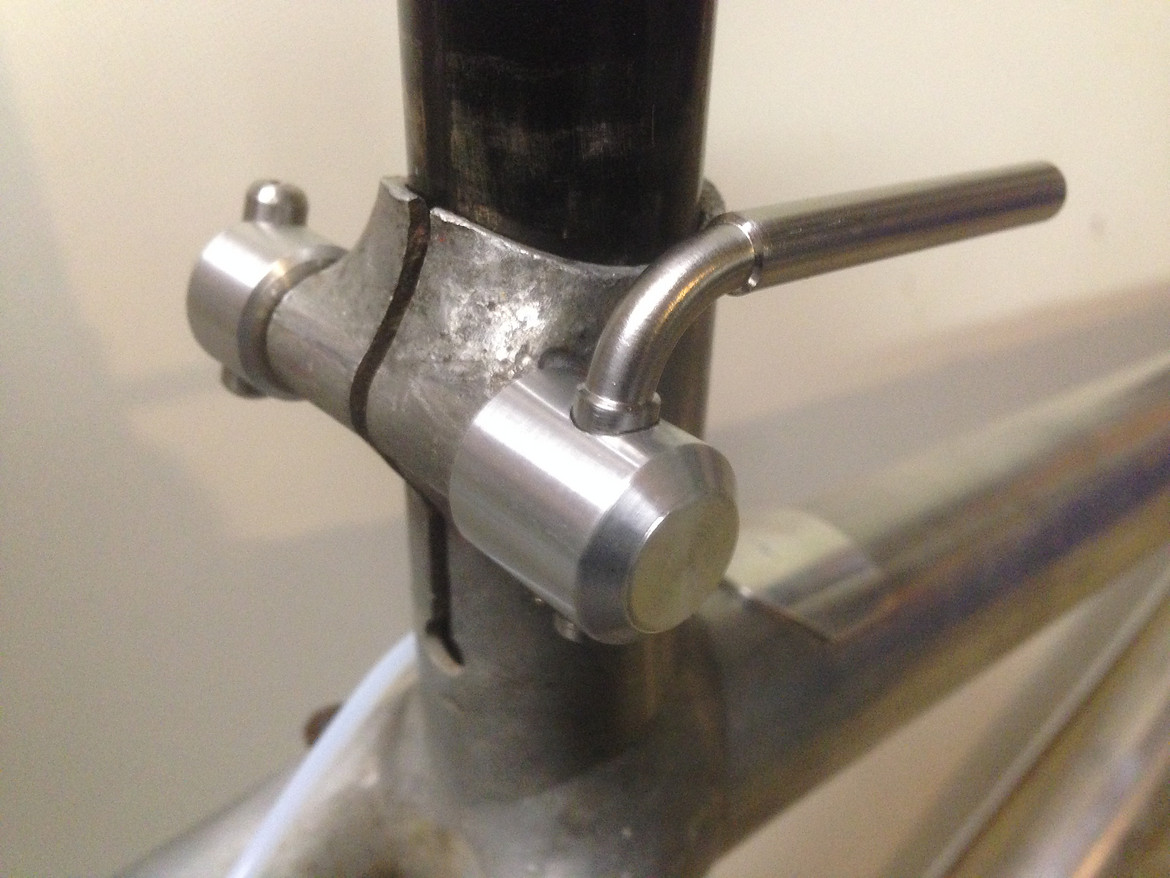
The design is taken from American classic, obviously.

That's a seattube fastener - or whatever you call these in britain? Skewer? Quick release?

I made it from scrap. I was really proud I was able to make someting like that.
Something klicked. And I challenged myself to make as many parts for this bike myself as I could manage.
And if I wasn't able to make them myself, I would at least try and give them parts some personal "touch".
That would be the theme of this bike from now on.

The design is taken from American classic, obviously.
Last edited:
raidan73
Moderator
Archivist
Retrobike Rider
BoTM Triple Crown
BoTM Winner
Gold Trader
PoTM Winner
98+ BoTM Winner
Rocky Mountain Fan
Brodie Fan
- Feedback
- View
At the time I was reading storys about Cunningham and his bikes. The guy was building his own bikes and parts in his shed, basically. And Potts, and WTB. I was really really inspired. So I made this:
That's a seattube fastener - or whatever you call these in britain? Skewer? Quick release?
I made it from scrap. I was really proud I was able to make someting like that.
Something klicked. And I challenged myself to make as many parts for this bike myself as I could manage.
And if I wasn't able to make them myself, I would at least try and give them parts some personal "touch".
That would be the theme of this bike from now on.
The design is taken from American classic, obviously.
I'll take a full set please
Thias
Klein Fan
Last edited:
raidan73
Moderator
Archivist
Retrobike Rider
BoTM Triple Crown
BoTM Winner
Gold Trader
PoTM Winner
98+ BoTM Winner
Rocky Mountain Fan
Brodie Fan
- Feedback
- View
If only that kind of operation was available for 45 year old faces...
My wife would maybe stop tellin me that I'm wasting my time...
I think I need a lathe now!
Similar threads
- Replies
- 79
- Views
- 5K
- Replies
- 34
- Views
- 5K
- Replies
- 52
- Views
- 3K
