Rat Bike Build - GT Palomar

Ride_Revive

Old School Hero
I decided to get involved in a cheap bike build off challenge, the aim is to build a functional bike that I guess could be considered ‘cool’ for a budget of no more than £120.

The rules are fairly relaxed (it’s just for fun), so any type of bike could be built, parts bin bits can be used but should be assigned a fair market value. Lastly the frame shouldn’t be something you bought years back for next to nothing and now it’s worth a small fortune.

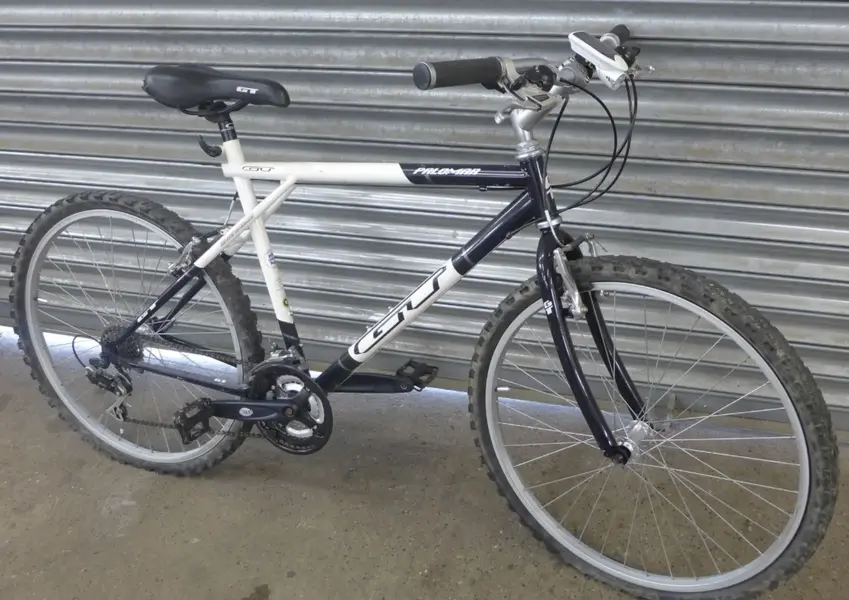
I managed to find this 2000 - 2001 GT Palomar for £35 for the complete bike.

IMG_1080.jpeg

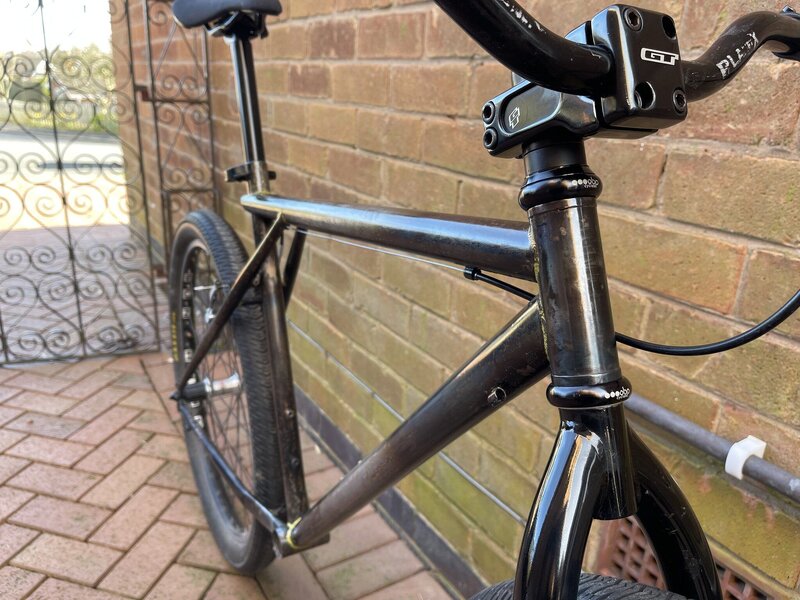
This would be my foundation. Believe me it’s looking a lot more interesting now 😬
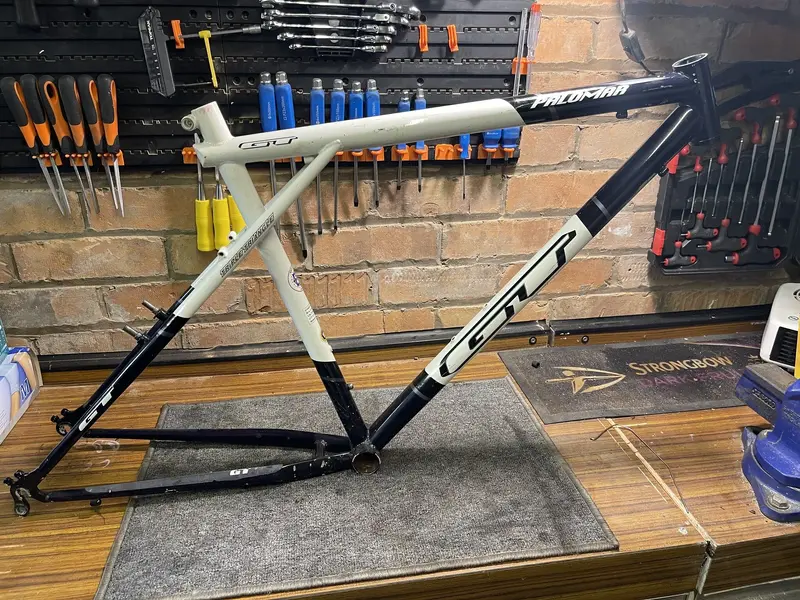
 
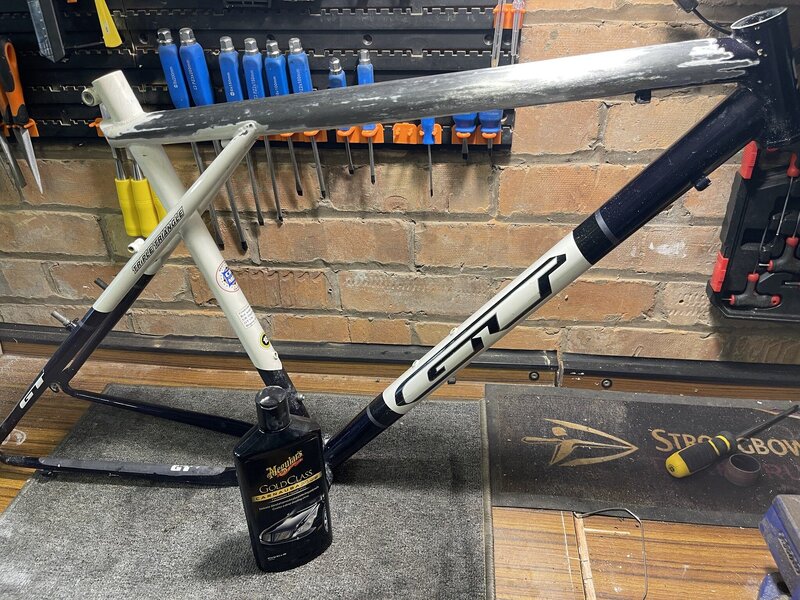
The first job was to strip the bike down completely

1. So I could service any parts I wanted to keep
2. So I could do something about the paint job, which I’m not a fan of.

IMG_1026.jpeg
IMG_1027.jpeg
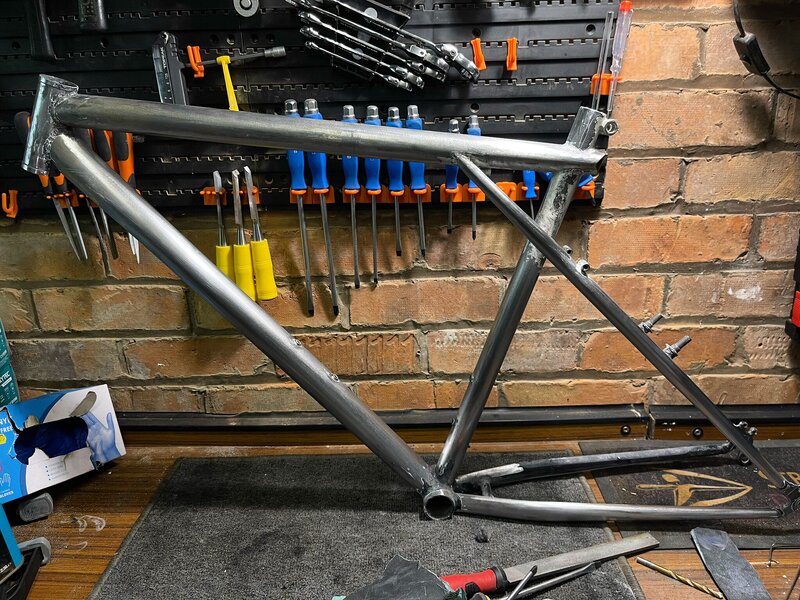
At this point I decided ‘sod it’ and attached a sanding wheel to my drill…
IMG_1029.jpeg

“Placeholder for a witty comment about how strong the polish is”
 
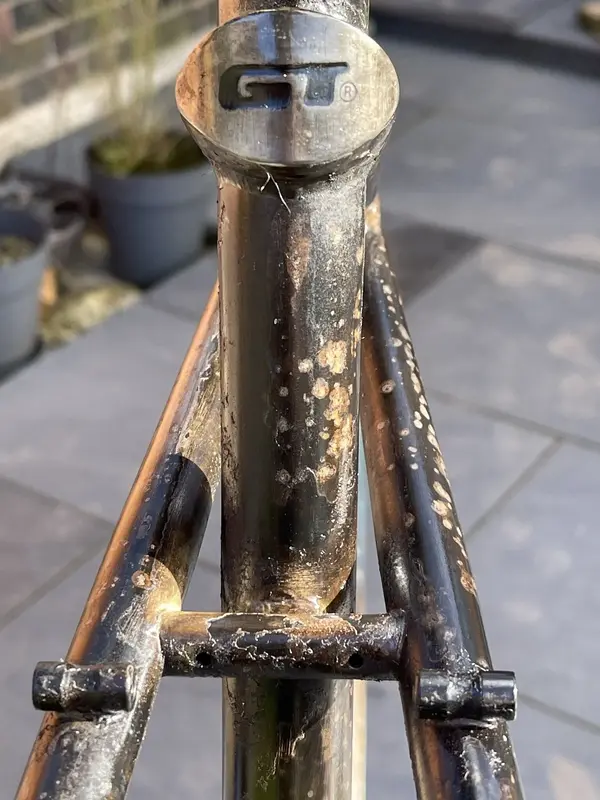
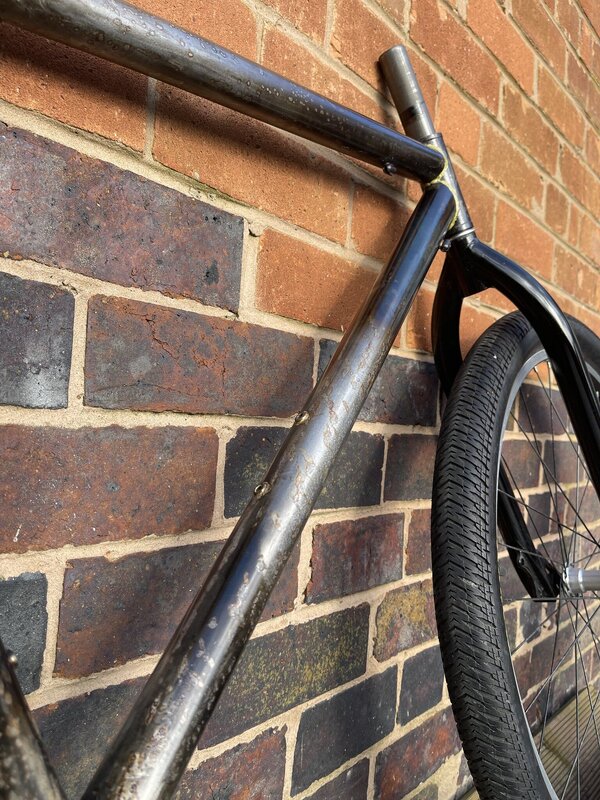
On a serious note, I figured with little budget for a paint job I’d go down the rat look route. I’ve done this in the past with a steel trials bike frame. But I actually stripped that, left it raw in the garden for a few weeks to get some natural rust then clear coated.

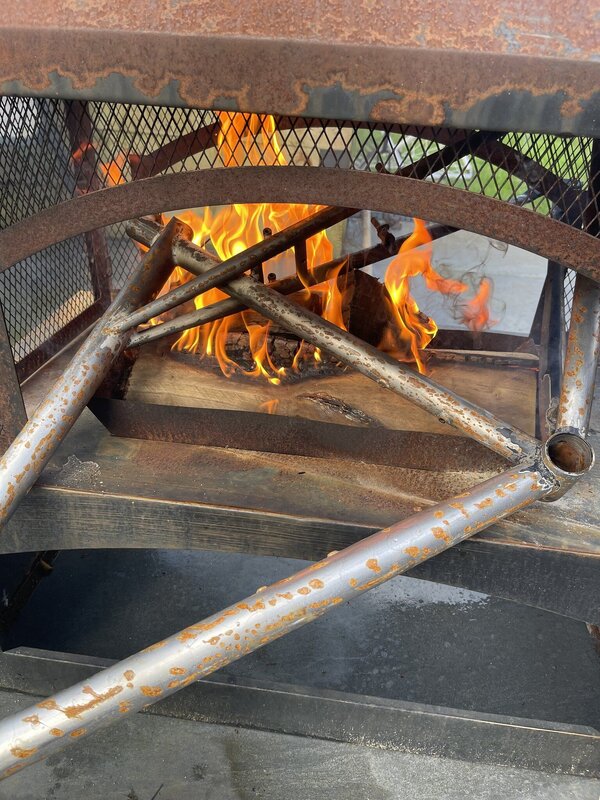
But this build has to be complete by the 29th of Feb, I didn’t have time on my side. So having read about what I needed to promote rust, I improvised, using a mix of 2 parts bleach to one part malt vinegar 🤣 - smothered it in the frame, left it over night and sure enough in the morning it had ‘blobs’ of orange rust all over it. But I wanted more, something that wasn’t uniform. I’d seen methods using a blow torch to heat the steel to cause discolouration. With no easy access to a blow torch I decided to improvise again - so lit my fire pit and gave the frame a bit of a flame grilling.

Once done, I wiped it down with water, dried it off and gave it a few layers of clear coat.

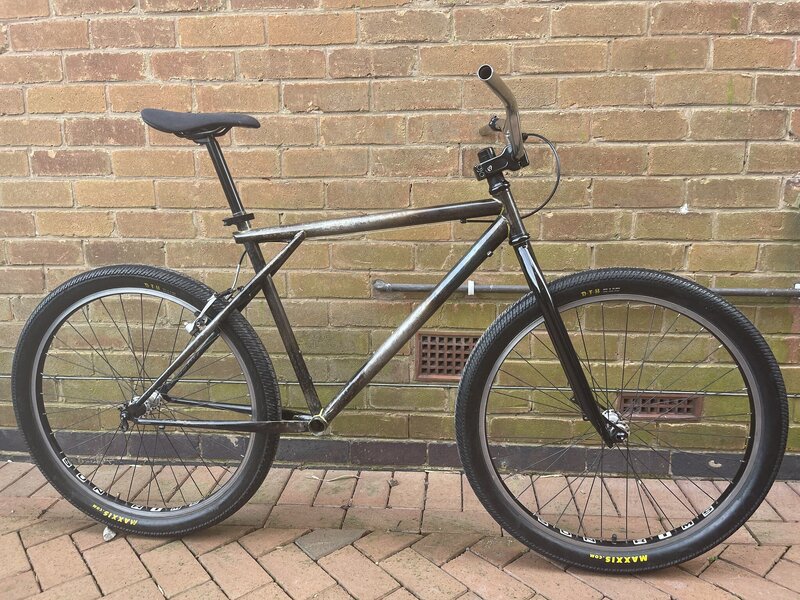
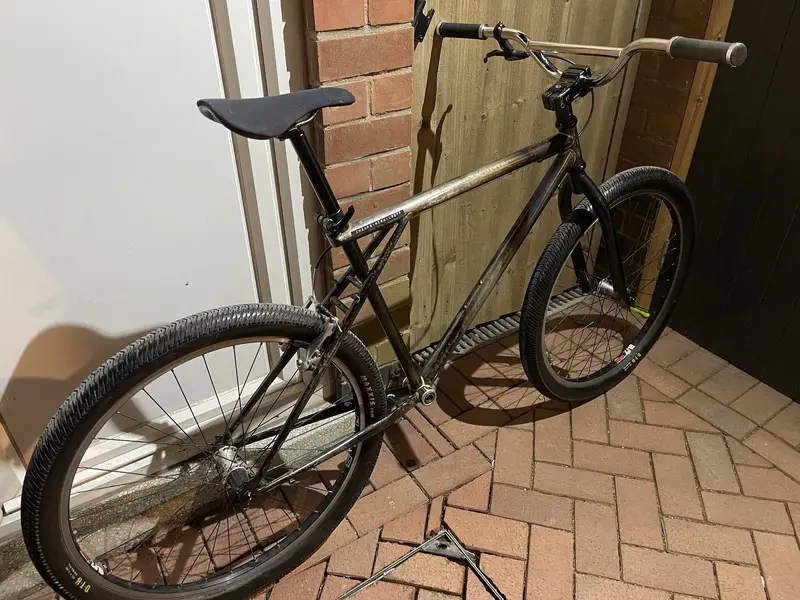
The results far exceeded how I thought it would turn out. The pictures really don’t do it justice:

IMG_1091.jpeg
IMG_1100.jpeg
It’s almost a marble effect in some places, with mixtures of light and dark grey, black, blue and golden brown. The clear coat left it with a nice shine, which I enhanced with some light polish.
 
Next up was deciding on components, I managed to bag a couple of local bikes for free being given away on Facebook market place. A giant that has had the worst diy paint job I’ve ever seen, and a kids GT bmx (which I think I’ll do up and give away when I have a bit more time).

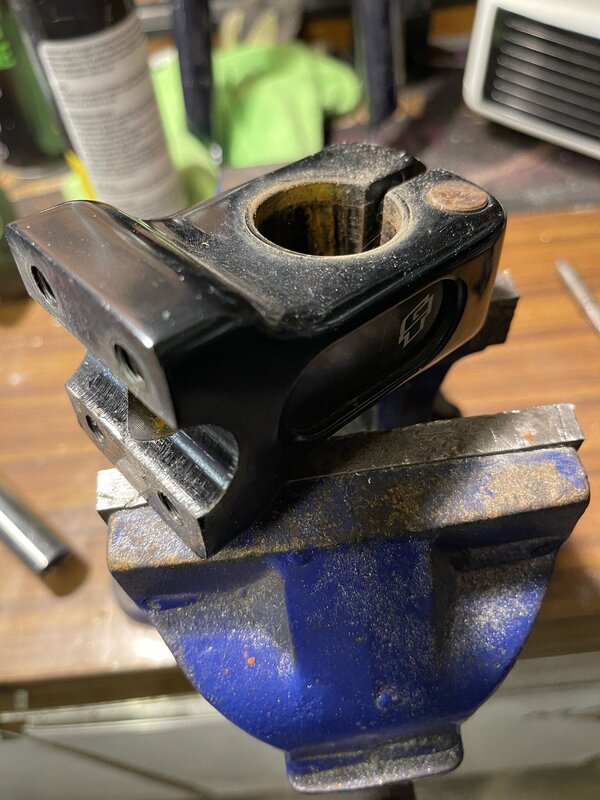
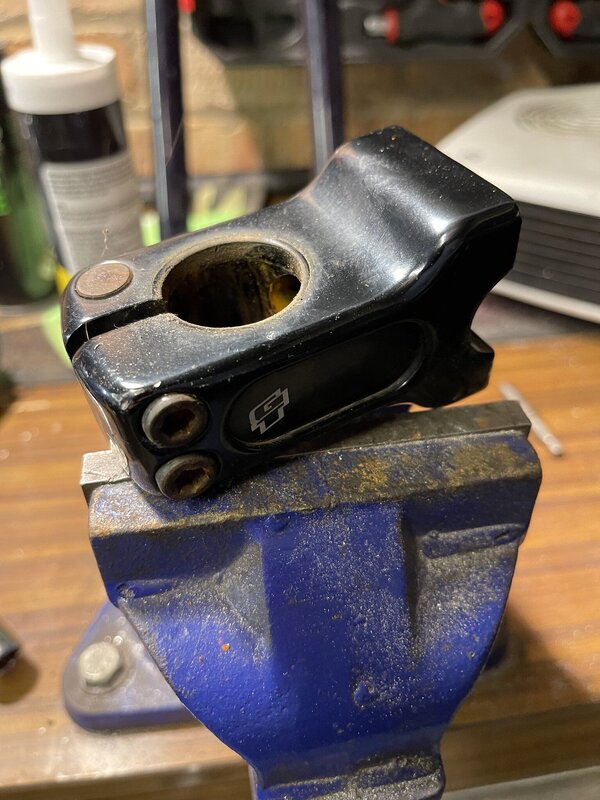
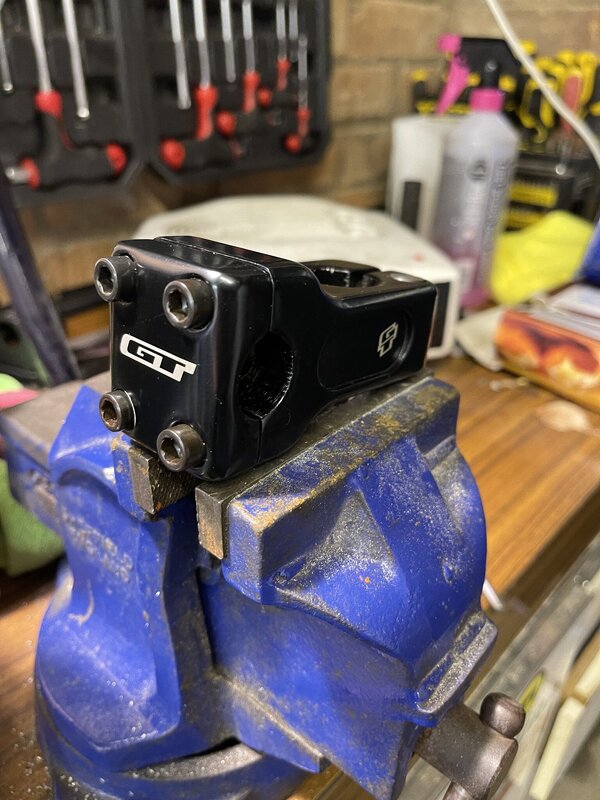
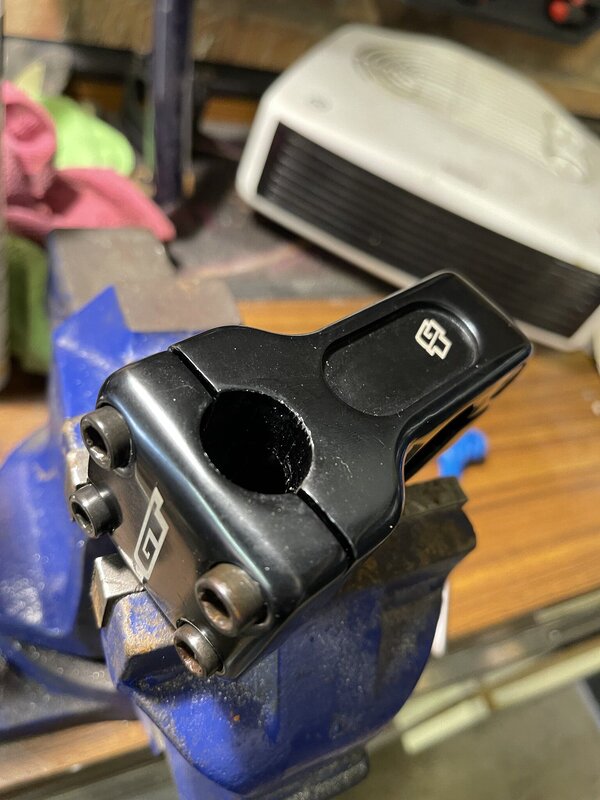
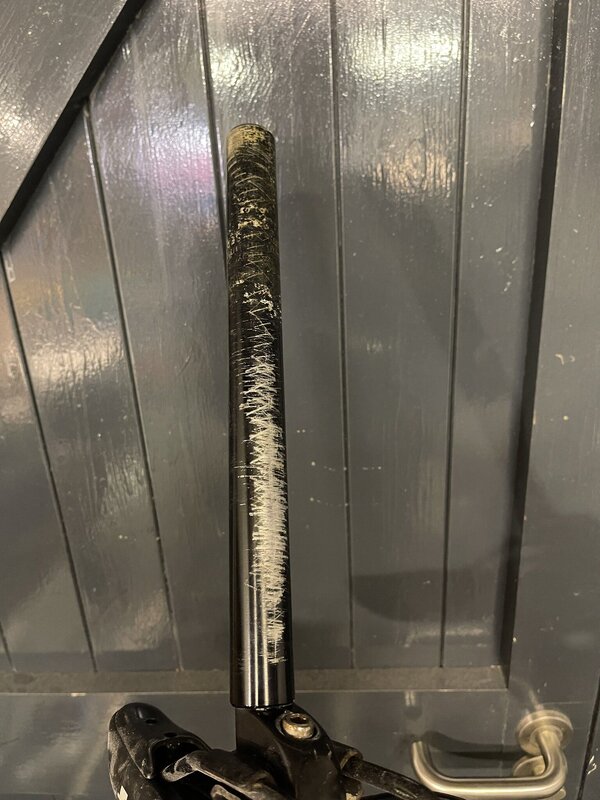
The stem on the GT looked ideal for what I was aiming for, a kind of streety BMX inspired build. And it cleaned up nicely:

IMG_1017.jpeg
IMG_1018.jpeg
IMG_1019.jpeg
IMG_1021.jpeg
 
Last edited:
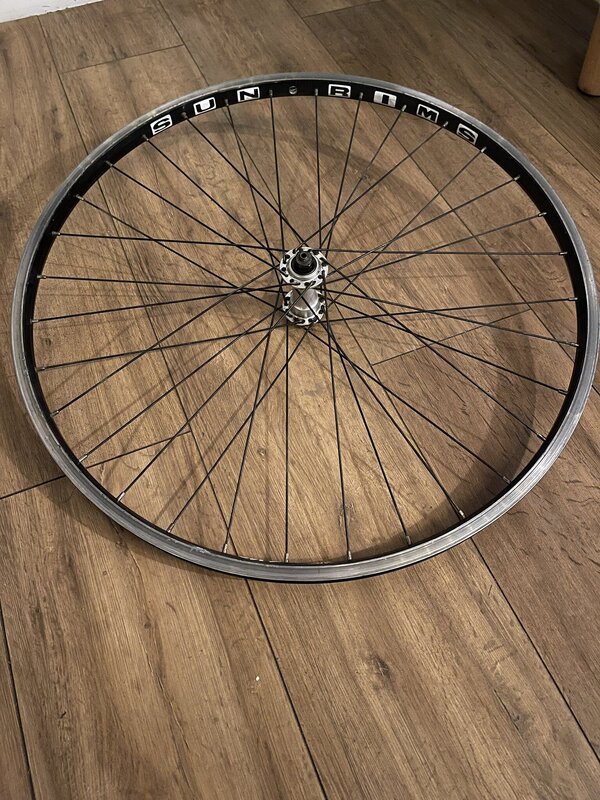
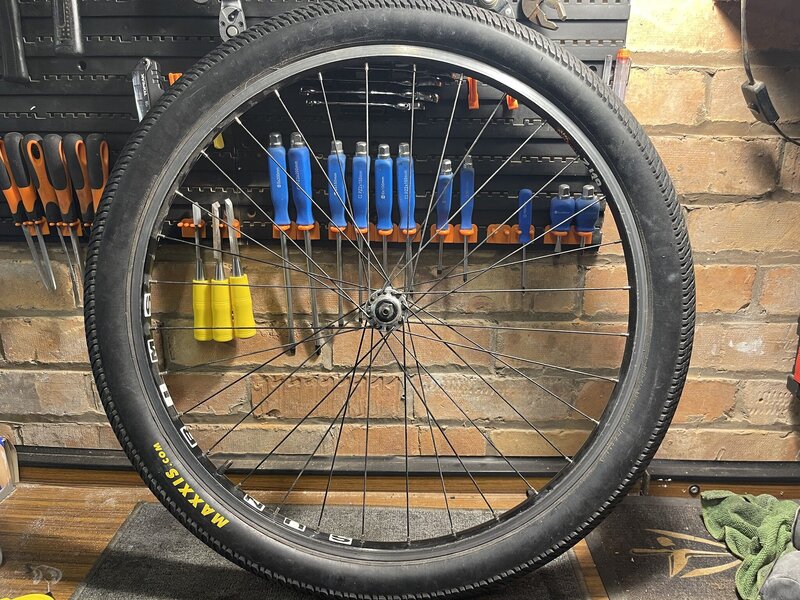
I decided that the wheels that were on the giant would make for a better looking build, and they have the added benefit of a HG hub configuration as well as being so much lighter. Love the old sun rims logo:

IMG_1063.jpeg IMG_1065.jpeg

The free giant also had some decent rubber, it’s starting to dry out but after this pic I cleaned it up pretty well.
 
I had some old rigid disc only jump forks in the parts bin from a giant STP frame I bought about a year ago, they had horrible graphics on the right leg so I sanded it back and gave it a lick of black paint and some clear coat before a bit of polishing which blended it in nicely.

I also have fitted the seat that came with the STP, but that had more awful graphics on it. I decided to try paint stripper on the fabric material and sure enough the graphics have pretty much come off.

Whilst I had the spray can out I also treated the original seat post to some black gloss.


IMG_1101.jpeg
IMG_1128.jpeg IMG_1096.jpeg
 
Last edited:
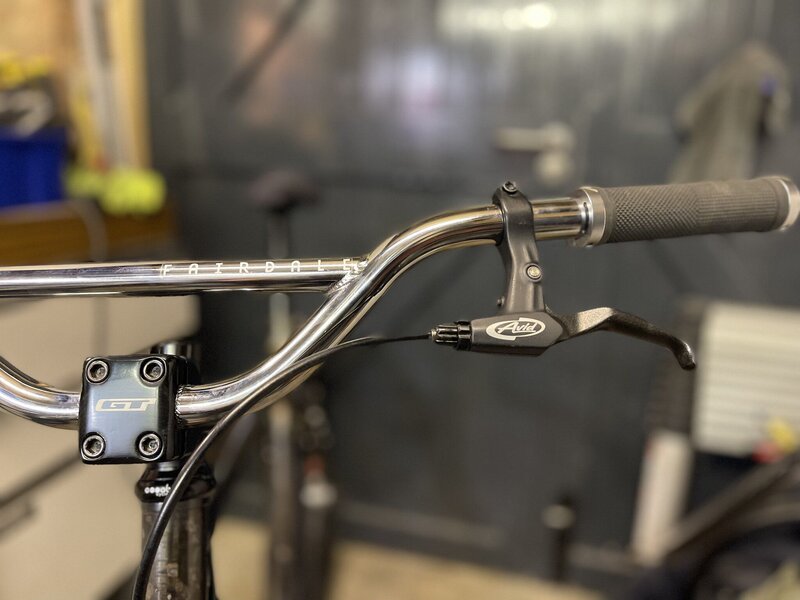
I polished up the original rear pro max v brake, reused the cable and pads and paired it with a basic but trusty avid lever that I won on eBay for £2.

IMG_1120.jpeg

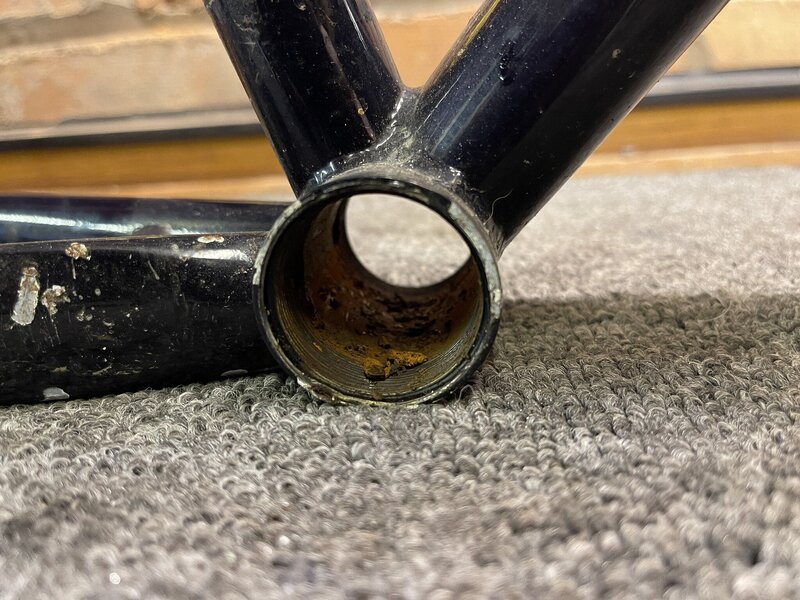
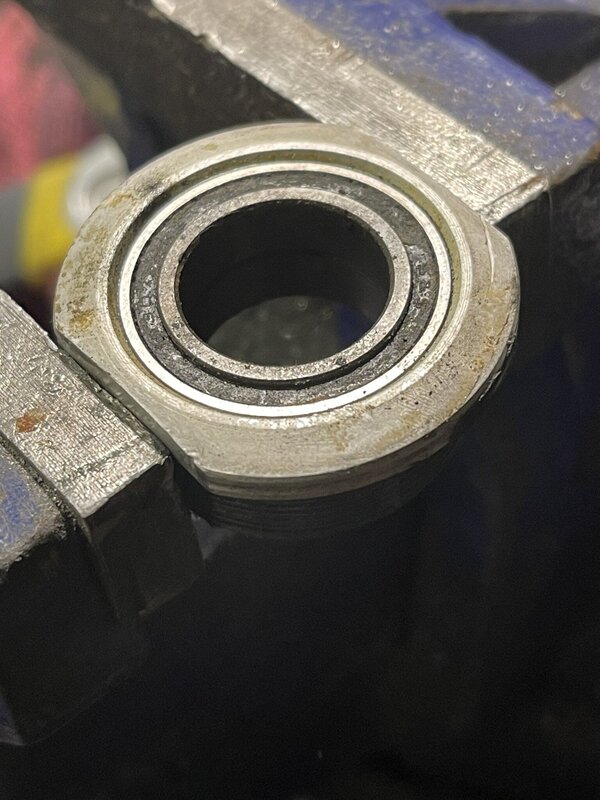
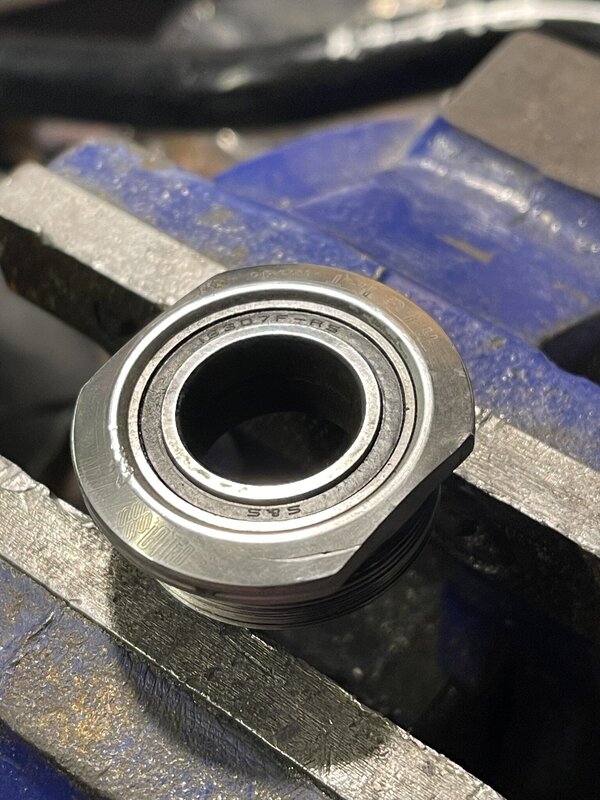
And tonight I’ve given the BB a bit of a freshen up with yet more polishing. Hoping to fit the cranks and remaining drivetrain components tomorrow

IMG_1116.jpeg
IMG_1117.jpeg
 
Back
Top