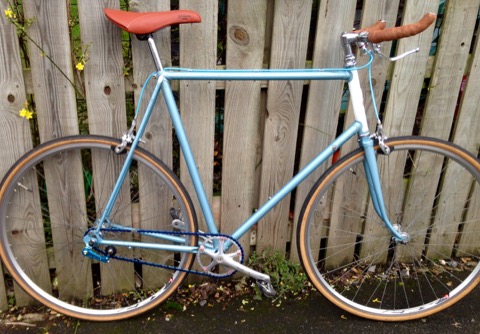
Having been bitten by the Retrobike bug a couple of years back all of my projects have been labours of love. My collection is starting to annoy the good lady (why do you need another bike? Are you going to sell one? etc.....) I've got a revamped Raleigh Equipe which I use as a tourer; a lightweight Principia Rex E for sportives; a hardtail Kona Hoss and a 1998 Mount Vision full suss for the rough stuff and a couple of others I've tinkered with.
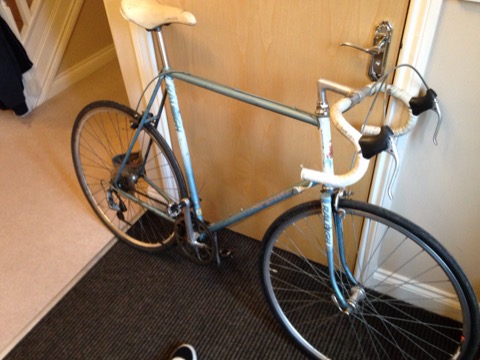
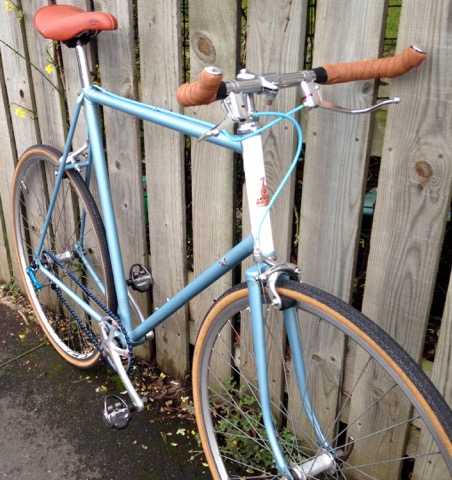
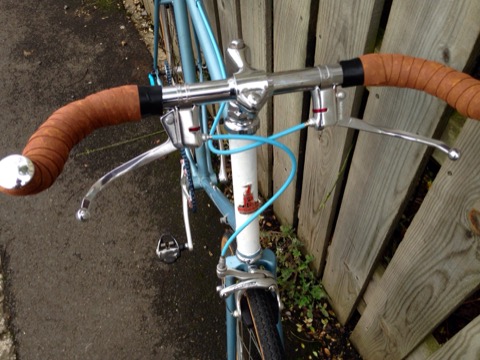
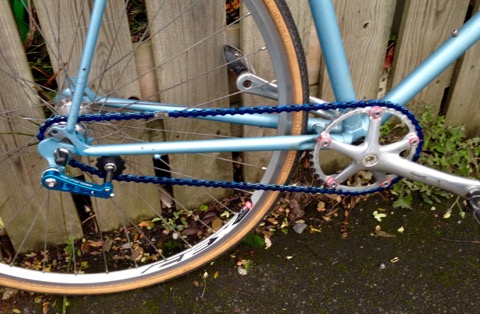
I never really saw the point of single speed at all, less so a fixie, but it was something that I'd not tried. So when a mate donated a beaten up old 18-23 gas pipe Raleigh Rapide, I thought I'd give it a try. The only rules were that I had to use bits and pieces that had been surplus to previous projects and that were lying around in the garage. In the end, the only bits I bought were the Guidonnet brake levers (I was intrigued), KMC S1 blue chain and the chain tensioner as I couldn't stop the chain drooping.
I was donated the bike by a mate. I had originally thought of having it stripped and powder coated but when I hair dried off the tatty decals (painstaking) I liked the paint underneath and wasn't in too bad condition.
I was also given various cogs by another mate which came In useful, it's got a 16 tooth freewheel on the back now.
I had intended using the original 42 tooth Sakae crank with the outer ring off as it looked kinda retro cool but the pedals just won't budge so I've used a Campag Chorus 39 tooth inner ring which I've adapted with a few washers. I'm going to see how I get on with the 39/16 set up but I suspect this might change.
The handlebars and single bolt quill stem came from an ancient Mixte bike that I did for my wife, my dad kindly sawed them down into a set of bullhorns.
I did have a set of Avid brake levers I had intended to use but I saw the Guidonnet levers and just had to have them. They are quite flexi feeling but paired up with an old set of Campag Daytona calipers they provide adequate stopping power.
It's finished off with some Dawes old skool bar tape and an £8.99 Charge Pan saddle. I even managed to find some brake cables in the right colour.
Overall the whole project probably cost me about £60, and a hell of a lot of time in the garage with a bottle of T-Cut and a tube of Autosol!
I've not had a single speed bike since the late 80s, when I used a Grifter stuck in 3rd gear for my paper round, so it's been a fun trip back in time riding this.
I know a lot of folk don't like SS but this bike had been destined for the tip a few months back and now it's used daily on the school run and trips to the pub. I hope you like it.
