Off the shelf touch up paint

Markybeau

Gold Trader
Dyna-Tech Fan
Feedback
View
I've got a couple of parts that need tidying up a little and I need to use some matt(ish) black paint. The parts in question are a pair of XT m739 shifters - around the bar clamps , and the tips of a pair of Avid Mag levers. If anyone has done either or similar what did you use?

I've used Humbrol paints before, but not on bike parts. If memory serves Humbrol gave a nice finish but wasn't particularly hard wearing if handled a lot.
 
Last edited:
If it’s not gloss and not Matt then Standard satin black car paint has been a great match for me in the past… even the likes of Home Bargains sell the aerosol cheap enough.

If it’s in between Matt and satin then you can actually buff both Matt and Satin up to a higher shine by gently polishing with T Cut when completely dry…

If you’re using aerosol and painting a large area then finely flatten the old paint with a fine (1200grit) wet and dry or if it’s simple touching in the odd spot then spray the paint into the lid after a good shake and dab in with a modelling brush.

Alternatively if it is literally touching in spots then you can get Matt black nail varnish and maybe Satin?

But when I’ve had to repaint metal lever bodies I’ve used aerosol Satin Black and it’s made them like new again and couldn’t tell the repair had been done.

Andy
 
Re read your message and I’d defo dismantle the shifter from the mount if you can (should just be Allen bolt…

Very light sand with wet, wet and dry 1200 grit sandpaper.

Use hairdryer to dry it off and in the nooks and crannies of the bolt thread holes.

Using standard car satin black paint, first stand the tin in a little boiling water in a bowl to warm the paint in the can. Then shake for a couple minutes and apply in very light dusty coats for first 2 x coats waiting 15 mins between coats. Final coat can be slightly thicker but keeping it light will mean that the serial numbers will not become ugly and unrecognisable with paint. Prep and patience is key.
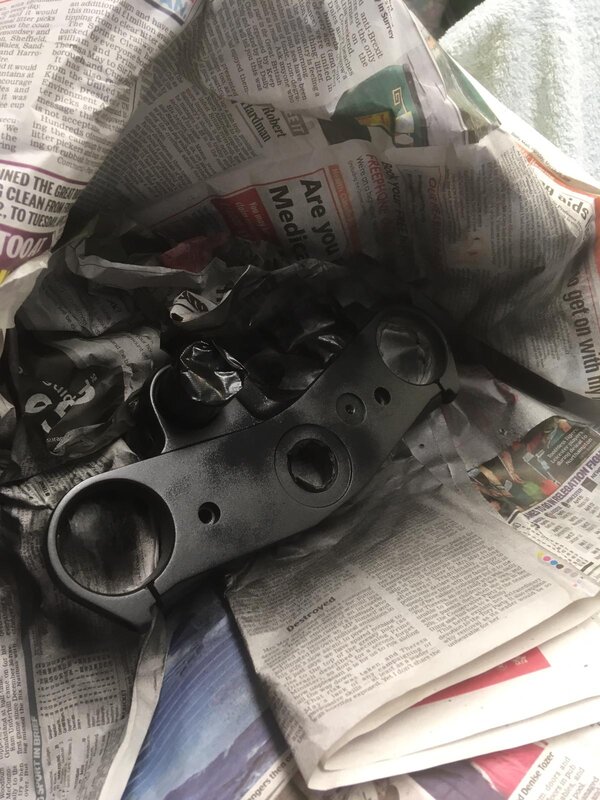
Top tip… before each coat blast the first squirt of paint on some newspaper as the first blast always risks a couple of uneven blobs coming out from the aerosol and keep those coats light and even spraying horizontally then laterally …

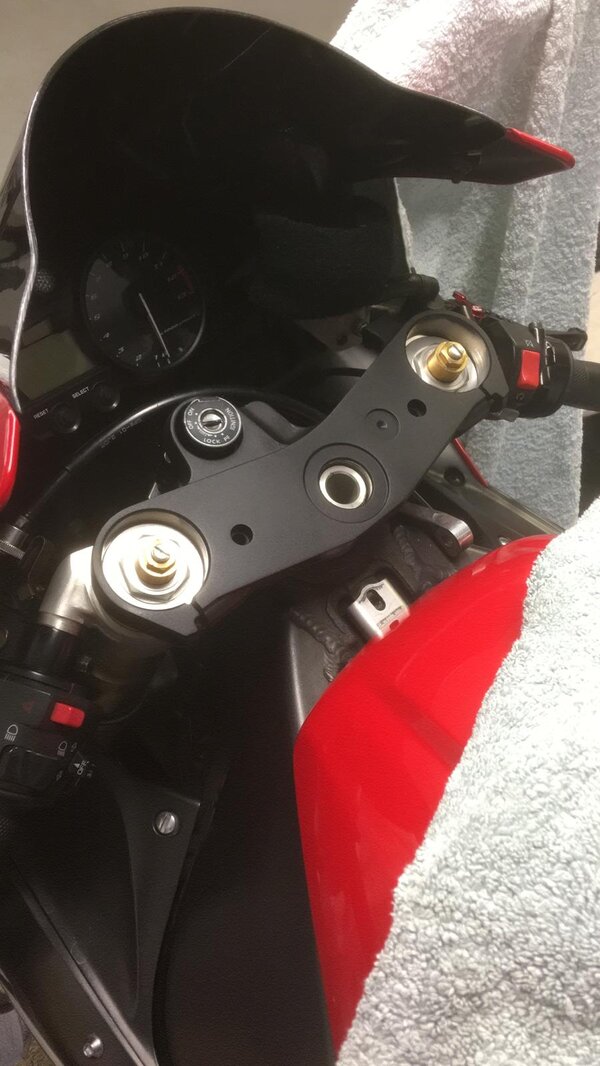
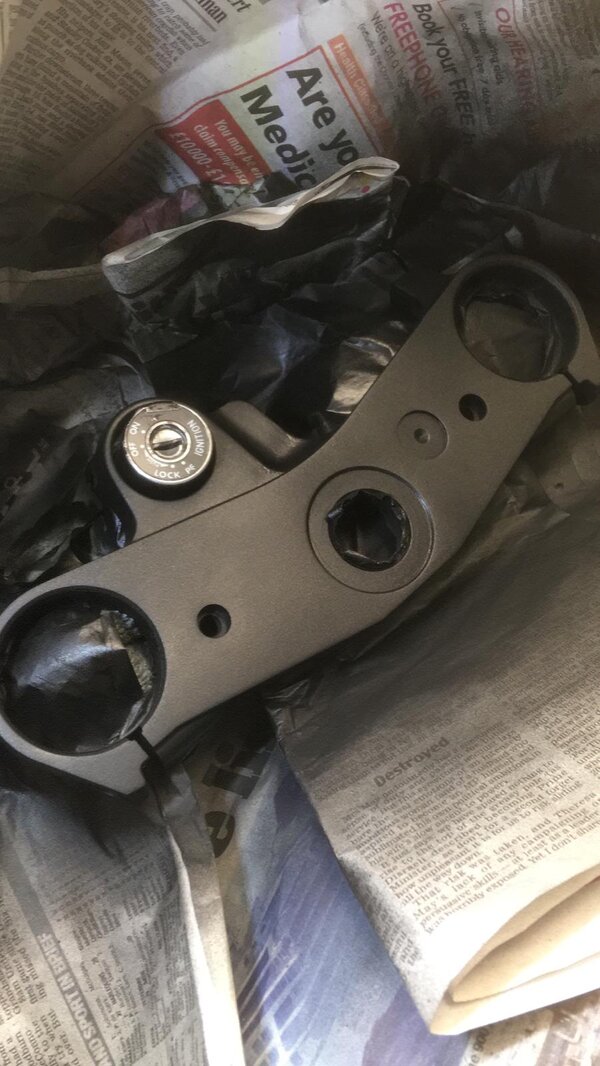
Here’s an example of the results I’ve had on the top yoke of my R1 motorbike using this method. I’ve done some of my pals too as they often get scratched from owners leaving keyrings attached to the key that whip about at speed and scratch the Uber thin factory satin black paint. Unrecognisable repair if done patiently.

👍
 

Attachments

  • B562651F-62C1-403B-9DFC-5FE57043B4A5.jpeg
    B562651F-62C1-403B-9DFC-5FE57043B4A5.jpeg
    153.1 KB · Views: 7
  • F99B5EEB-314F-495B-A381-EA0C438354FF.jpeg
    F99B5EEB-314F-495B-A381-EA0C438354FF.jpeg
    134.8 KB · Views: 7
  • 1F18AE75-9844-4AD0-8F9D-0CB2AFDFC4A2.jpeg
    1F18AE75-9844-4AD0-8F9D-0CB2AFDFC4A2.jpeg
    229.2 KB · Views: 7
Never understood sportsbike owners (in particular) having a bunch of keys swinging across the top yoke. Even seen it on track days!

Nice job
 
Last edited:
Humbrol all the way, mix your own very tiny small batch colours and sand them back out....bit of t cut after....bobs your auntie..etc etc.
 
Back
Top