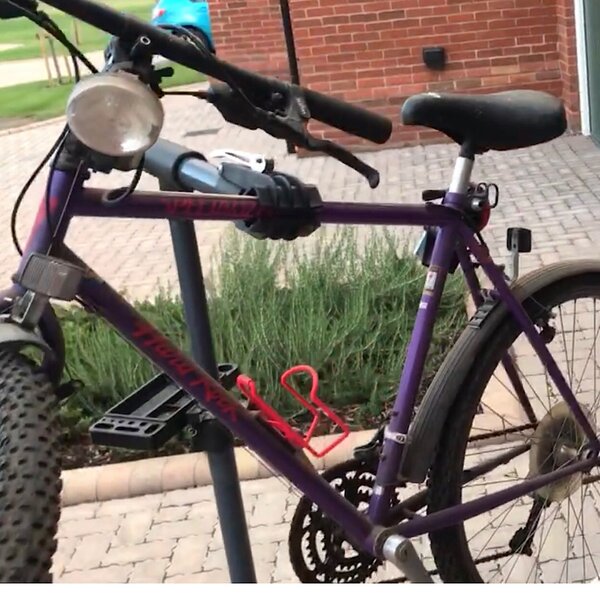
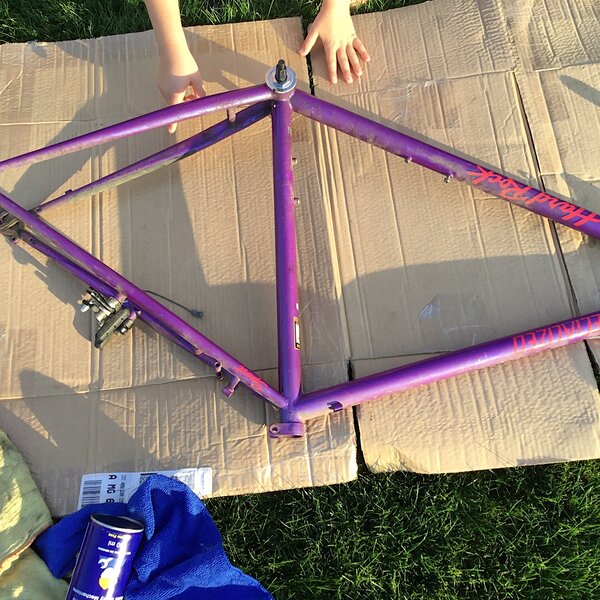
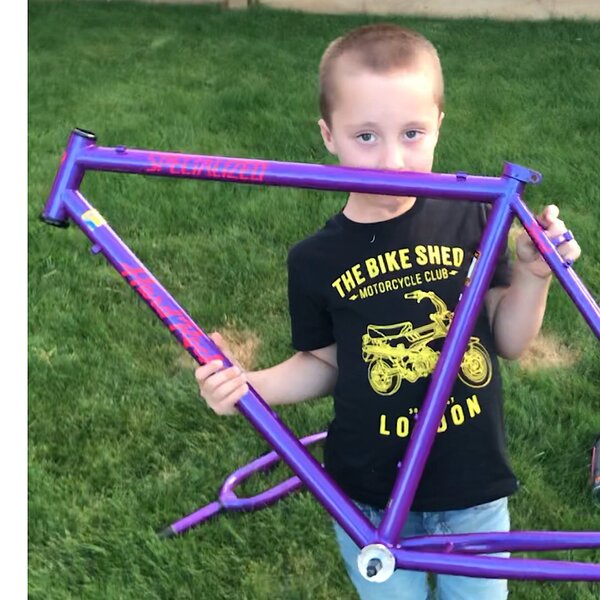
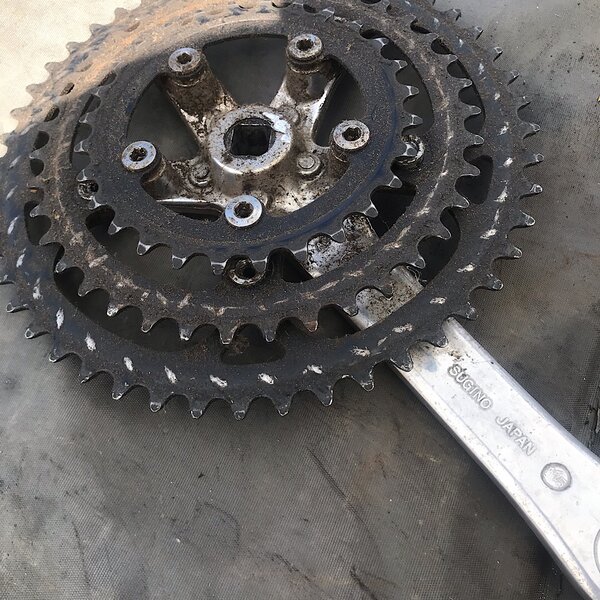
i was at my father in laws house at the weekend and on a short tour of his garage - i spotted a very dirt Specialized mountain bike. He was getting rid so i took it without hesitation.
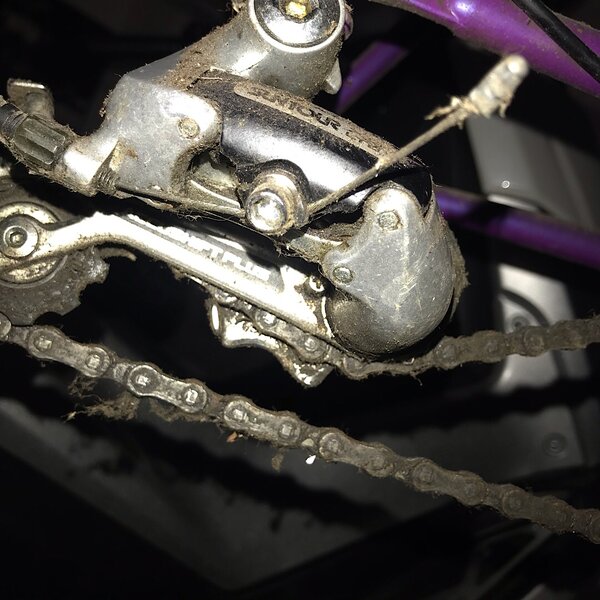
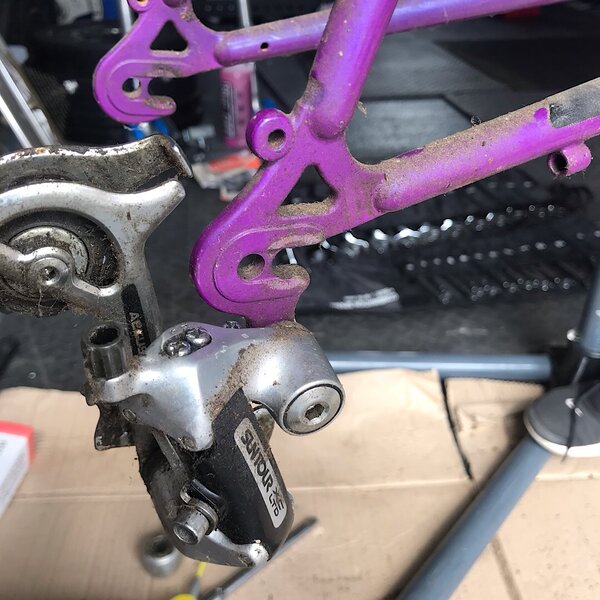
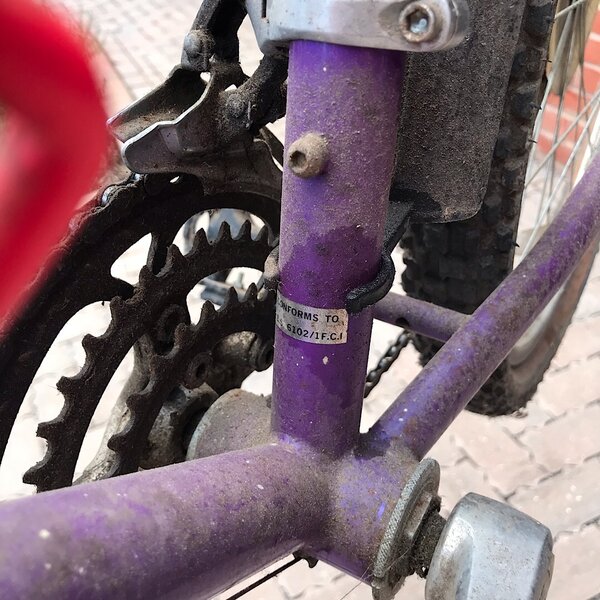
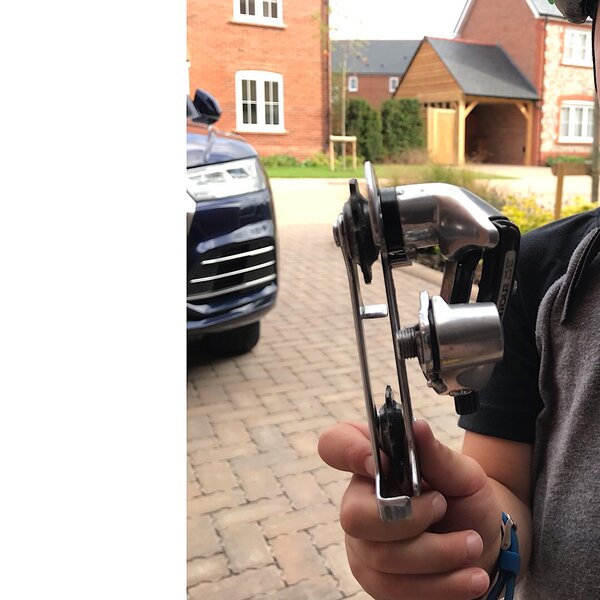
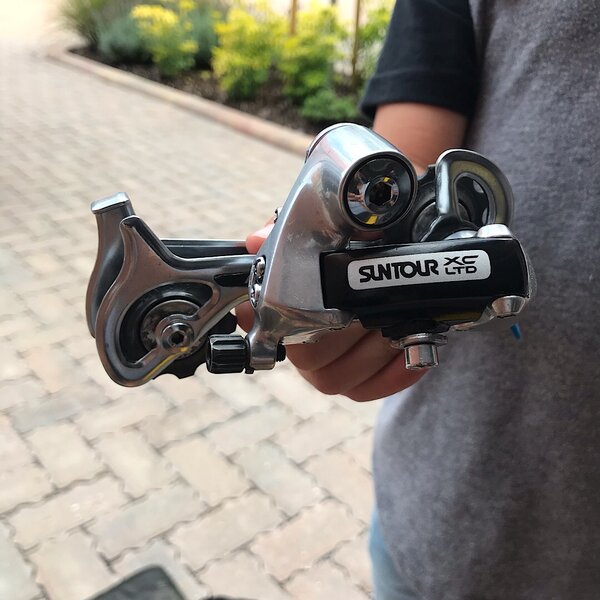
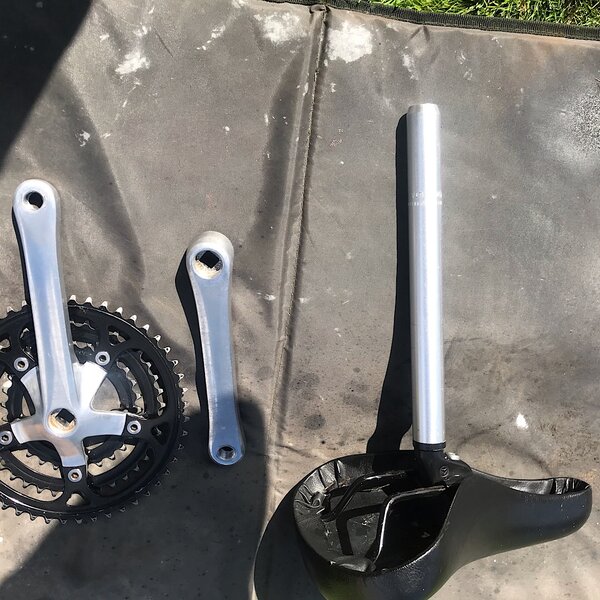
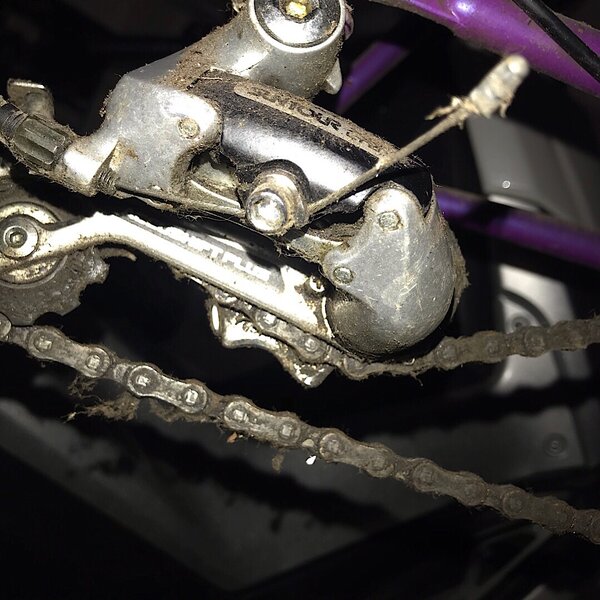
Needless to say i have already stripped and cleaned and spent hours reading about they bike and think i have now worked out it is a 1991 model with Dia Compe brakes and Suntour Group set.
Bike still has original tyres and hasn't had much use. Bike is now fully stripped and cleaned ready for a rebuild. I think i have worked out what the bottom bracket is but am not sure how big i can go on replacement tyres. I am also looking at replacing cable housing but there doesn't seem to be a lot of information on this - as a result i will likely replace capable but don't know what would be compatible!?
I am trying to upload photos but i keep going over the size limit! Does anyone know away round this?
All help appreciated and i will of course share my experiences.
