I have a pair of 1991 Suntour XC Pro levers and one of them has a busted return spring. In reality, it works just as well without one as they spring back fairly well thanks to the caliper springs but, well, you know. Clearly, nobody is going to waste their time making and selling a 15p component that goes wong every 30 years, so as usual, I decided to have a go myself. Here's what I did...
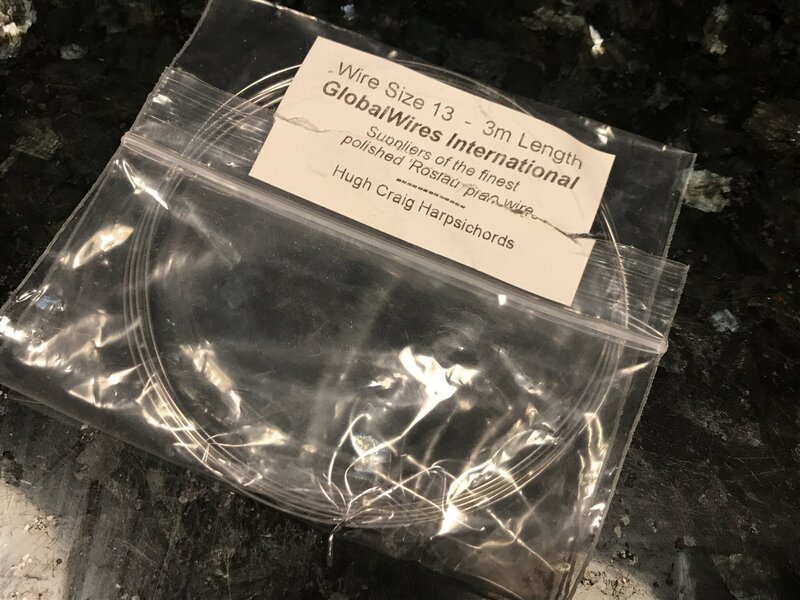
1) I used a pair of calipers to measure the existing spring diameter (0.75mm) and orderd Size 13 piano wire. This is apparently what small springs are made from. I got mine from 'tinternet from Hugh Craig Harpsichords on Ebay (which in itself is awesome).
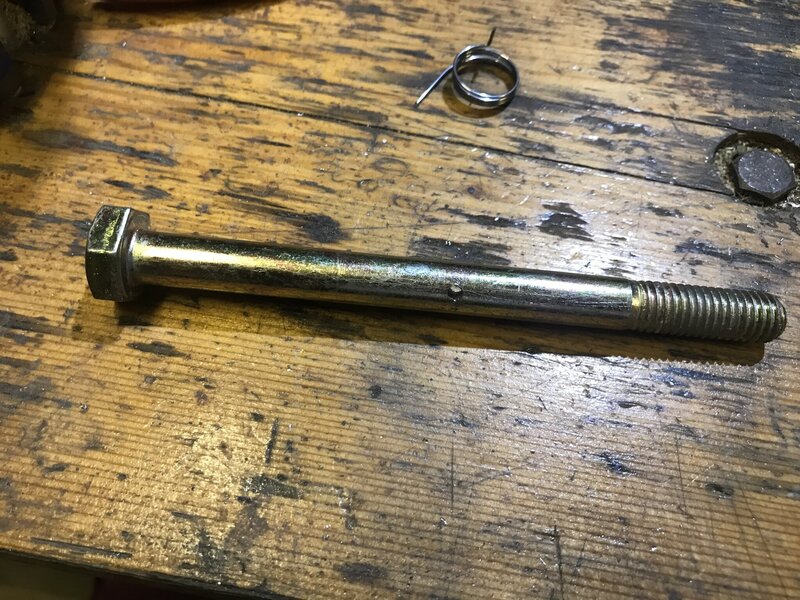
2) It took a while to work out the right diameter of mandrel / form to wind the wire around, as the spring expands somewhat after winding, so the mandrel is always smaller than the spring you need. For these, I settled on a 10mm diameter "thing" to get a 15mm spring (the actual spring was 13.8mm). The “thing” in this case was a bolt with no thread in the middle but could be anything solid and cylindrical. It turns out there’s an equation and online calculator for this and it confirms the results.
3) Drill a hole in the bolt (or whatever you're using). Doesn't really matter where.
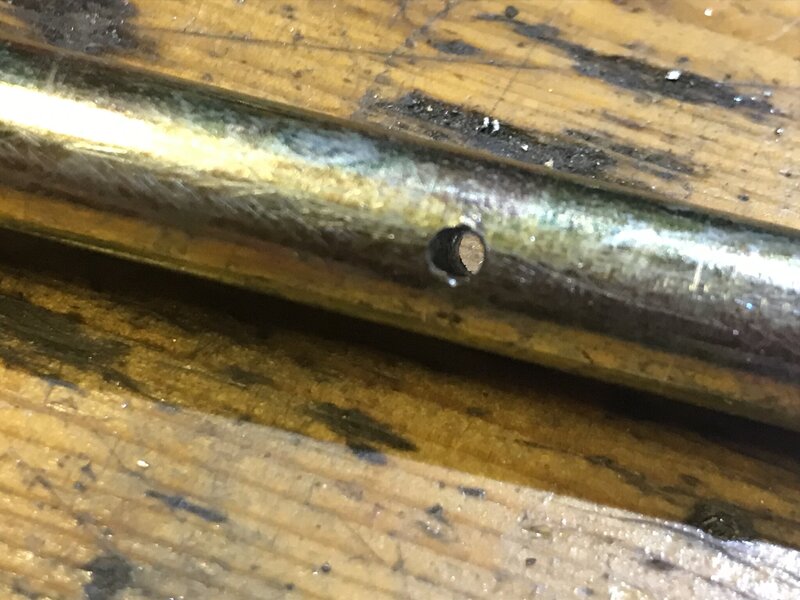
4) Take a length of the piano wire, about 20cm and clamp it fairly tightly between two blocks of wood in a vice, with just enough poking out to go through the hole in the bolt, a bit like a thread, waiting for a needle to be poked through.
5) Look at the spring you're trying to replicate and note down which way it is wound and if the spring winds towards the drill or away from it. Then look at it again. And one more time.
6) Put the bolt in a drill (one with a slow / variable speed) and slowly wind the wire around the bolt.
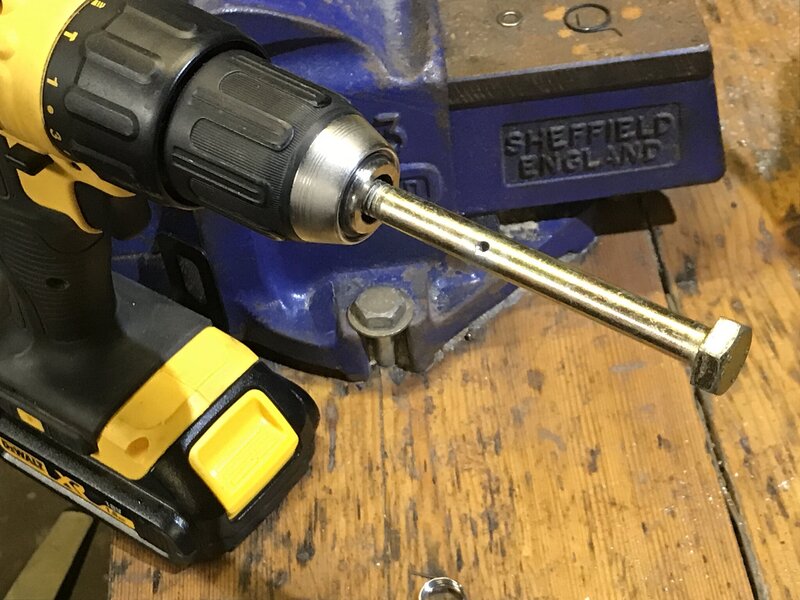
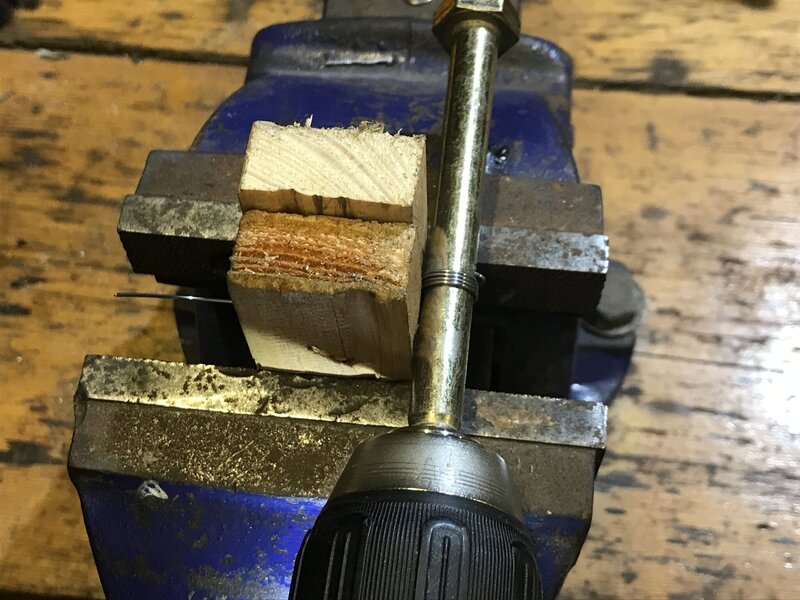
Here's a short video.
7) My spring only had 2 main windings but I created a spring with 4 or 5 so that I could cut it where needed.
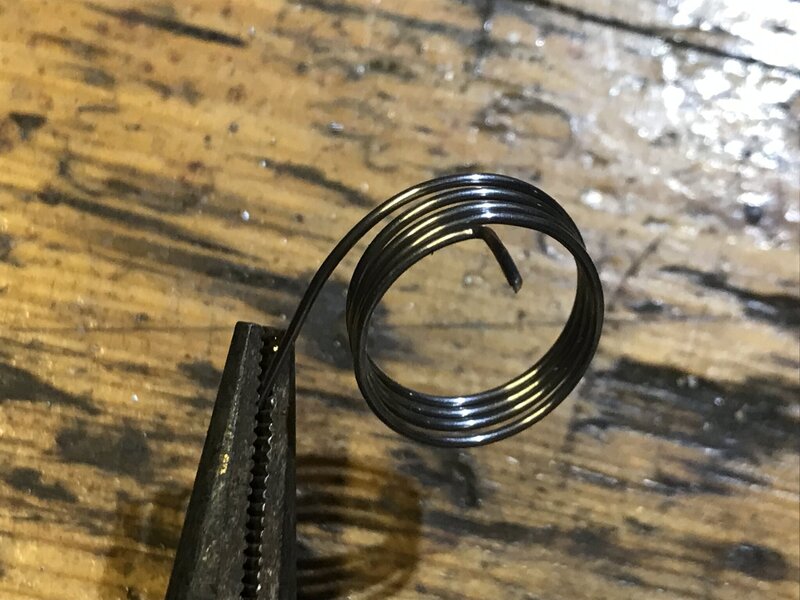
 Keep checking with the original spring and manipulate your new one to match. U used needle-nosed pliers to bend the ends etc. Luckilly I had a relatively good spring from the other lever to compare to. In the end, I assumed the spring got a bit stretched over the years so corrected that in the new spring.
9) You're done. See second image of it installed, it's near the bottom of the image.
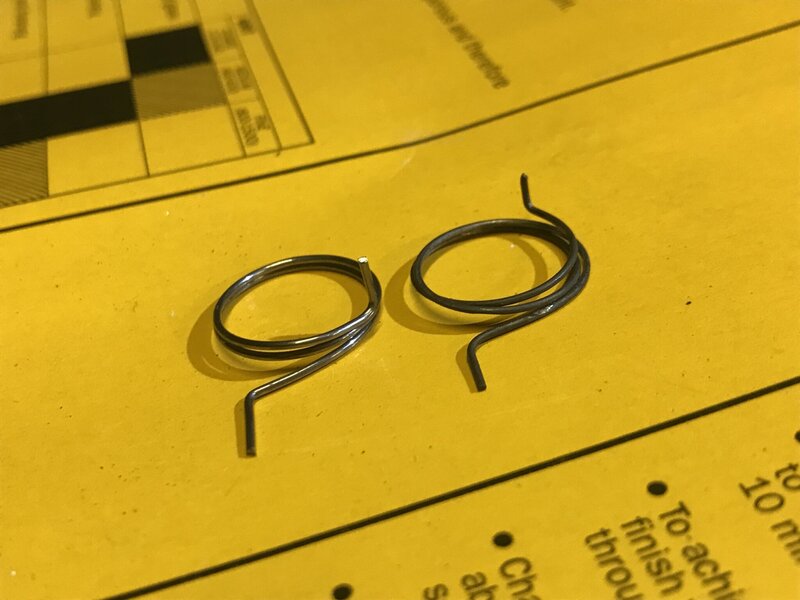
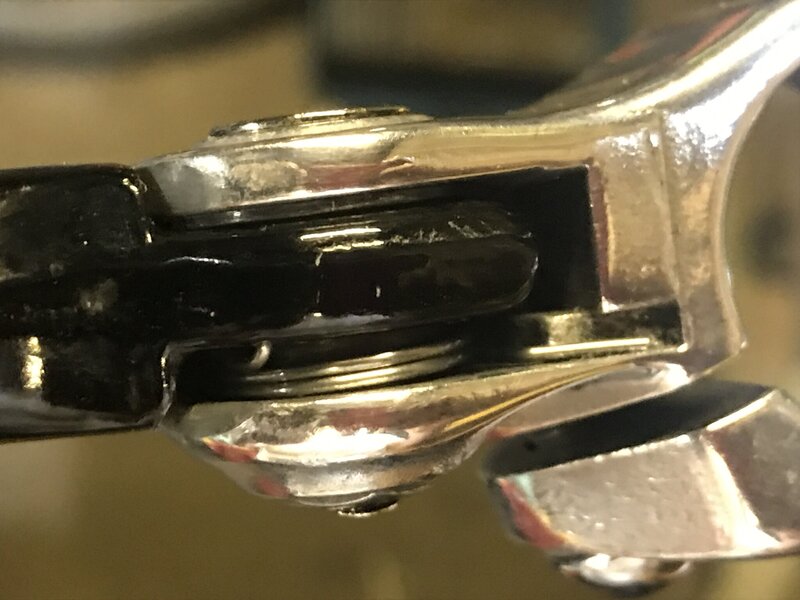
10) Now make the opposite one... probaly doing everything the same but reversing the drill.
I did have a fair few attempts before I found the right diameter bolt. Depending on your needs, you may need to go through the same pain. The smaller the diameter, the less it will expand / spring back after winding, so you may find that springs below 5mm will be less tricky to estimate as they won't ping back much. Anyhoo, good luck!
1) I used a pair of calipers to measure the existing spring diameter (0.75mm) and orderd Size 13 piano wire. This is apparently what small springs are made from. I got mine from 'tinternet from Hugh Craig Harpsichords on Ebay (which in itself is awesome).

2) It took a while to work out the right diameter of mandrel / form to wind the wire around, as the spring expands somewhat after winding, so the mandrel is always smaller than the spring you need. For these, I settled on a 10mm diameter "thing" to get a 15mm spring (the actual spring was 13.8mm). The “thing” in this case was a bolt with no thread in the middle but could be anything solid and cylindrical. It turns out there’s an equation and online calculator for this and it confirms the results.
3) Drill a hole in the bolt (or whatever you're using). Doesn't really matter where.


4) Take a length of the piano wire, about 20cm and clamp it fairly tightly between two blocks of wood in a vice, with just enough poking out to go through the hole in the bolt, a bit like a thread, waiting for a needle to be poked through.
5) Look at the spring you're trying to replicate and note down which way it is wound and if the spring winds towards the drill or away from it. Then look at it again. And one more time.
6) Put the bolt in a drill (one with a slow / variable speed) and slowly wind the wire around the bolt.


Here's a short video.
7) My spring only had 2 main windings but I created a spring with 4 or 5 so that I could cut it where needed.

9) You're done. See second image of it installed, it's near the bottom of the image.


10) Now make the opposite one... probaly doing everything the same but reversing the drill.
I did have a fair few attempts before I found the right diameter bolt. Depending on your needs, you may need to go through the same pain. The smaller the diameter, the less it will expand / spring back after winding, so you may find that springs below 5mm will be less tricky to estimate as they won't ping back much. Anyhoo, good luck!
Last edited:
When you click on links to various merchants on this site and make a purchase, this can result in this site earning a commission. Affiliate programs and affiliations include, but are not limited to, the eBay Partner Network.