95/96 rockshox judy sl cartridge dilemma

Trekybiker

Dirt Disciple
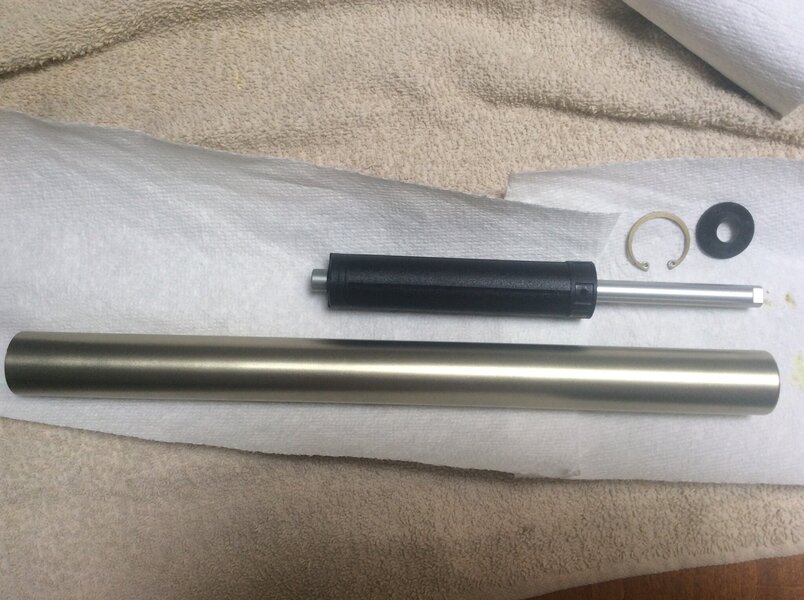
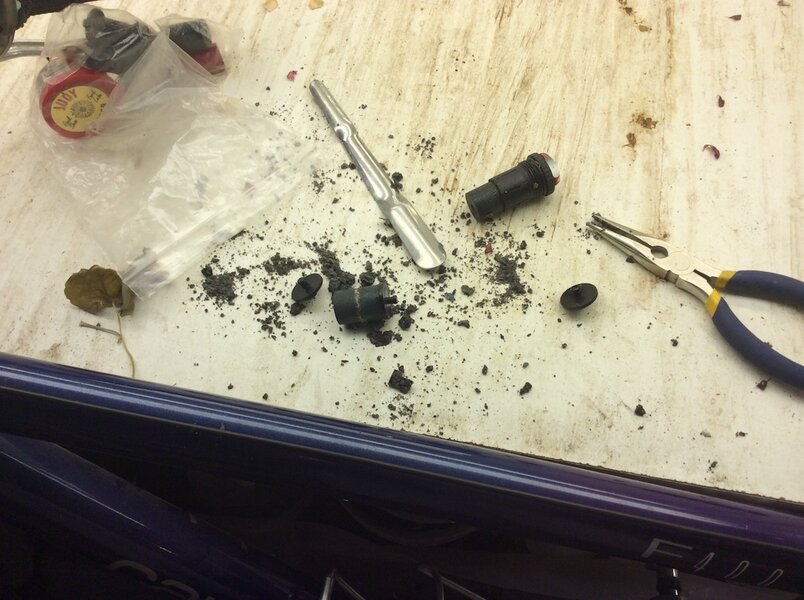
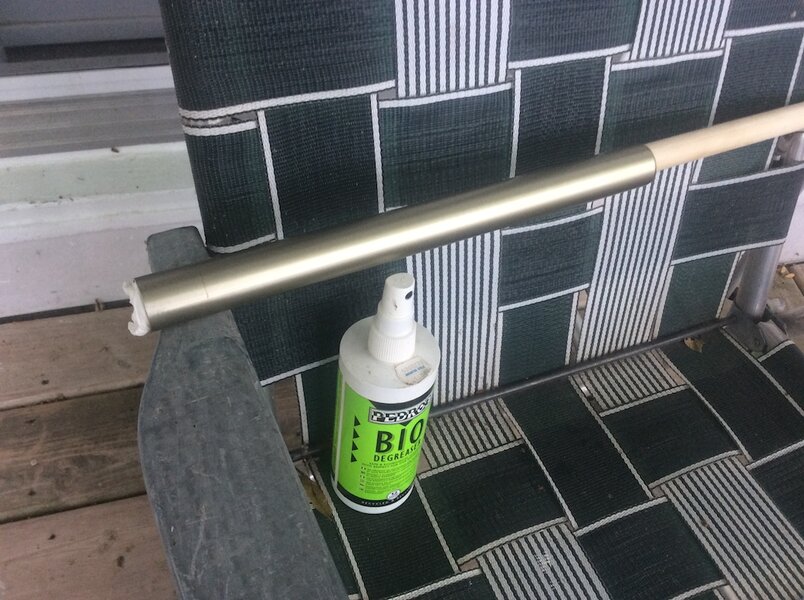
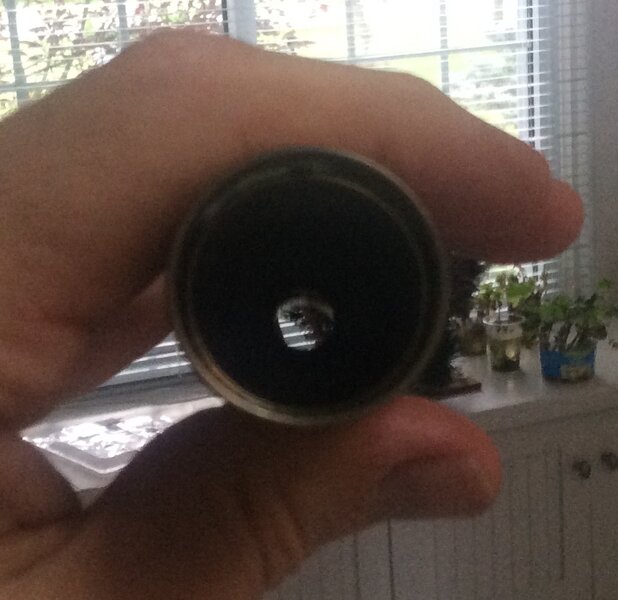
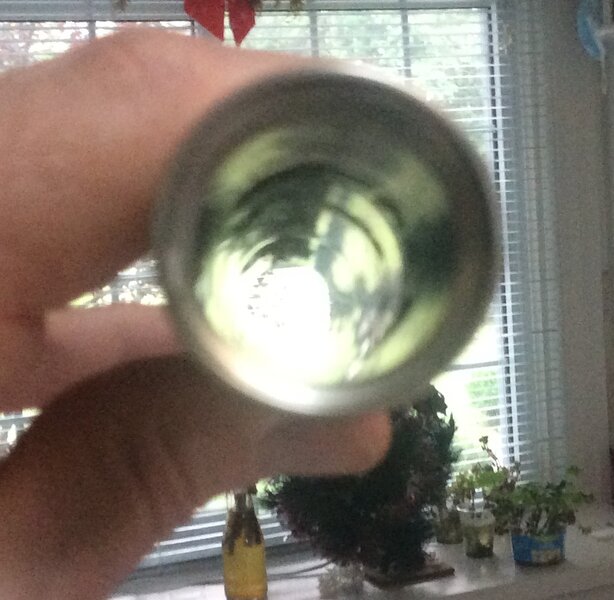
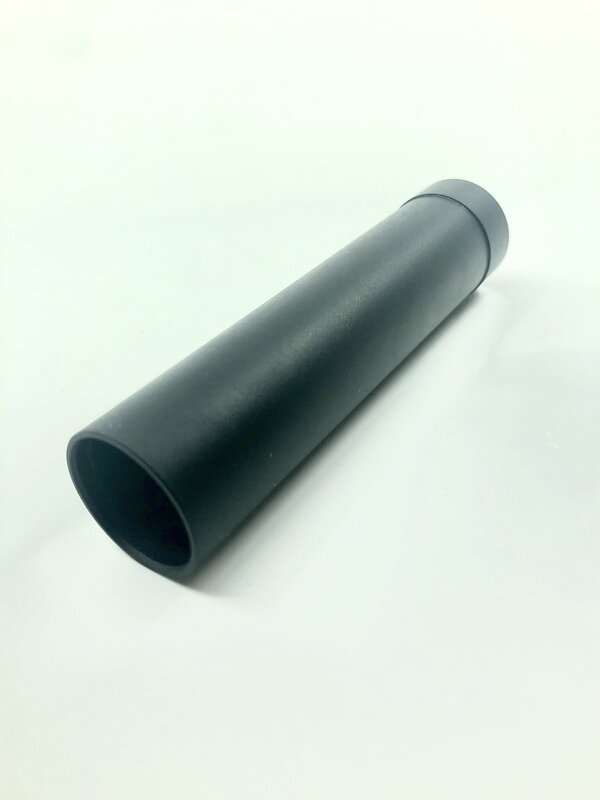
Hello, I just took my 96 judy sl fork apart (plastic cartridge) and discovered that it had leaked all of its oil out. I had lightly rode the fork, and it had been about a year after its first service (done by me). I am at a standstill trying to decide what to do with my fork. I know the plastic cartridges were prone to leaking. Could it have just leaked all of its oil out as I was taking it apart, as It didn't feel too bouncy? Their is no corrosion in my fork, and the cartridge seal appears to work properly. Could you possibly pour fork oil into the fork, and make it a hydracoil? Any help or advice greatly appreciated. Thanks in advance!
 
Last edited:
As you said, the plastic dampers are a weak spot for the fork. Had many that have done the same.

I think there is a thread on here by srp selling new dampers, no experience in converting to hydrocoil myself.

If the rest of the fork is in good shape, I'd try and find a metal bodied damper. I used to have a couple of Judy fsx and converted them to air using the super rare englund/ecko sport conversion kit, but rarer than a unicorn having dined on a toothed hen, riding a rocking horse having a poo, while texting a mermaid.
Not too rare then. Not scarce like
 
Kokies, that’s great news, especially if that happens this season!

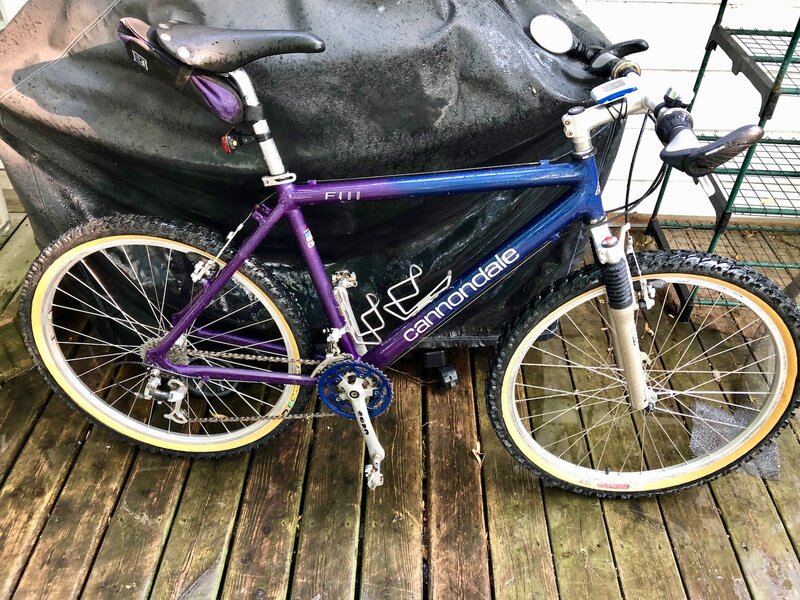
I’m in the same position at Trekybiker — just pulled apart my ’96 Judy XC/Cantis (original owner) from my 94 1/2 Cannondale, and the elastomers were toast. A real pita to clean out. Pulled everything apart for a thorough inspection and cleaning to find the stanchions in nearly immaculate condition. Oddly, no “Wavy” spring in the damper side under the snap ring?

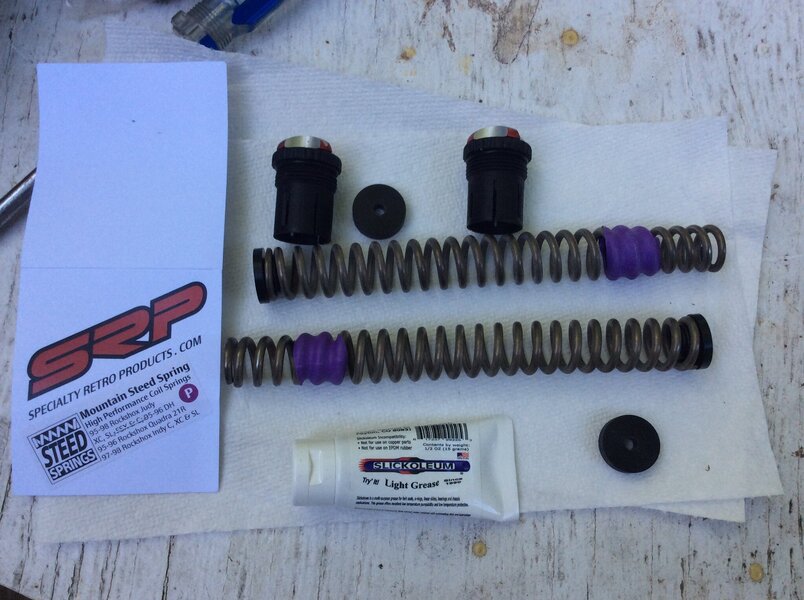
Purchasing new springs from SRP to replace the elastomers are an easy, inexpensive fix!

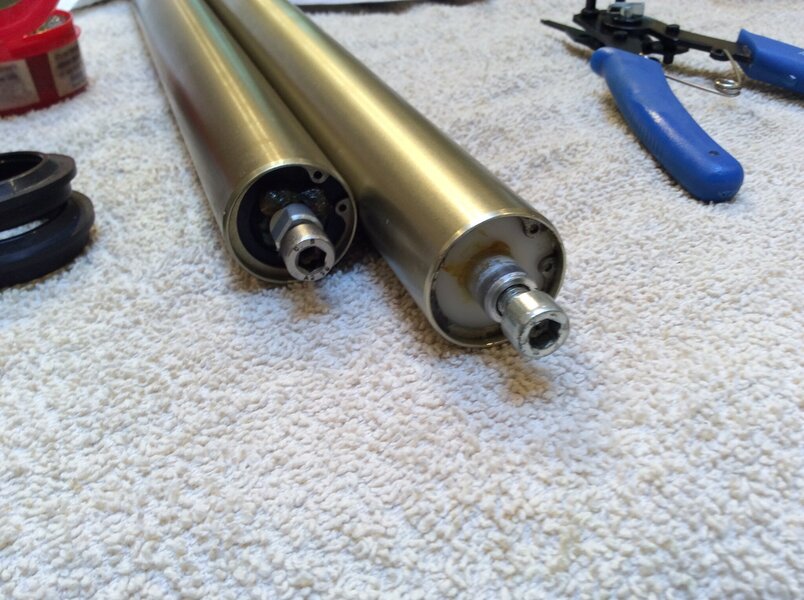
However, my plastic damper has long since lost its oil and I”m dithering about buying the SRP oil damper kit as the instructions from the Judy manual on doing so aren’t particularly clear (and the small, grainy pictures aren’t helpful). Read a few posts on the process (several times) that didn’t clear up the fog and couldn’t find a youtube video of someone tackling it, either. And if I were able to manage it, how long would it last?

So, that seems to leave me with two options right now:
#1, install new SRP springs and leave the non-functioning damper alone. With just new springs, would it ride like a pogo stick without some kind of damping?
#2, the other option I’ve read about some time ago is to replace entire Judy, less crown and steerer tube, for some version of a better Marzocchi’s bolt-on stanchions/brace/lowers from that era (pre ’98 IIRC), but haven’t been able to locate the post(s) for the exact particulars. Any insight on this would be really helpful. Don't know anything about their 1" steerer forks, either.

With the C’dales 1” steerer, my options are limited.
 
Last edited:
So, that seems to leave me with two options right now:
#1, install new SRP springs and leave the non-functioning damper alone. With just new springs, would it ride like a pogo stick without some kind of damping?
I am in the same boat with a '95 judy xc. did you end up running your fork with the non-functioning cartridge? I'm wondering myself how bad it could be...
 
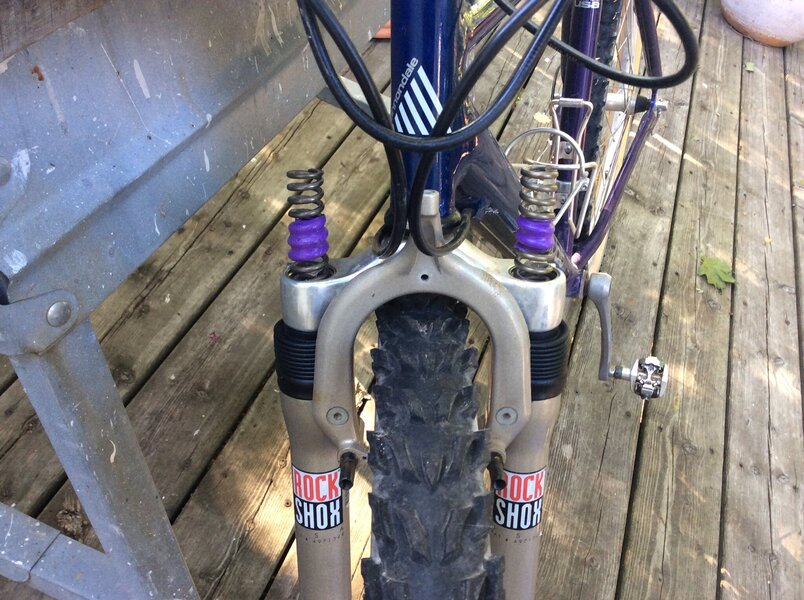
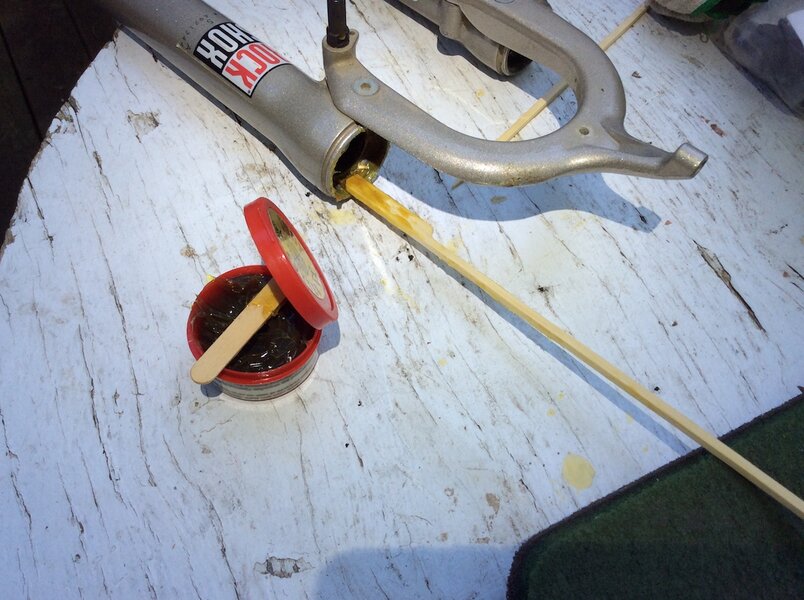
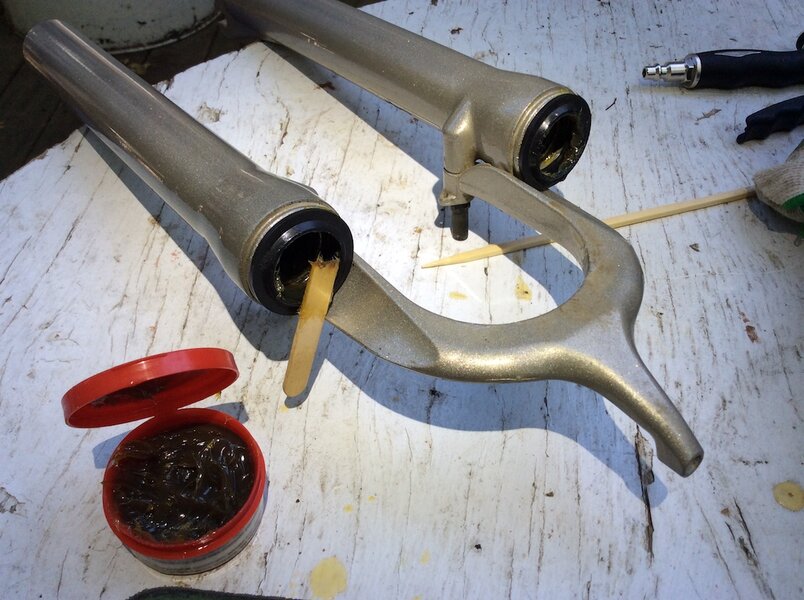
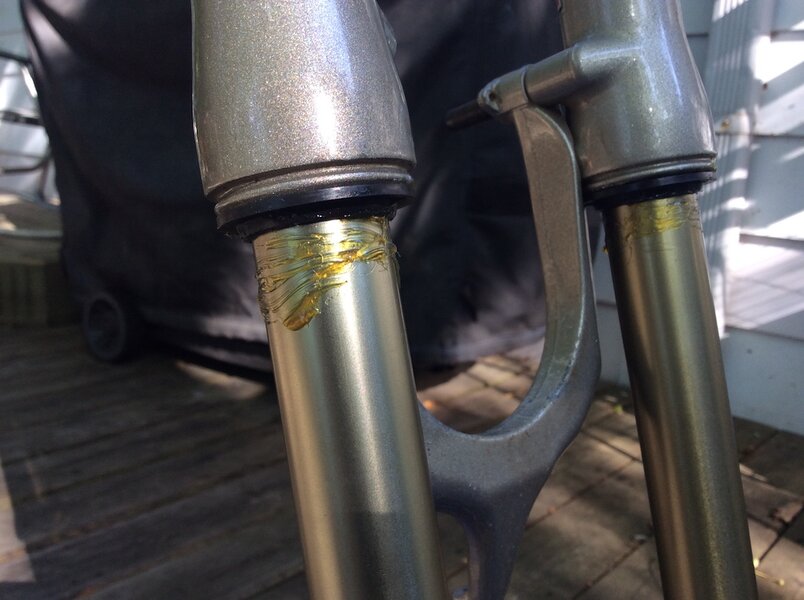
Yes I did. Just cleaned up the empty oil damper (non-drive side), lubbed lightly and installed. I went with the SRP Purple springs (I'm ~190lbs) and added the black stiffening spacers (probably not necessary), lubbed everything, especially the two bushings inside the lowers, gave the new springs a good coat of Slickoleum (included) and screwed them home with the top caps. Takes a bit of effort compressing the spring to screw in the top caps. Wow, great spring with minimal pogoing from lack of damping. So far, thrilled with result. Spring rate even improved after a few rides. Haven't been on anything really gnarly, yet. I'll consider having SRP rebuild the oil damper once they finish the prototype. Worked fine without so far.
 

Attachments

  • IMG_4766.jpg
    IMG_4766.jpg
    406.5 KB · Views: 35
  • IMG_4767.jpg
    IMG_4767.jpg
    564.6 KB · Views: 27
  • IMG_4751.jpg
    IMG_4751.jpg
    406.9 KB · Views: 21
  • IMG_4226.jpg
    IMG_4226.jpg
    446.7 KB · Views: 18
Ok good to know! I guess I'll be trying this soon. Your lowers seem to be in better condition than mine, which have a bit of corrosion I need to clean up. When you say lubbed, did you use more slickoleum or something else?

Thanks for the update.
 
I was quite surprised to find everything pretty much immaculate. Tons and tons of miles in mostly dry and dusty conditions. Strangely, no Wavey spring when I took it apart. Getting the elastomer residue off of the inside of the uppers was the biggest PITA of all. Ended up finding a thick dowel nearly the same ID as the tube removed the most tenacious bits without risk of damaging the inside surface. Used every tool imaginable until it was pristine. For your corrosion, you might try grits of 1000>2000>3000?

I had an unopened jar of Judy butter and was liberal with it (especially on the lower bushing). Slickoleum would work as well I think. Cleaned everything w/degreaser, 70% rubbing alcohol, then lubed.

Had planned to strip it to the frame, restore/replace anything and sell it. But, enjoying it too much now to let it go. Just need to locate a shorter 1-inch alloy stem (not thrilled about using a 1 1/8" w/a shim).
 

Attachments

  • IMG_5831.jpg
    IMG_5831.jpg
    151.5 KB · Views: 29
  • IMG_4231.jpg
    IMG_4231.jpg
    134.8 KB · Views: 15
  • IMG_4237.jpg
    IMG_4237.jpg
    91.5 KB · Views: 14
  • IMG_4232.jpg
    IMG_4232.jpg
    113.5 KB · Views: 12
  • IMG_4752.jpg
    IMG_4752.jpg
    161.1 KB · Views: 14
  • IMG_4754.jpg
    IMG_4754.jpg
    162.2 KB · Views: 14
  • IMG_4759.jpg
    IMG_4759.jpg
    114.3 KB · Views: 21
  • IMG_0986.jpg
    IMG_0986.jpg
    431.6 KB · Views: 26
Last edited:
Back
Top