sherlylock
rBotM Winner
- Feedback
- View
Seeing as there are a few Raleighs cropping up in the Readers MTBs section recently......I thought I'd add another!
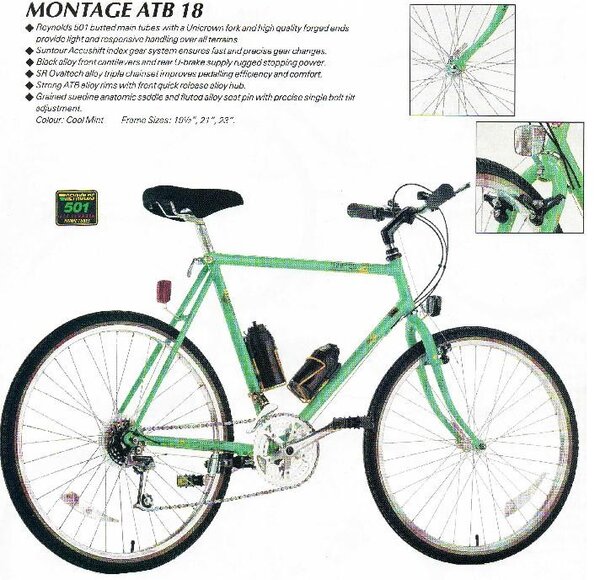
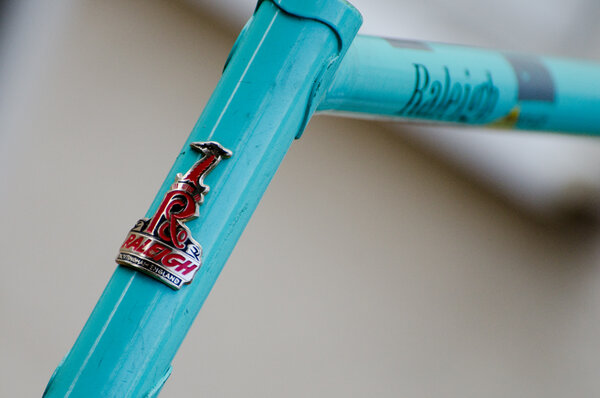
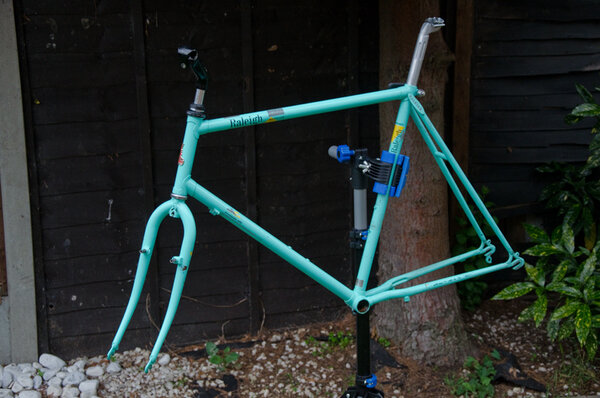
I recently replied to a karma ad for a Raleigh Montage frame/forks with the intention of using the frame for a singlespeed project (horizontal dropouts!)
The frame was local so I popped over to have a look and it seemed ideal for the project - a large frame to suit my lankyness.
It was great to meet another retrobiker, and one who obviously has a passion and keen eye for detail with his bikes (cheers Chris!).
Anyhoo...I did a bit of trawling to find out more about the Montage and found a thread where it suggested that the stem was an odd size (21.1mm) so I contacted Chris to see if he still had the stem anywhere (before I headed off to find an alternative).
Chris had a dig in his garage and got back to me saying he'd found a few more bits, including the stem, so I headed over last night to collect.
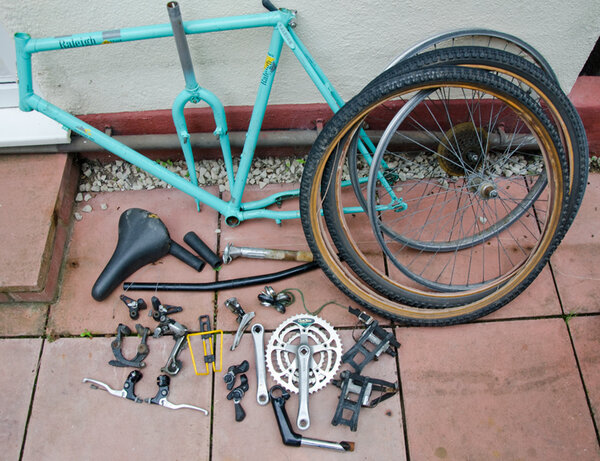
When I got home and looked through it it seems I have the complete bike (again, cheers Chris, much appreciated!)
So....the plan has changed - all the components seem in reasonable nick, just grubby. Even the frame isn't too bad, not chipped, a few scratches.....which means I'm going to gradually rebuild it, cleaning up and repainting anything that needs tarting up to hopefully end up with a clean and tidy original example, to see what mountain biking in the '80's was really like. I was still on BMXs when this bike came out and I didn't get my first proper mtb until '93 so re-assembling/setting up and riding this will be a learning curve
Couple of things I was surprised with - the weight of the handlebars. I had to strip them down to see if they were actually hollow or not
The chainrings are quirky....I thought biopace rings were quite oval but these are something else!
Also - the size of the seat - it's like an armchair......and it'll be staying! (Well - for the time being at least)
Might be a slow burner this, but I'll post updates as and when they happen for anyone who's interested....
