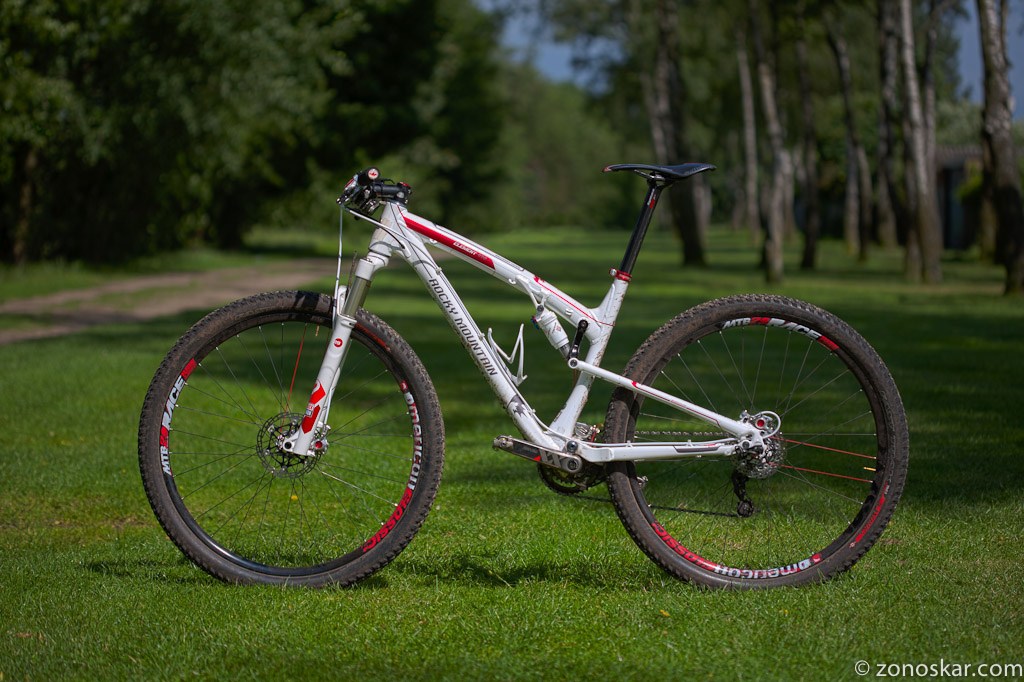
As a follow up on https://www.retrobike.co.uk/threads...tain-thunderbolts-suspension-hardware.484214/ where I asked about getting hardware for the frame, I finally sourced all the hardware needed (apart from a few gaskets to seal the unused frame holes) thanks to our local shop (Reefos.nl). But when the bike was completed, I didn't really dig the looks. I don't like black frames. I had half a spray can left over from when I painted my charging station the same color as my car (metallic red) so the plan was to spray the black parts red and then clearcoat the whole frame, giving me a red/yellow frame, much like the 1997 Element TO.
This was what I started with:
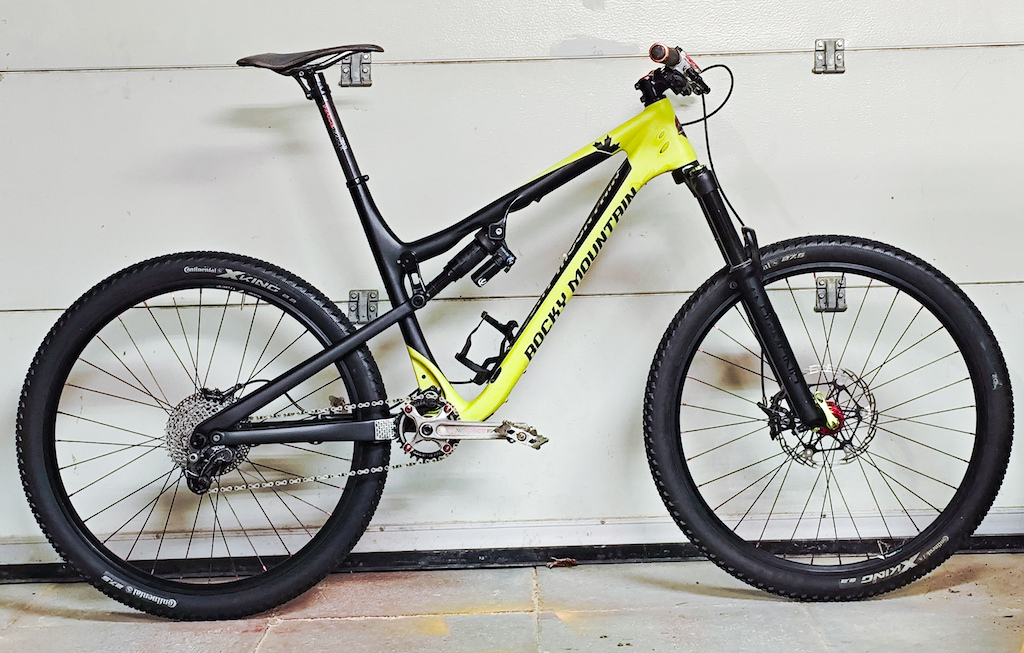
The yellow parts seemed in good nick, only a few marks on it:
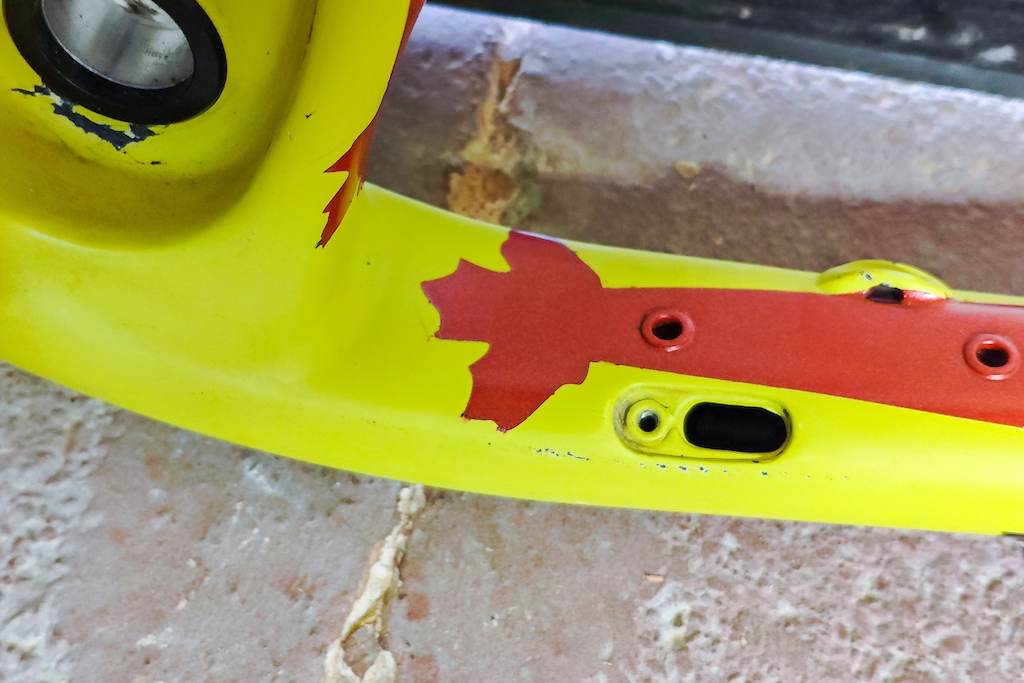
But the color came out too light for my taste, probably because I had to spray an additional white coat to get the red paint to cover. I re-ordered a spray can and started with a black under coat. When that was done, I found that in the process of sanding the previous coat, I had damaged some of the yellow parts. Bummer. I had 2 yellow spray cans, one bright yellow, one fluor yellow. But none matched the yellow of the frame, so a touch-up was out of the question. I didn't want to go fluor yellow and the bright yellow spray can proved to be clogged so I couldn't use it. I did have a can of RAL 9018 left over (white). so I used that. After some struggles it came out like this:
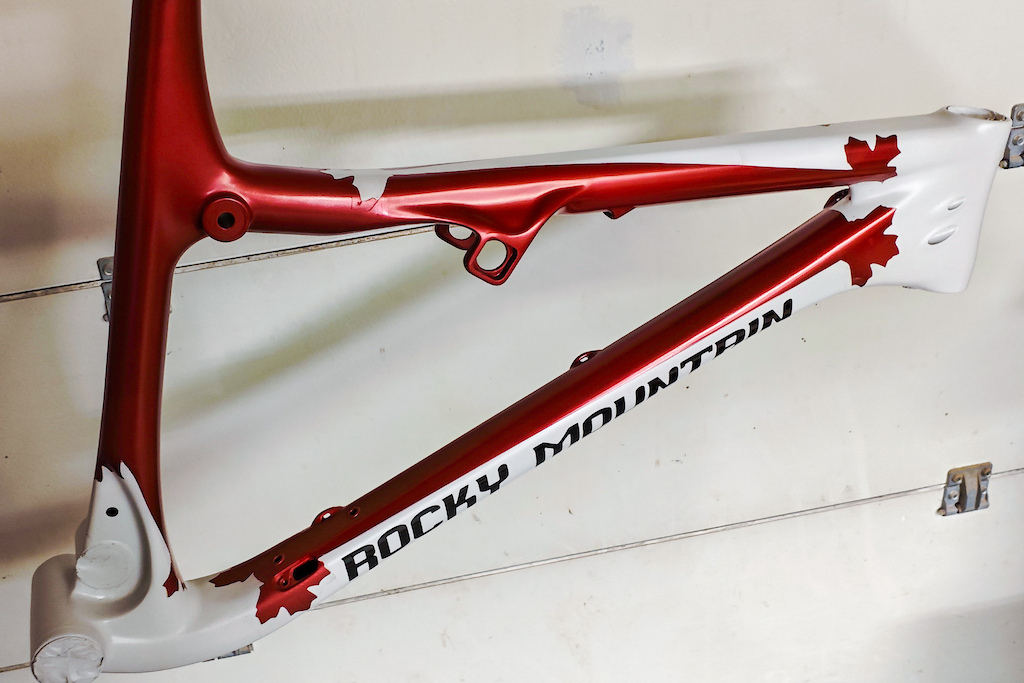
Originally, I planned on leaving the forks black, but while working on the frame, I decided to paint the forks white as well. I made a few mistakes and to cover up I sprayed those areas red. Turned out okay IMHO.
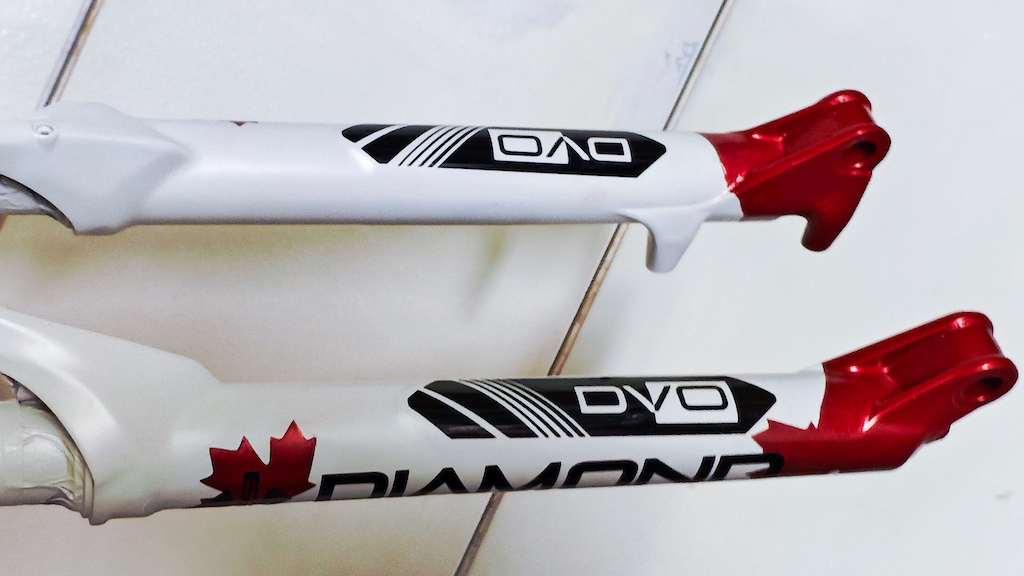
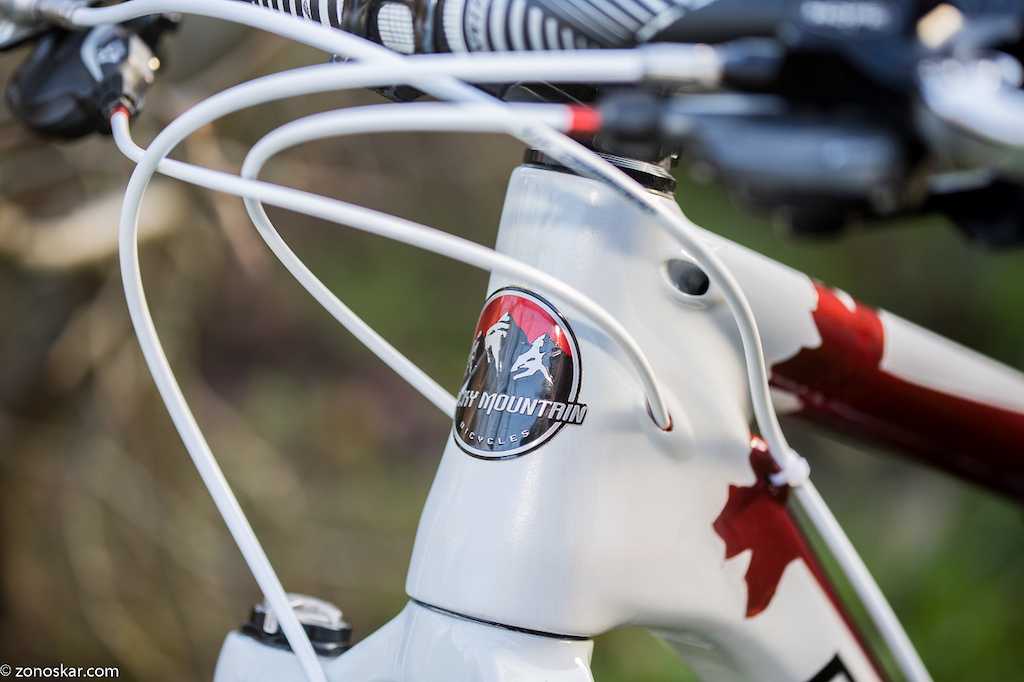
I did my own stencils and decals as I have a vinyl cutter at home (a small one, so the Rocky Mountain decals had to be split into 3 parts). I used 2K clear coat to make the paint durable and shiny.
I went on to assemble the bike, which went together rather simple. I just ruined my left brake lever body by over tightening the brake hose attachment. I found a used one on ebay, still ended up costing me 100 euro. On a sunny moment, I grabbed my camera and shot these pics of the completed bike:
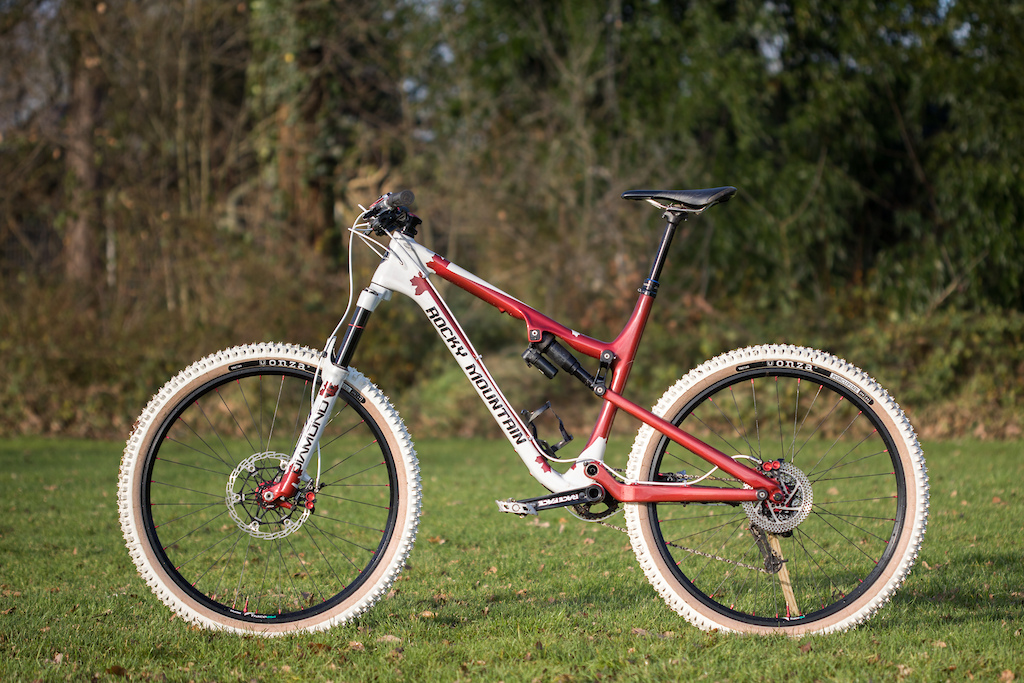
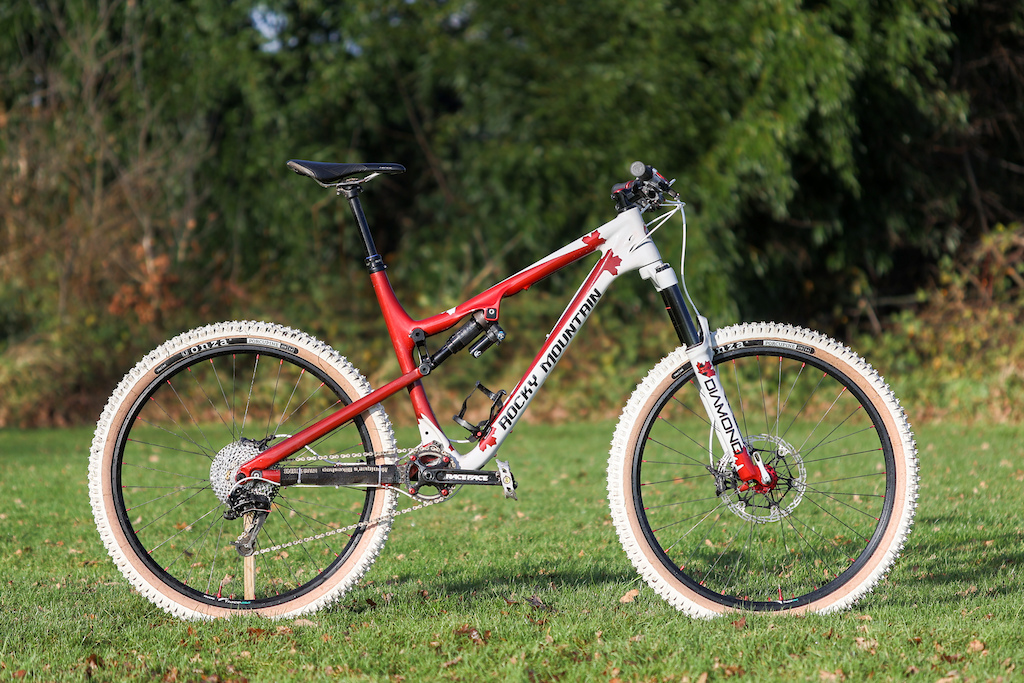
Maiden voyage (Weather is not so nice in the Netherlands at the moment):
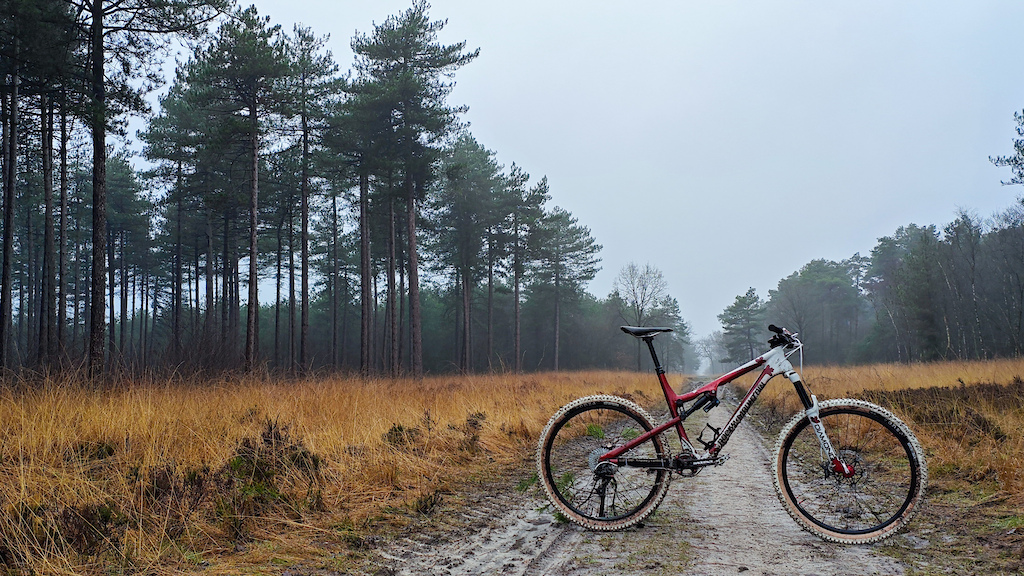
I know the white tires are a bit polarising, but I like the look. They don't roll very fast though.
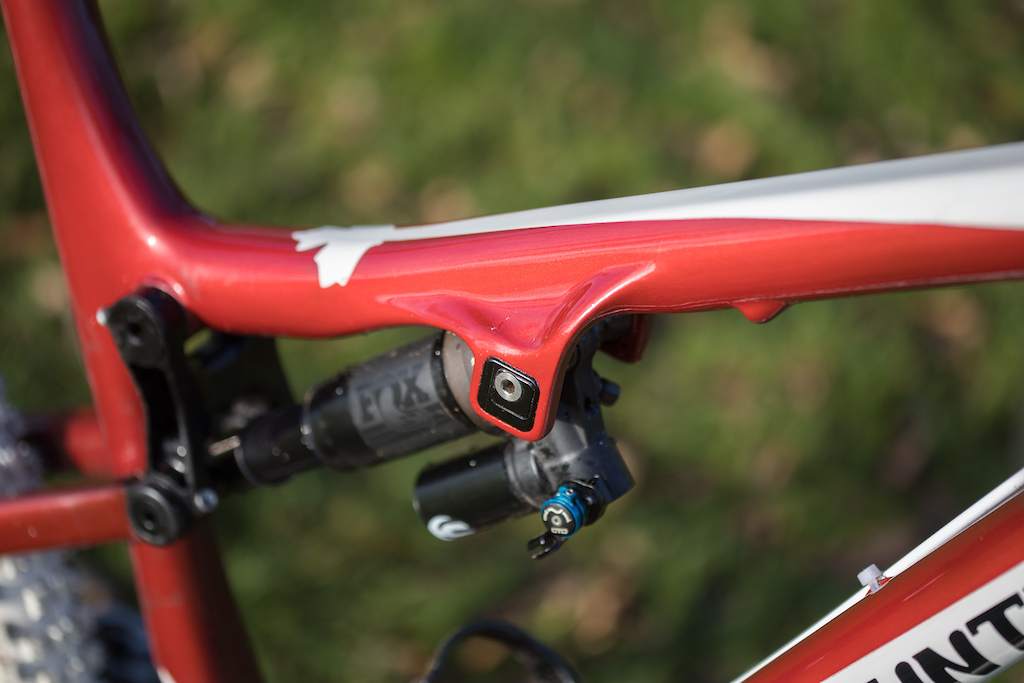
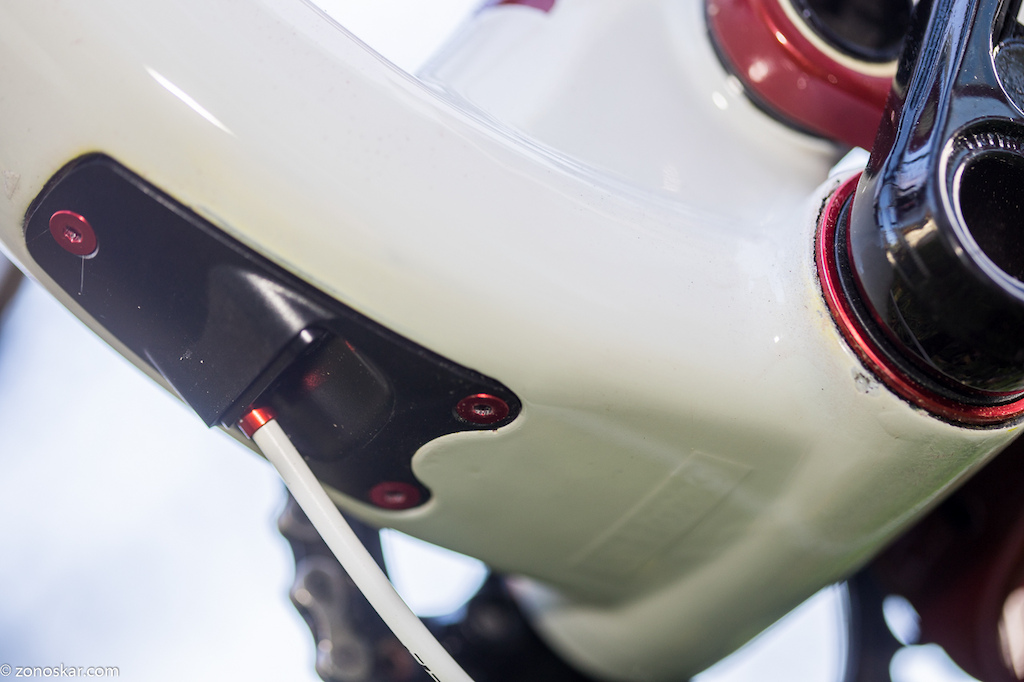
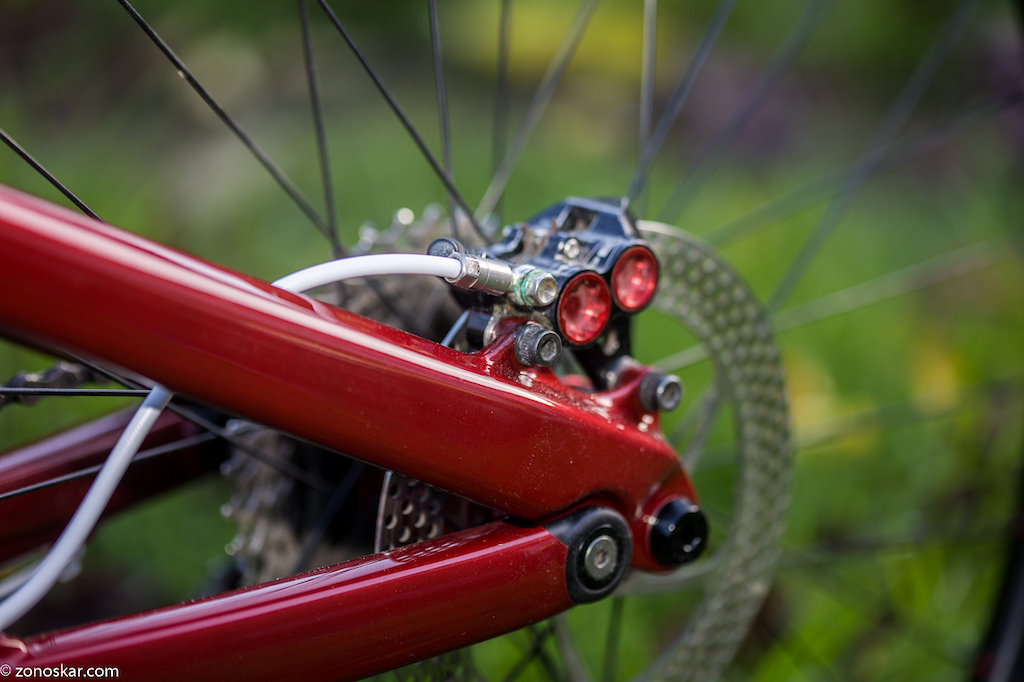
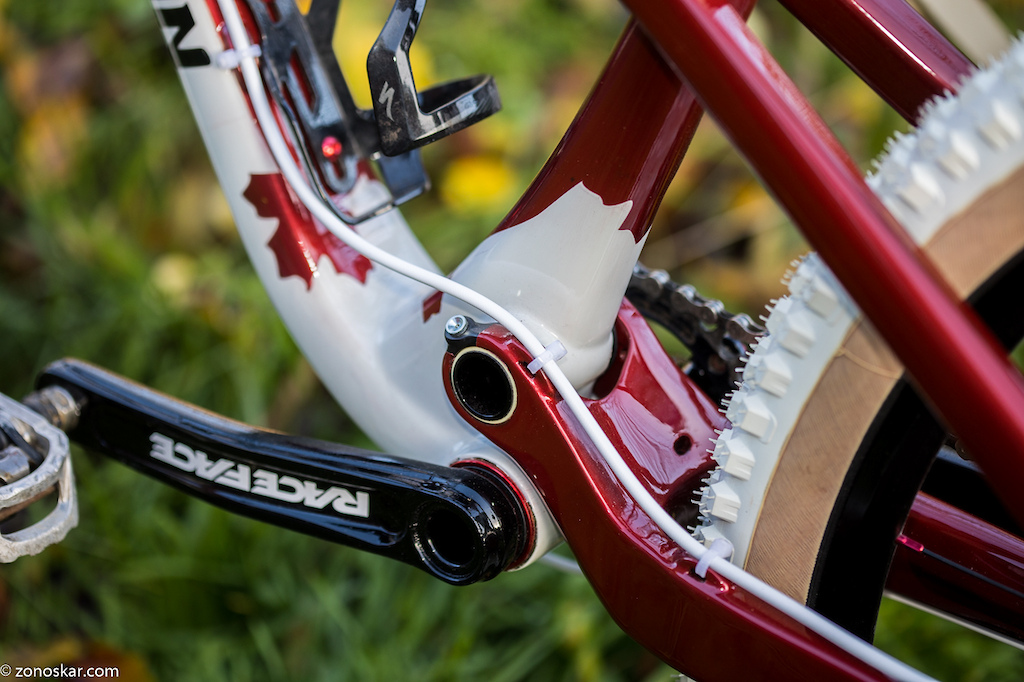
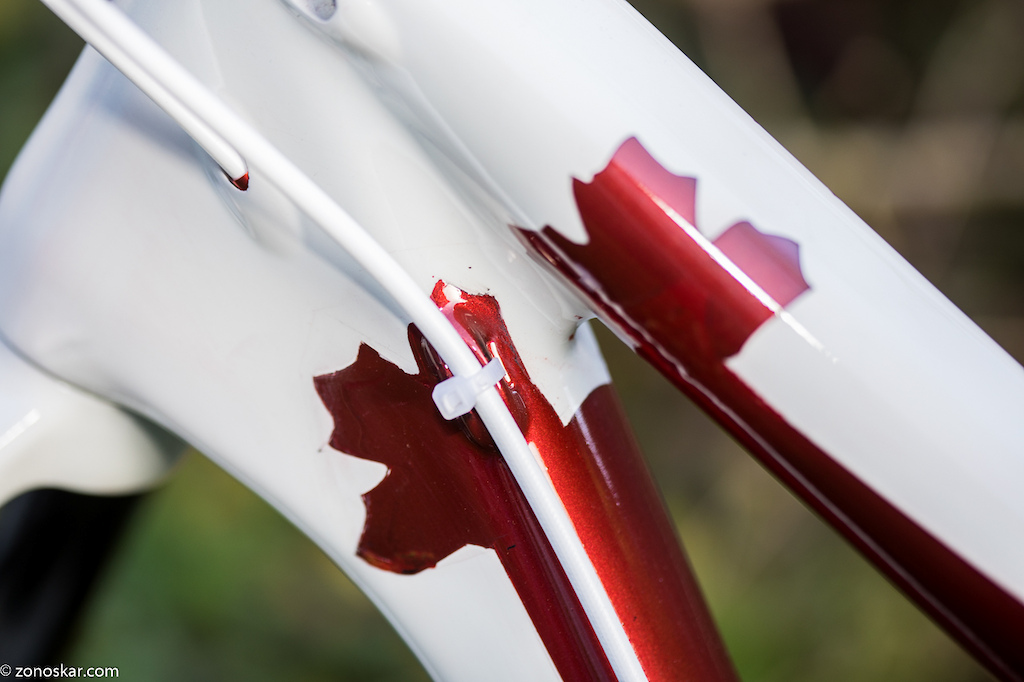
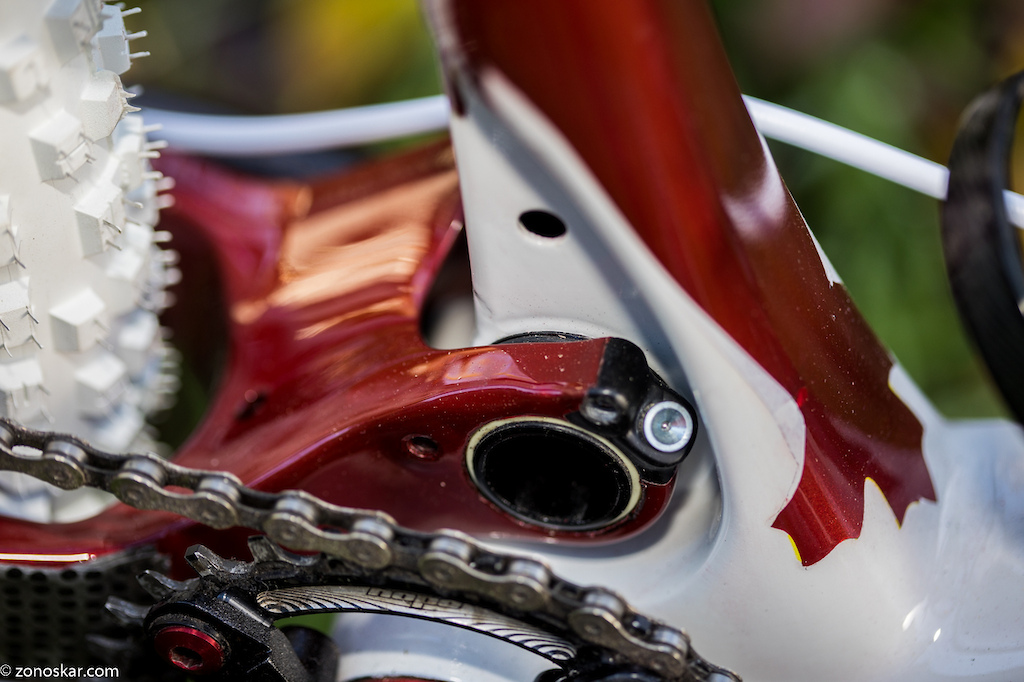
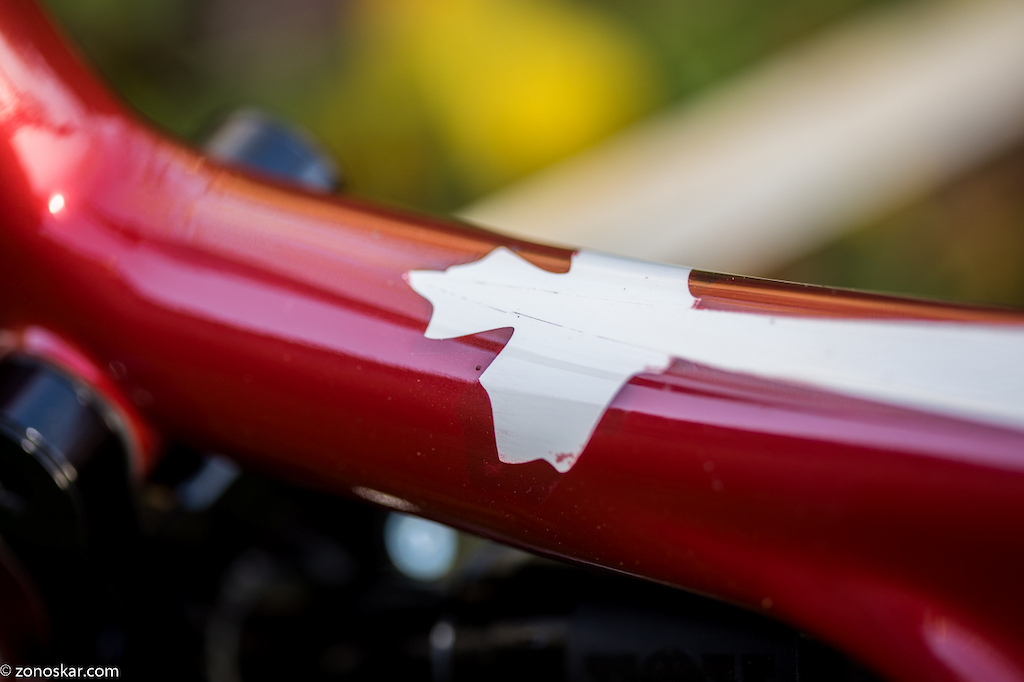
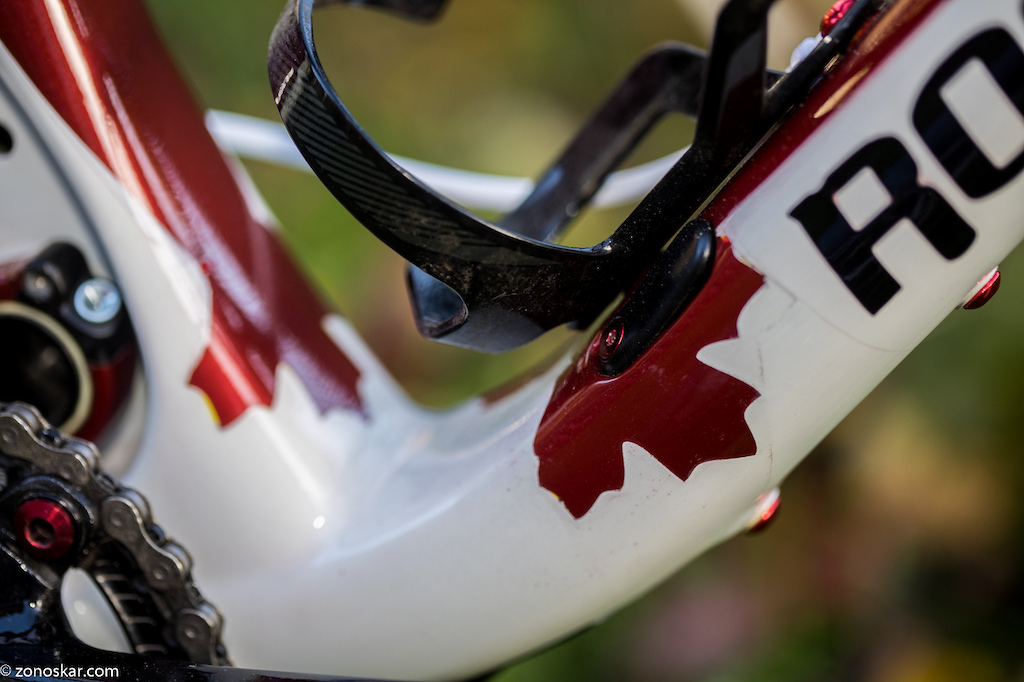
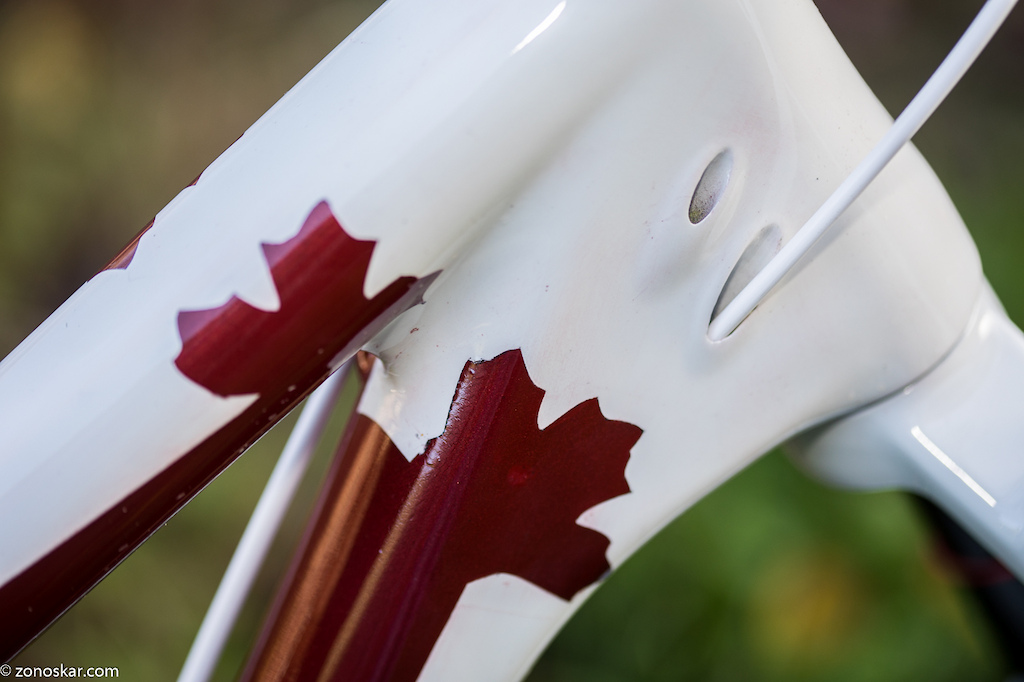
Some detail shots to prove I messed some parts up a bit, the paint is by no means perfect, but I'm just an amateur It still came out fine I think.
This was what I started with:

The yellow parts seemed in good nick, only a few marks on it:

But the color came out too light for my taste, probably because I had to spray an additional white coat to get the red paint to cover. I re-ordered a spray can and started with a black under coat. When that was done, I found that in the process of sanding the previous coat, I had damaged some of the yellow parts. Bummer. I had 2 yellow spray cans, one bright yellow, one fluor yellow. But none matched the yellow of the frame, so a touch-up was out of the question. I didn't want to go fluor yellow and the bright yellow spray can proved to be clogged so I couldn't use it. I did have a can of RAL 9018 left over (white). so I used that. After some struggles it came out like this:

Originally, I planned on leaving the forks black, but while working on the frame, I decided to paint the forks white as well. I made a few mistakes and to cover up I sprayed those areas red. Turned out okay IMHO.

I did my own stencils and decals as I have a vinyl cutter at home (a small one, so the Rocky Mountain decals had to be split into 3 parts). I used 2K clear coat to make the paint durable and shiny.
I went on to assemble the bike, which went together rather simple. I just ruined my left brake lever body by over tightening the brake hose attachment. I found a used one on ebay, still ended up costing me 100 euro. On a sunny moment, I grabbed my camera and shot these pics of the completed bike:


Maiden voyage (Weather is not so nice in the Netherlands at the moment):

I know the white tires are a bit polarising, but I like the look. They don't roll very fast though.
Some detail shots to prove I messed some parts up a bit, the paint is by no means perfect, but I'm just an amateur


Last edited:

